Land & property
Real estate
See the land behind the listing.
LAND RULER / A NEW PERSPECTIVE
Measure on site with GPS, share a project with your team or prepare a work boundary. Explore the workflow for your place and your industry.
AREA / DISTANCE / RADIUS
01 / THE POSSIBILITIES
Find the work that looks like yours. Explore a scenario, see its assumptions and move directly to the right measurement tool.
Step-by-step guide
Step-by-step guide
Step-by-step guide
62 use cases to explore
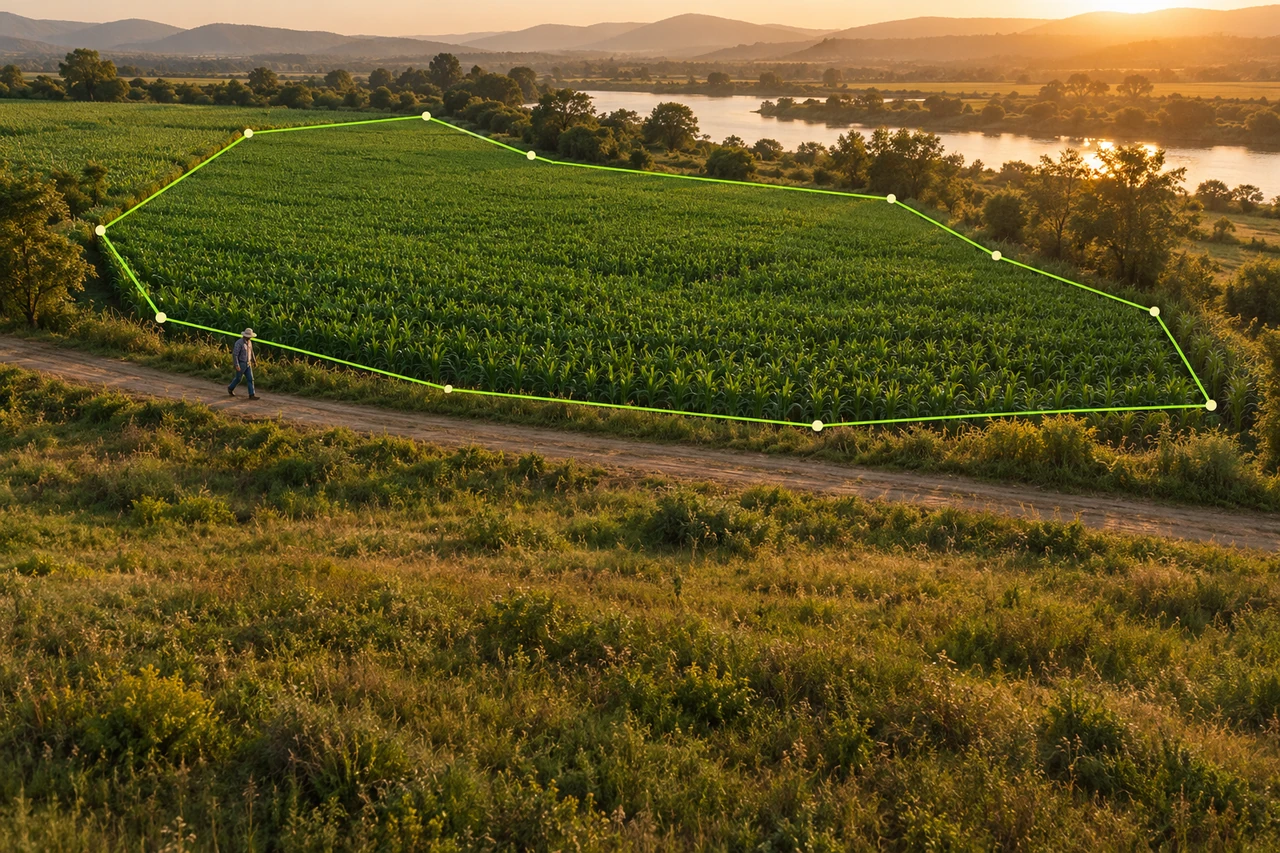
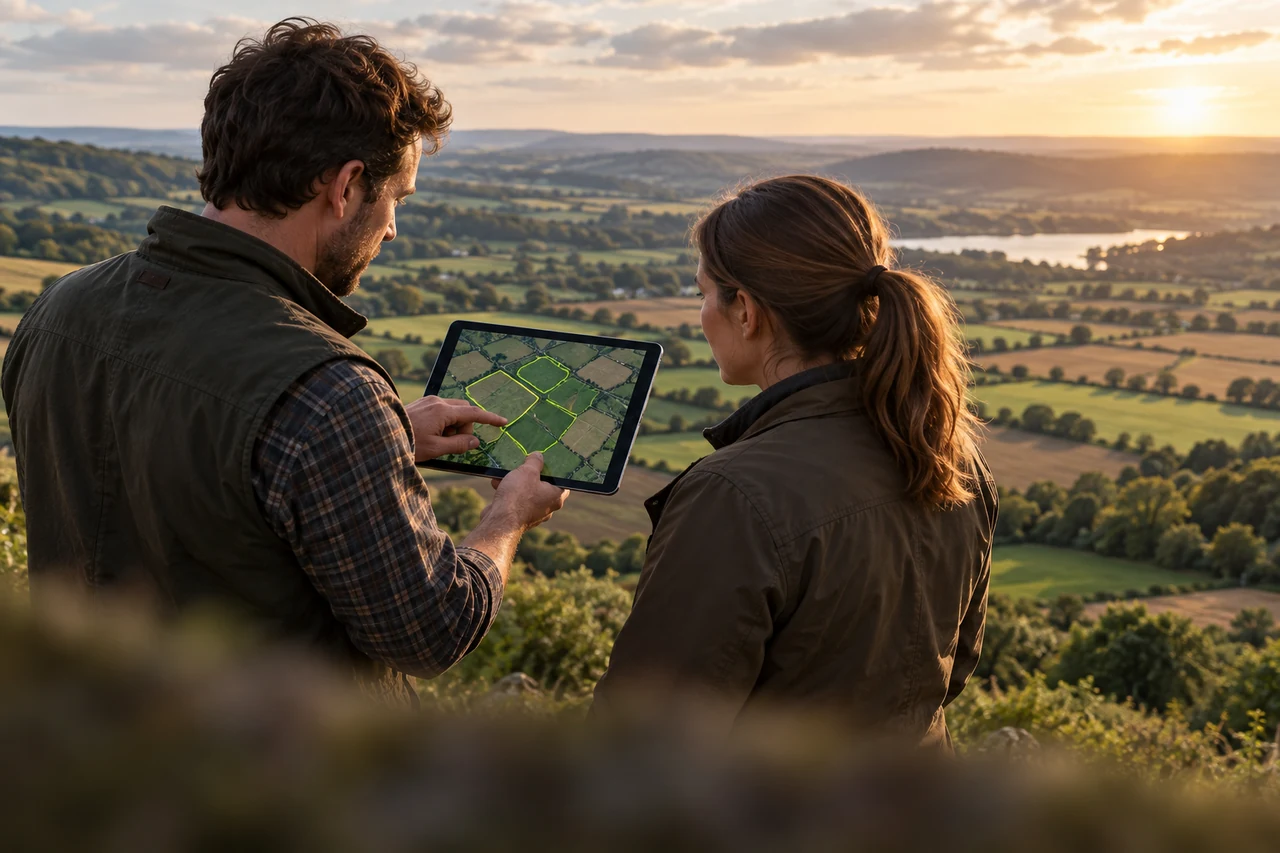
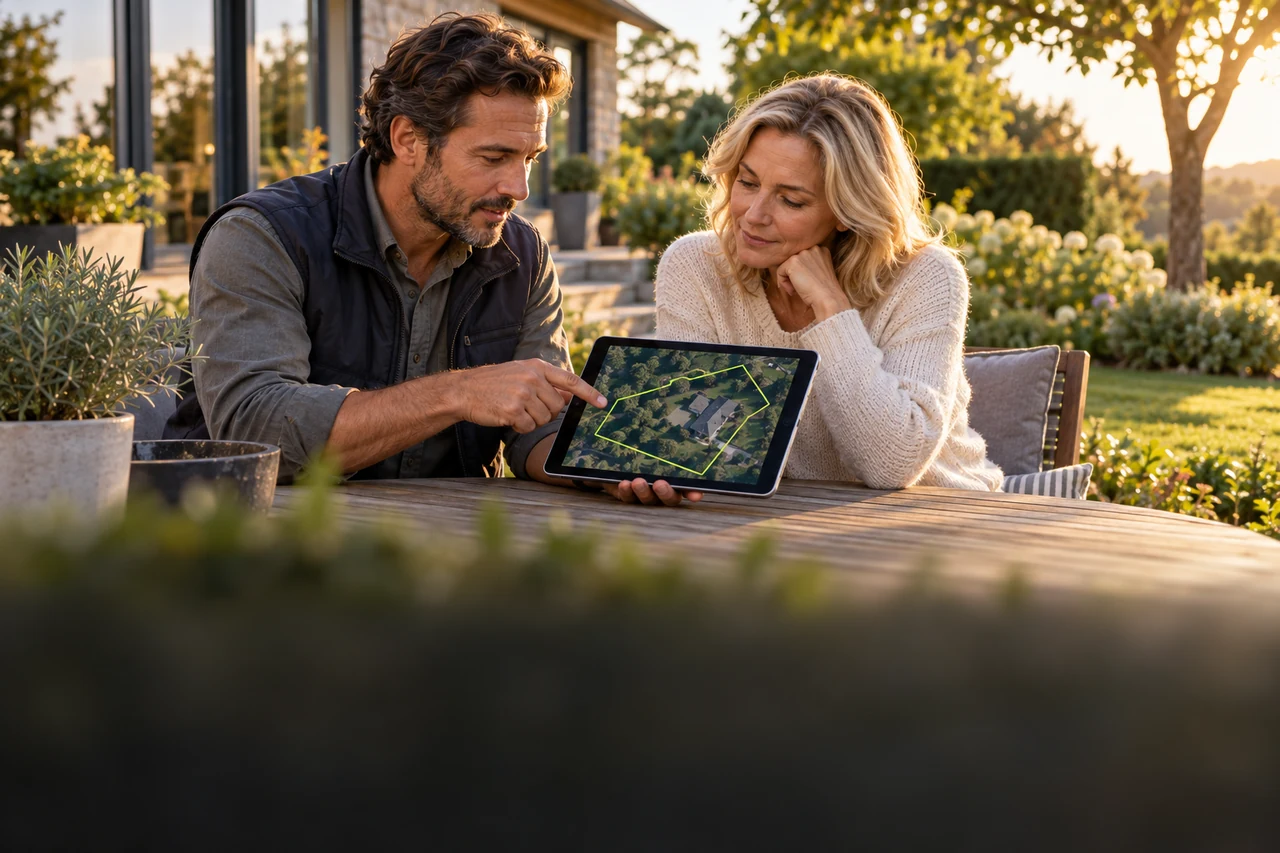
See the land behind the listing.
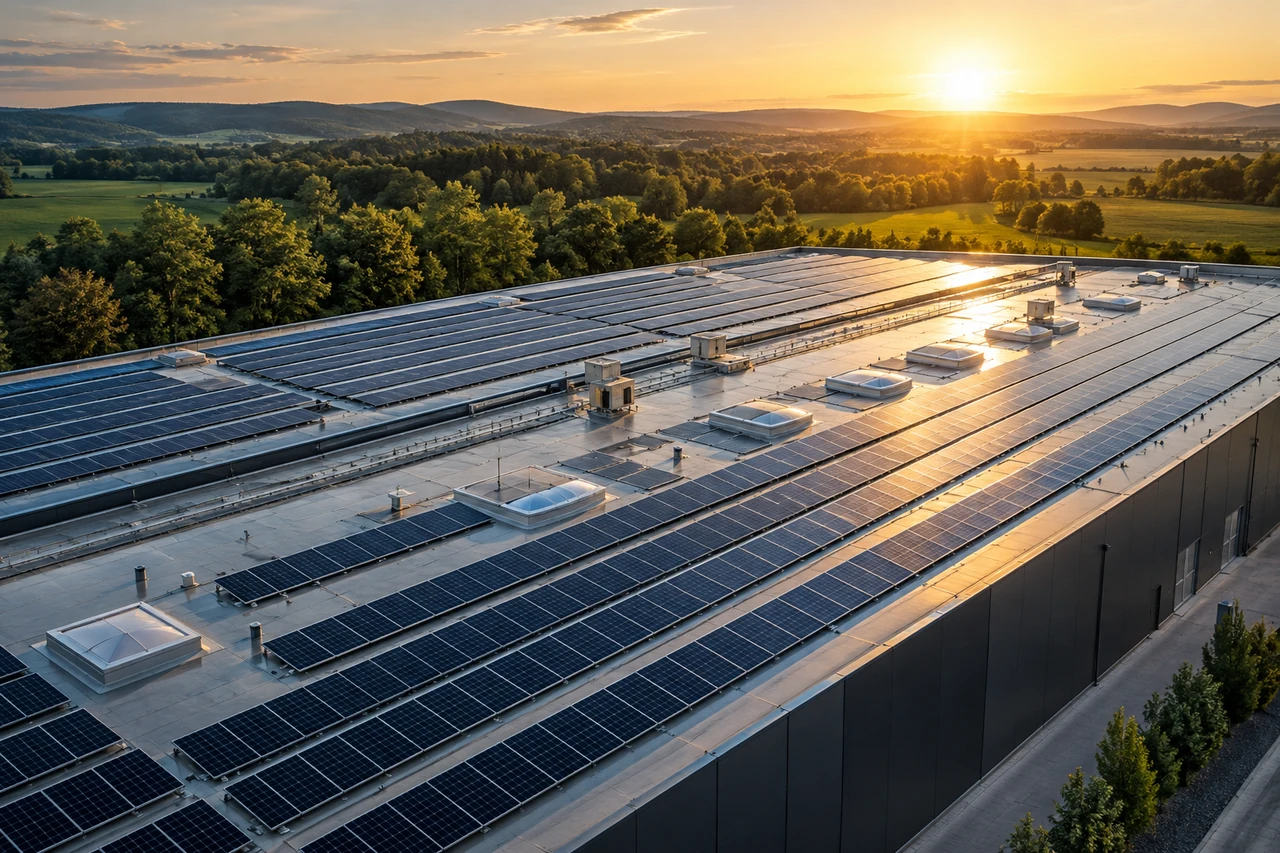
Find the footprint worth exploring.
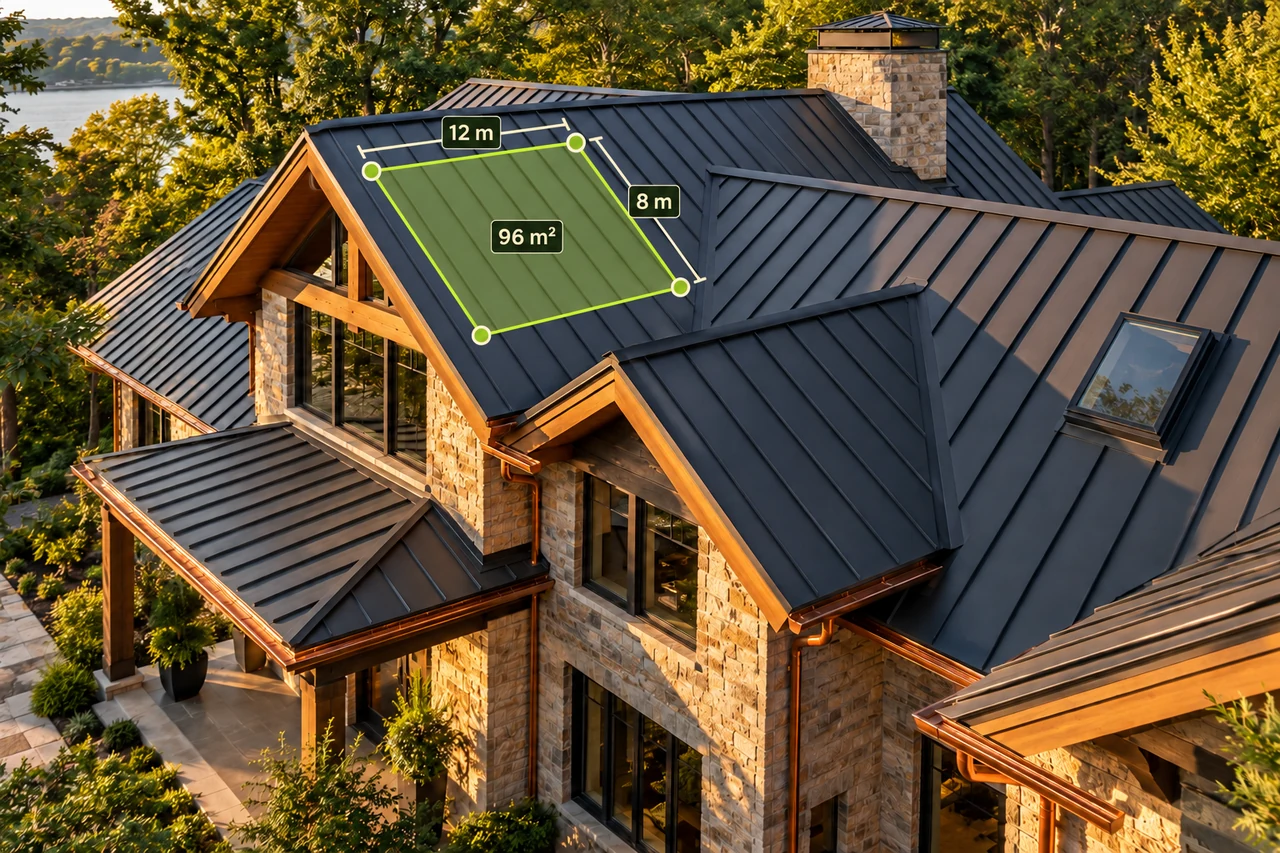

Read the roof from a new angle.
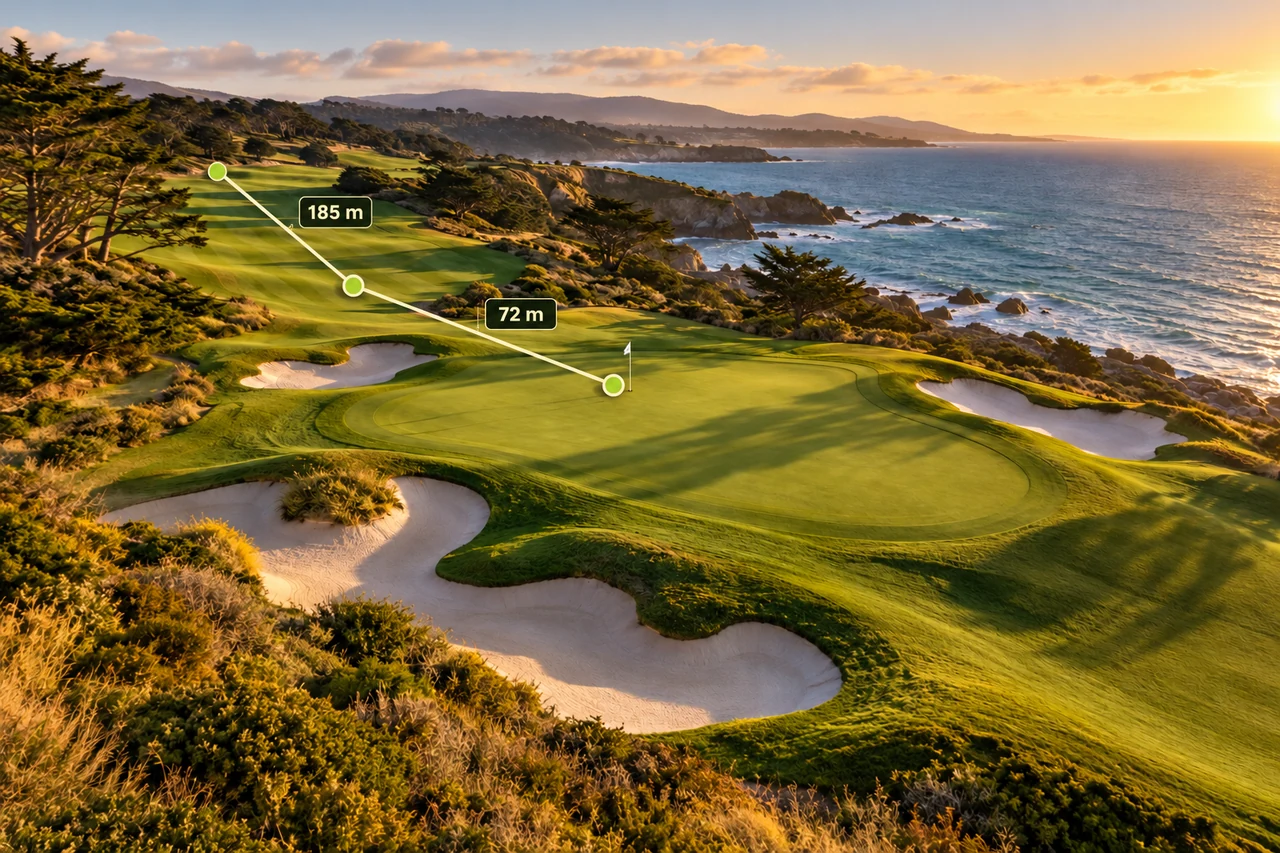

Put every target in perspective.
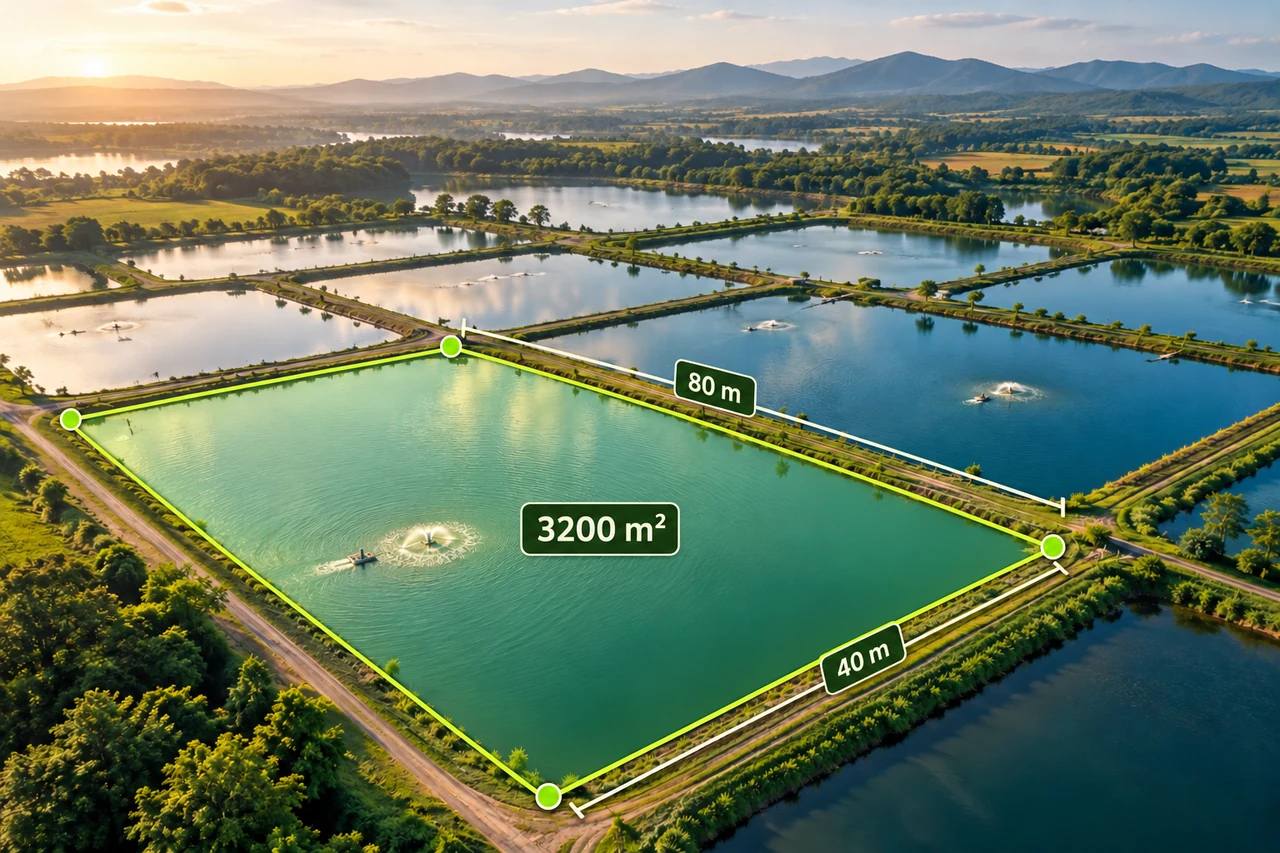
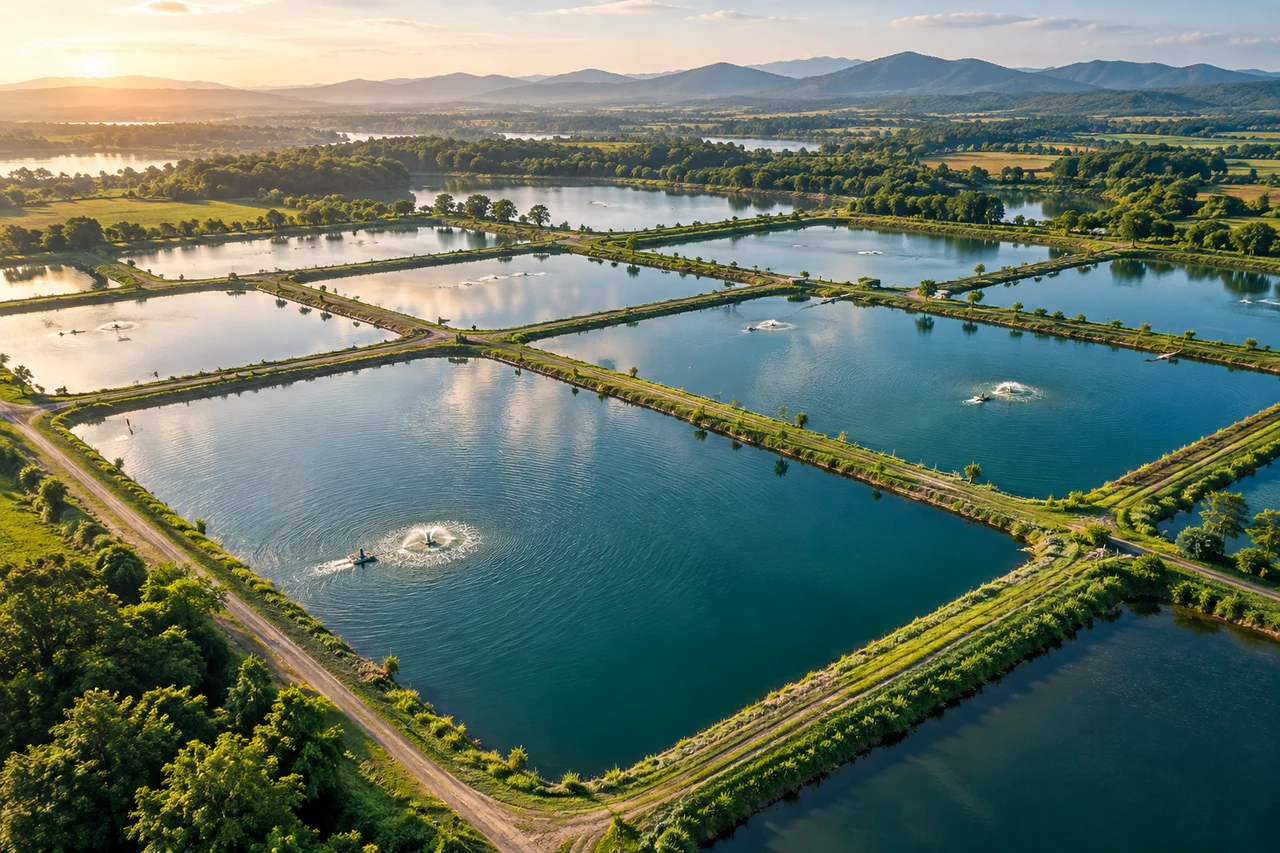
Start with the water you can measure.
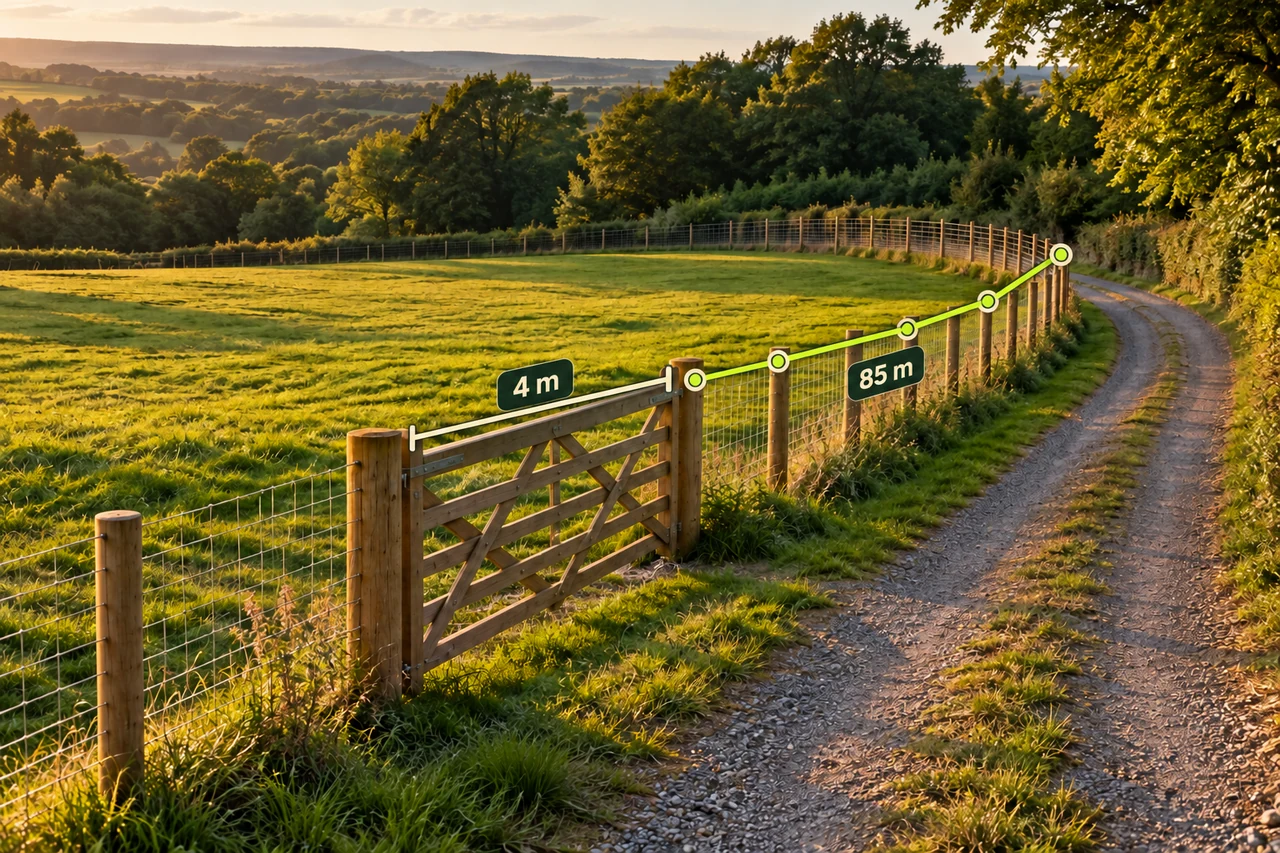
Turn a boundary into a material plan.
Record an area outline from GPS samples
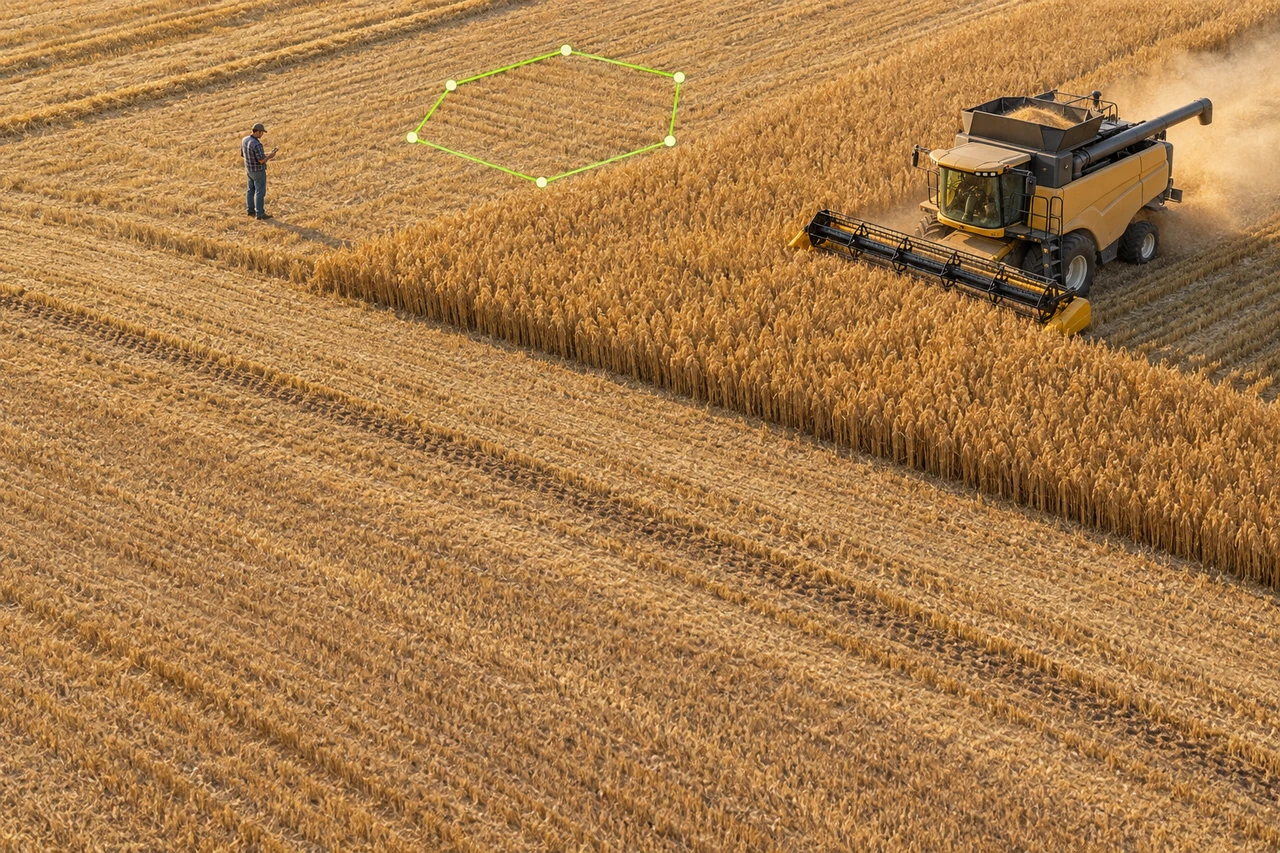
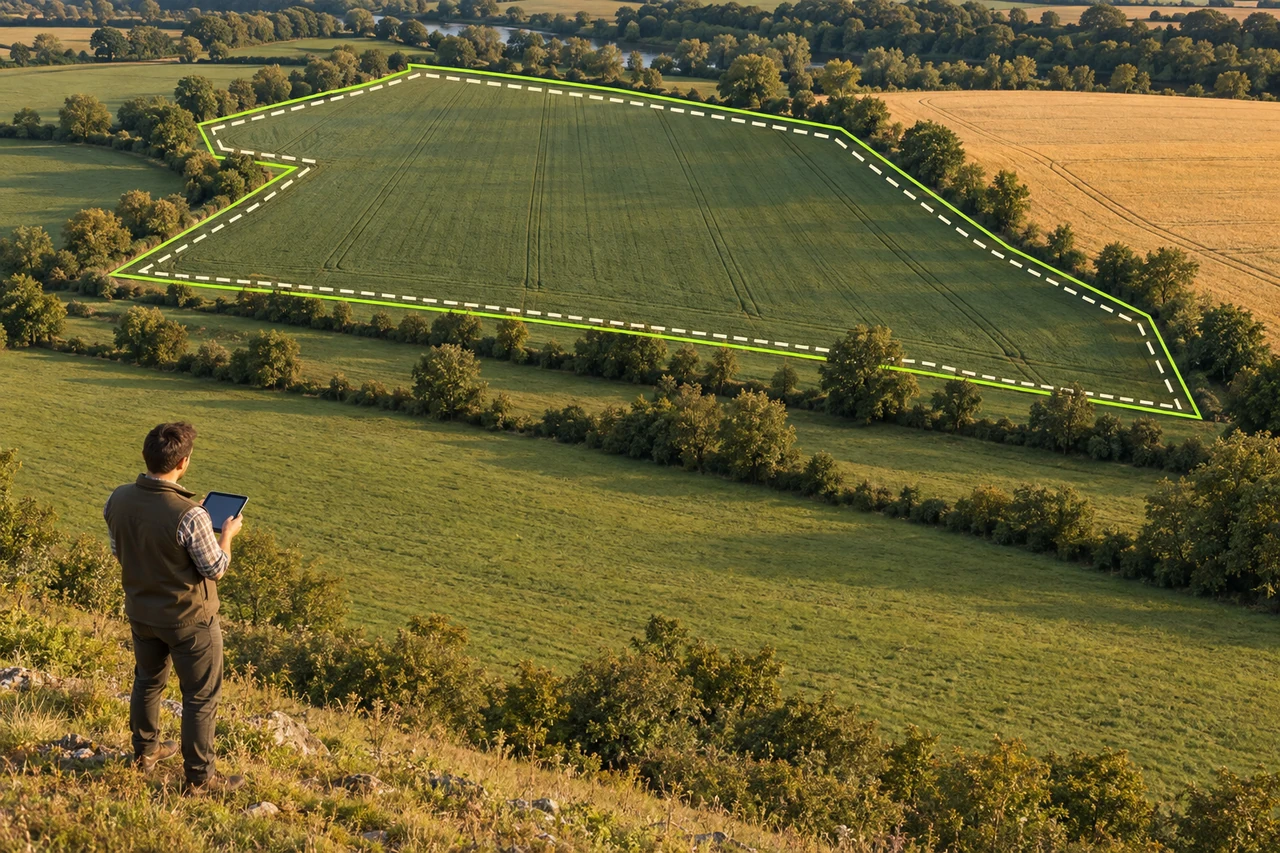
Walk the edge to save a field polygon
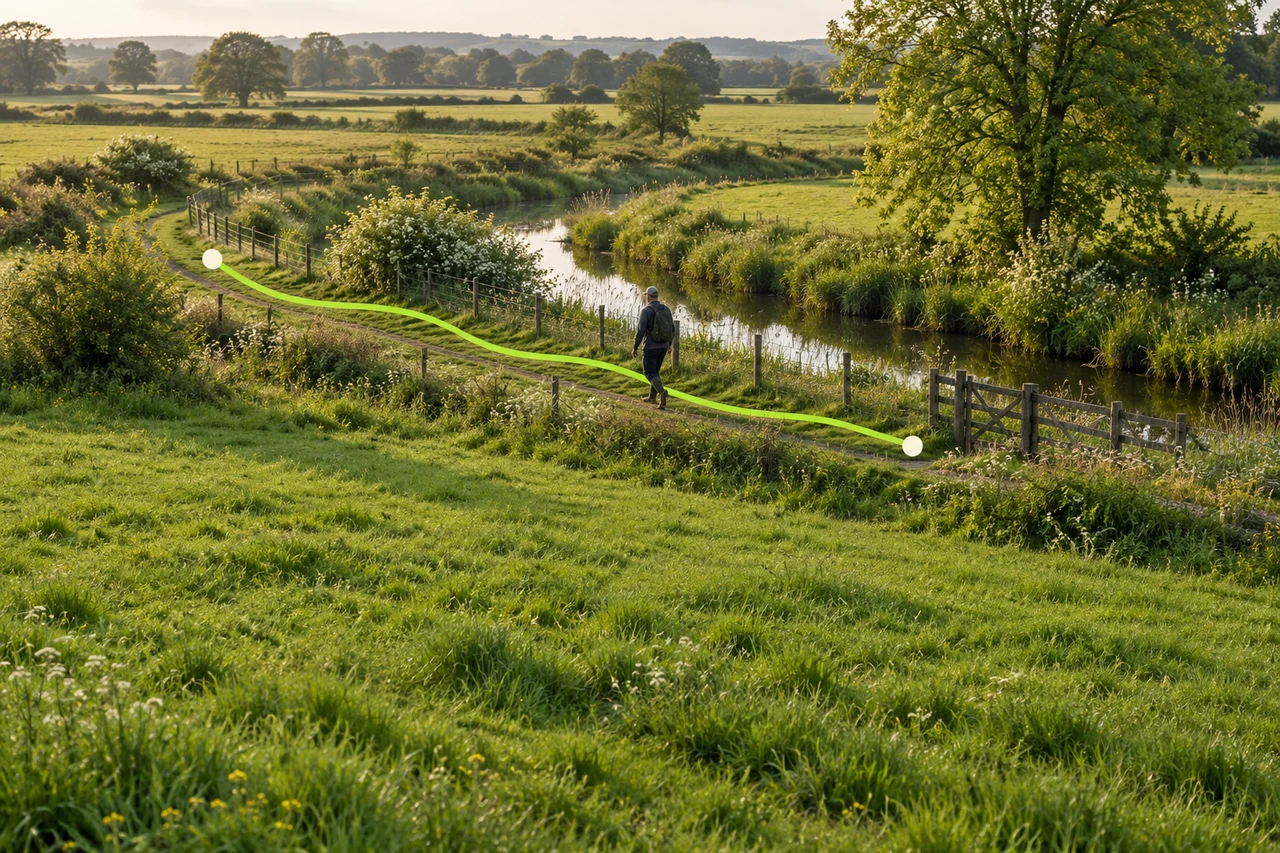
Capture a measured inspection path
Keep map and GPS outlines in separate layers
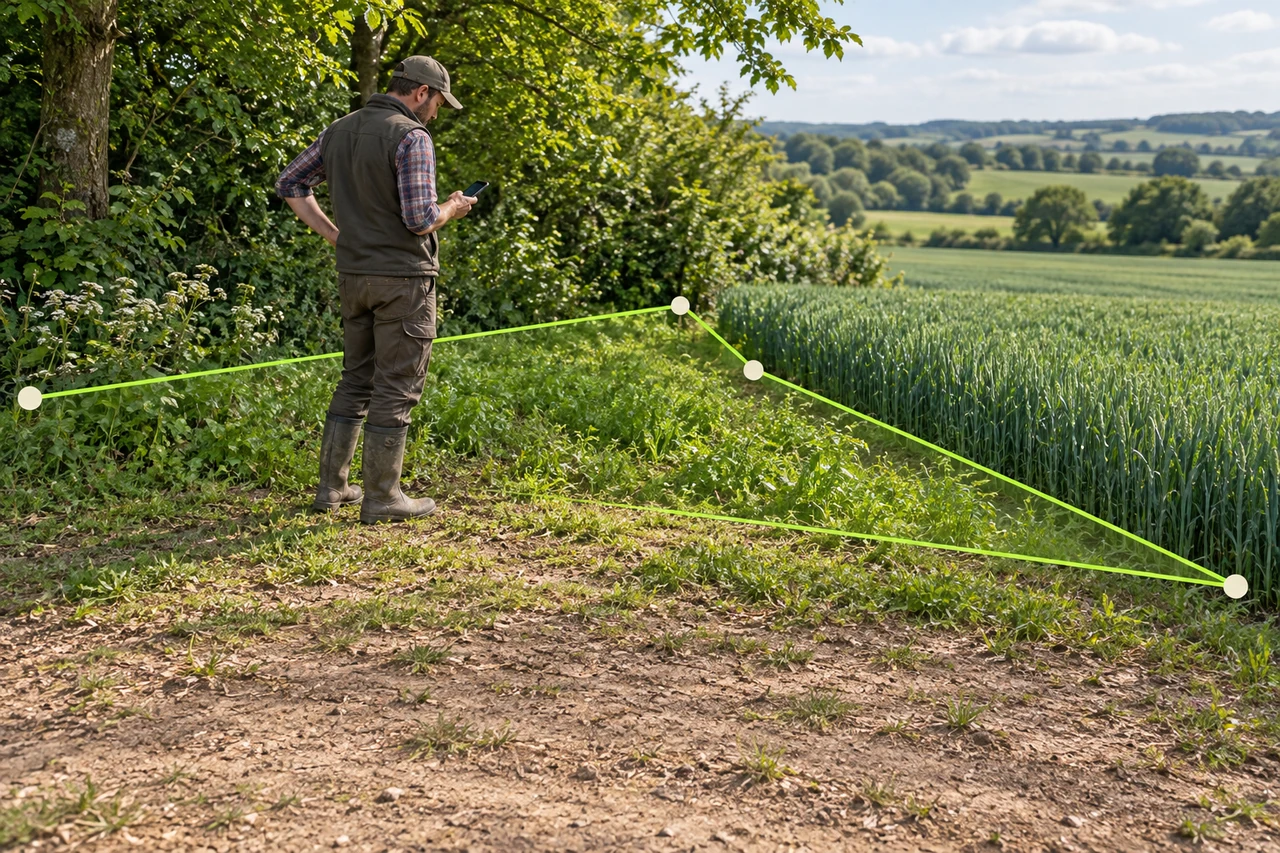
Check a point before sharing the boundary
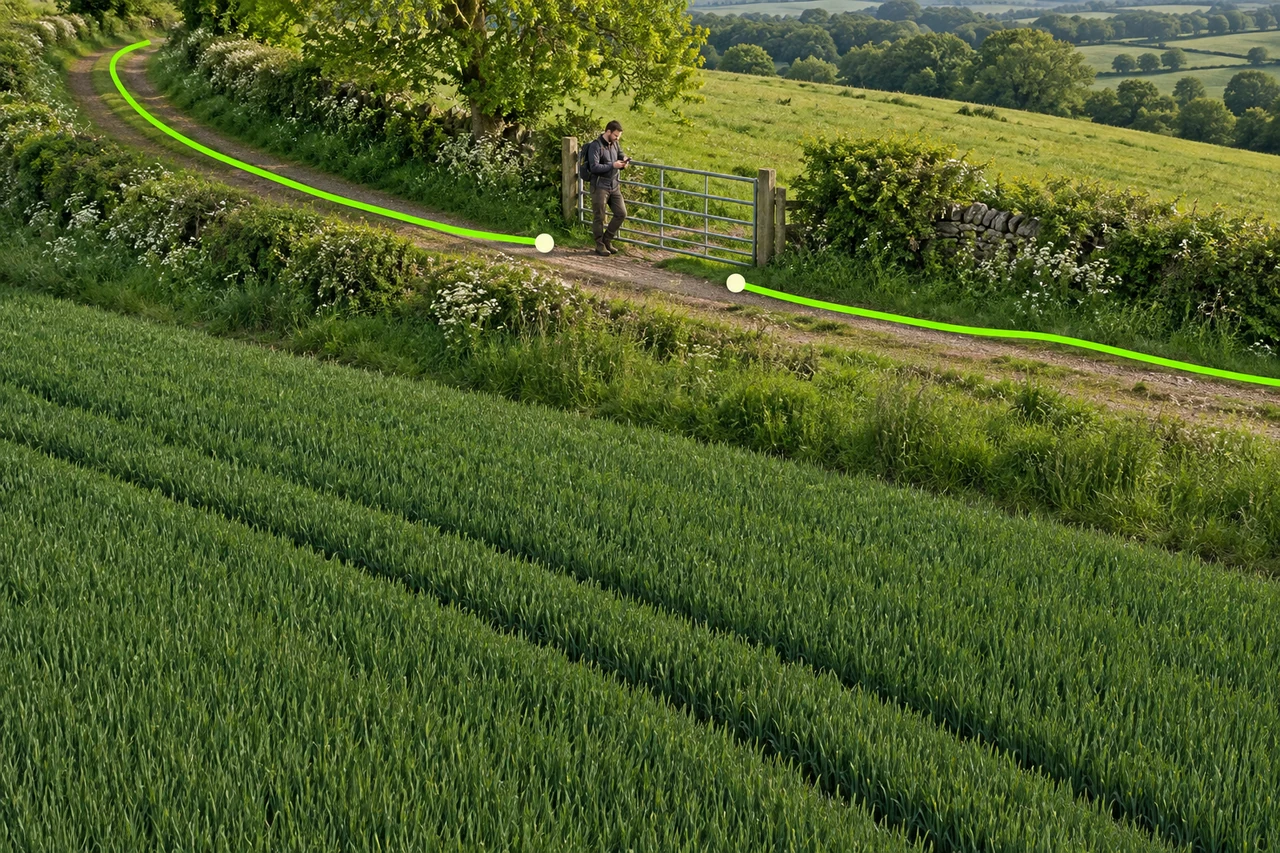
Resume the same GPS measurement when ready
Measured on site, ready for team review
Separate sites, organized together
Work zone and field evidence together
Give each teammate the right access
A clear view, with editing protected
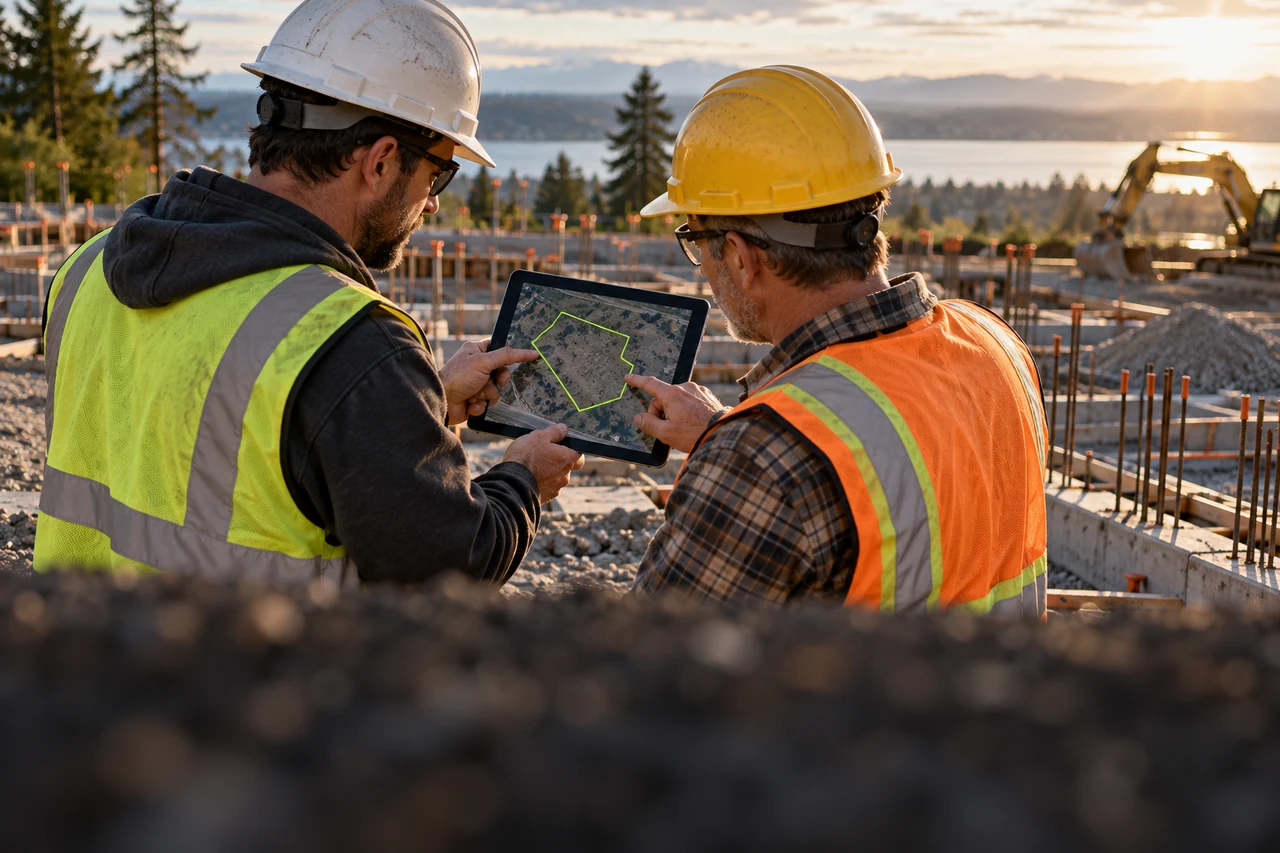
One measured reference for both teams
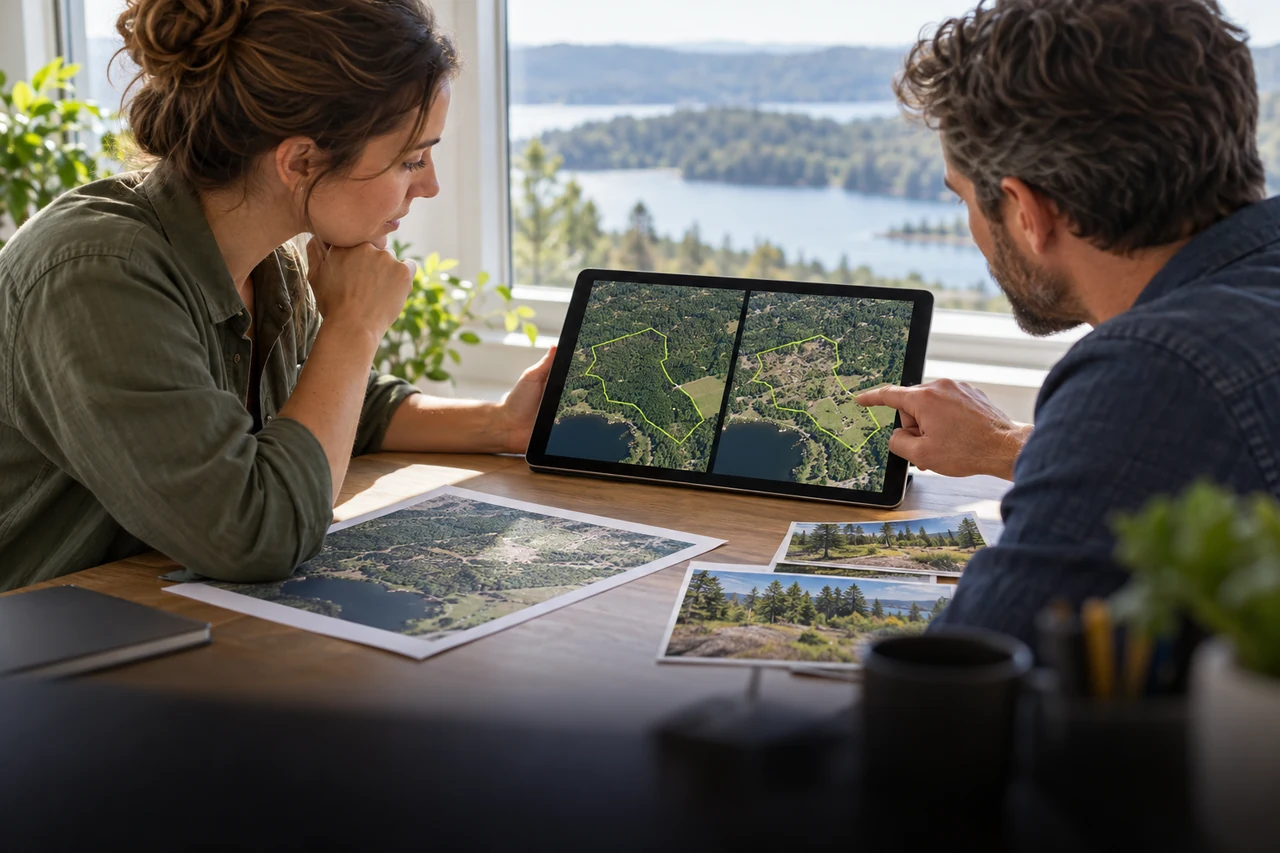
Check synced changes before choosing
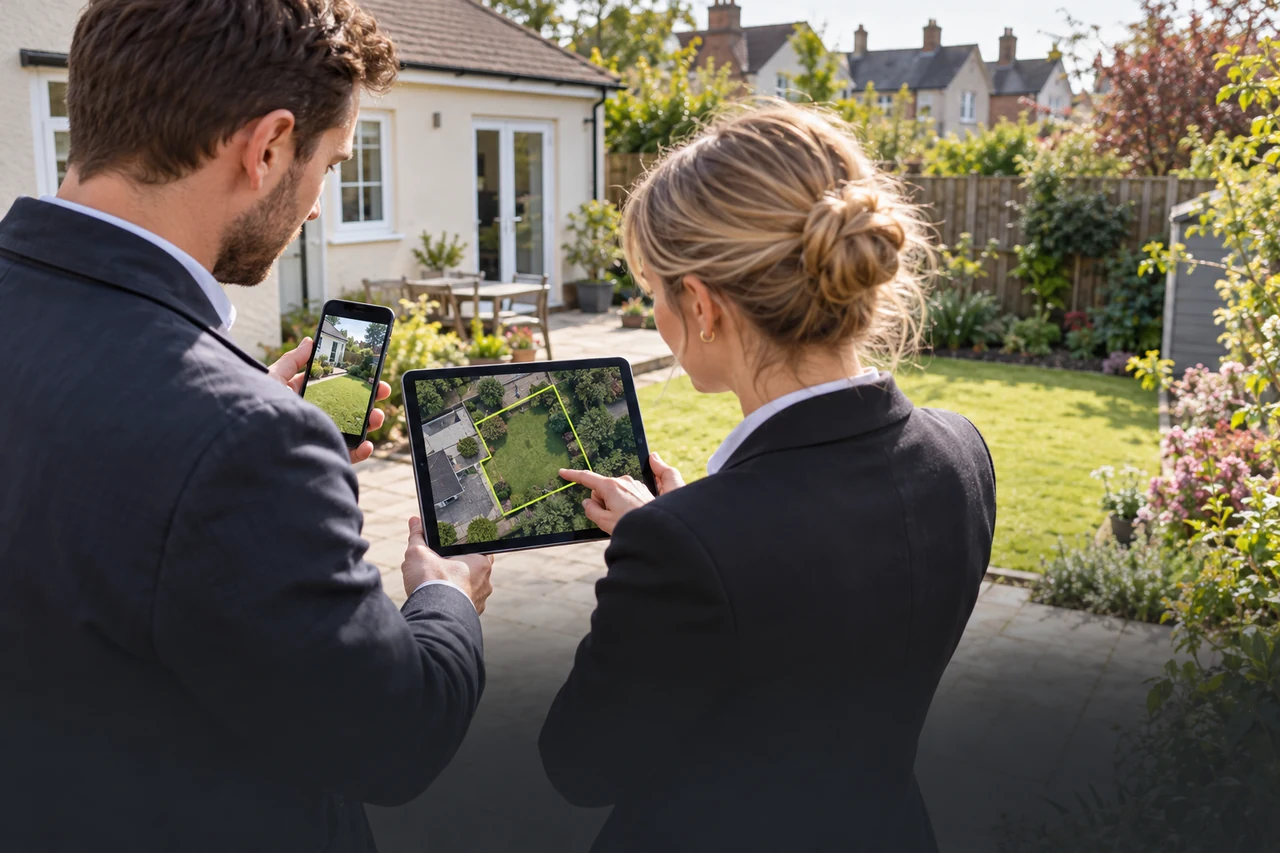
Measurements and visit evidence in one place
Outline the ground area to review
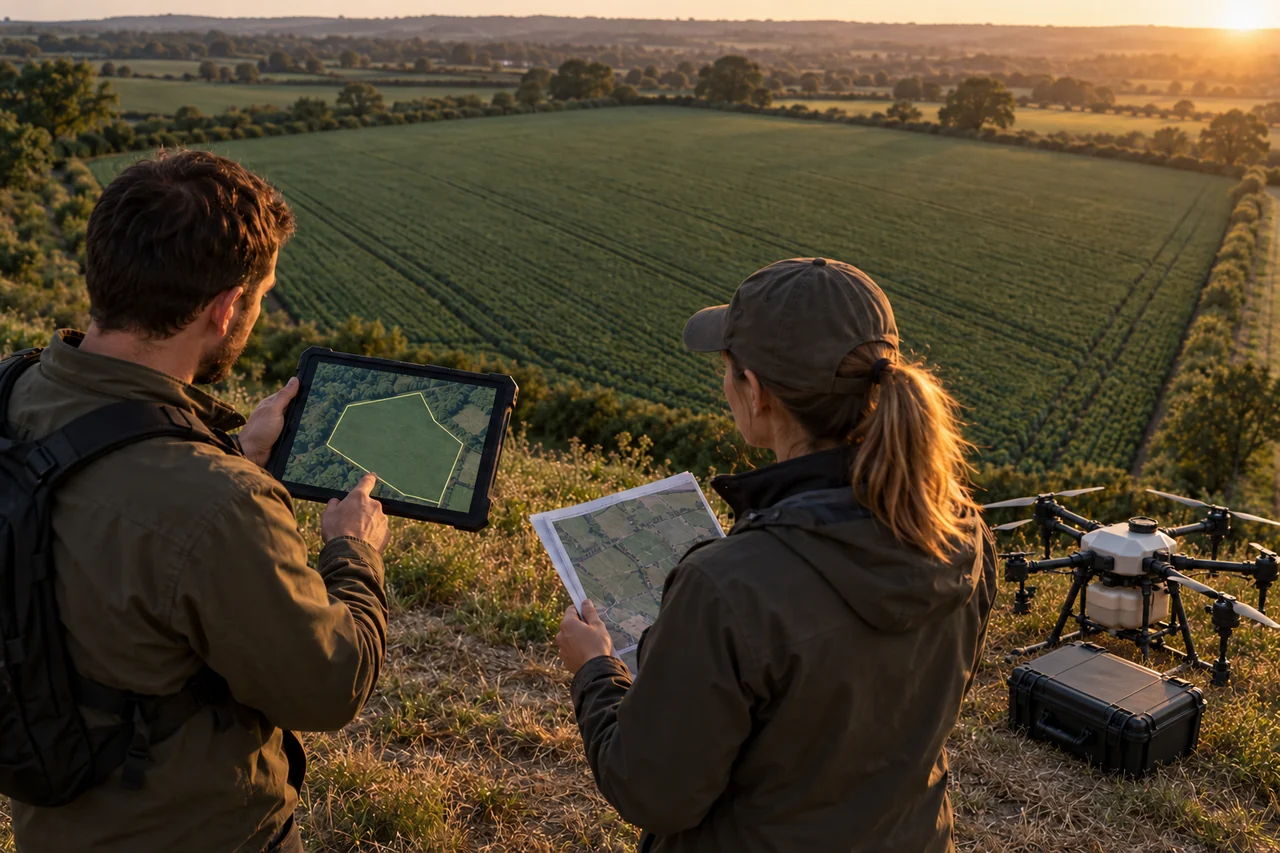
Export a simple field outline
Trace the route to review
Organize references before field work
Keep each location distinct
Move a measured outline between tools
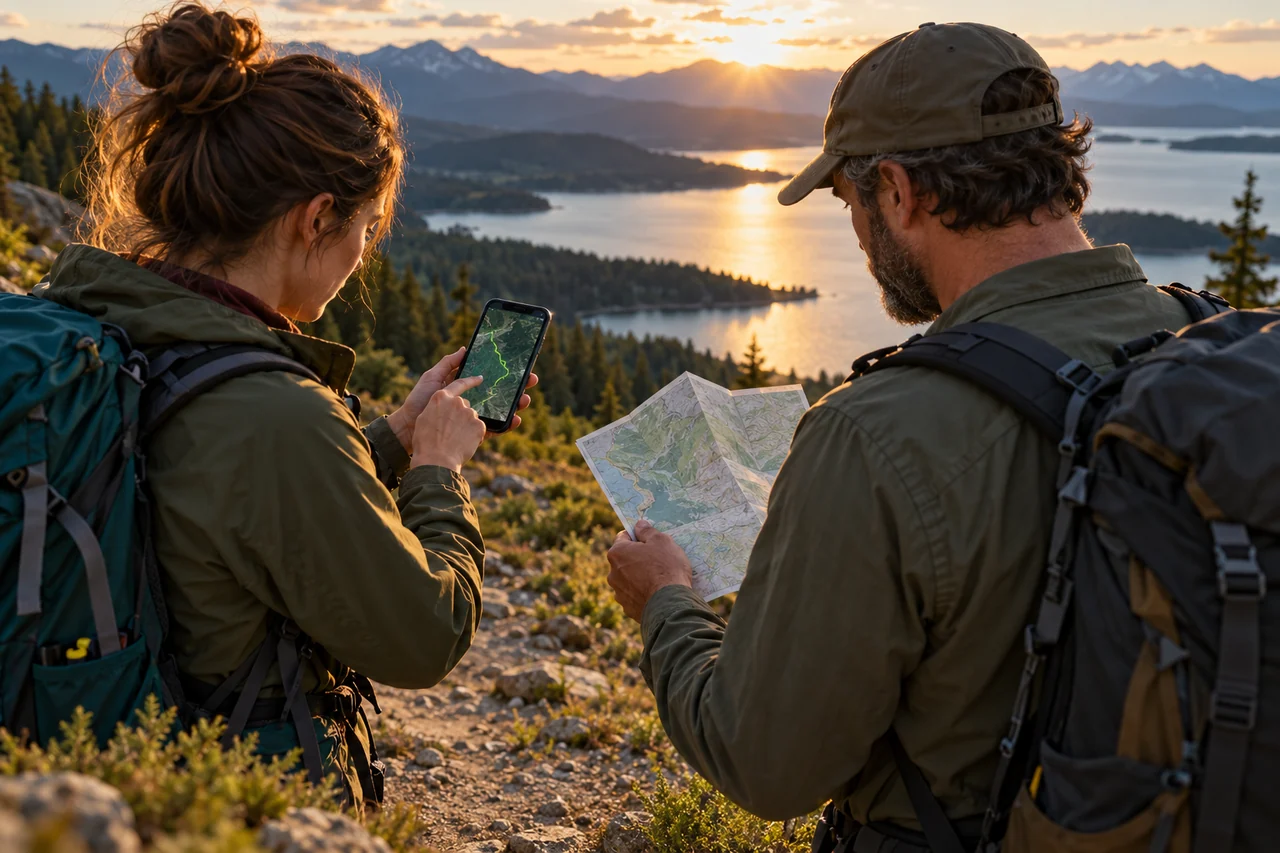
Check the route after transfer
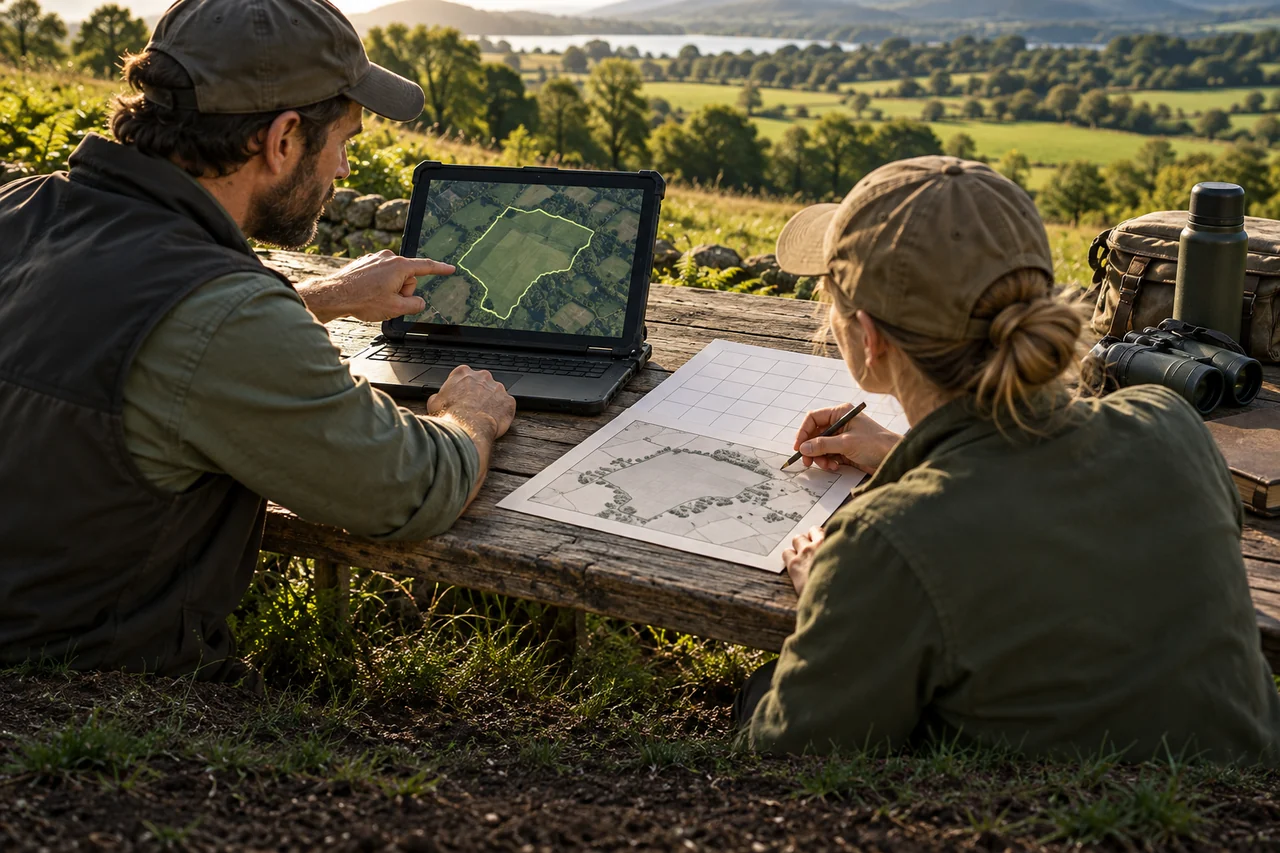
Check units before estimating work
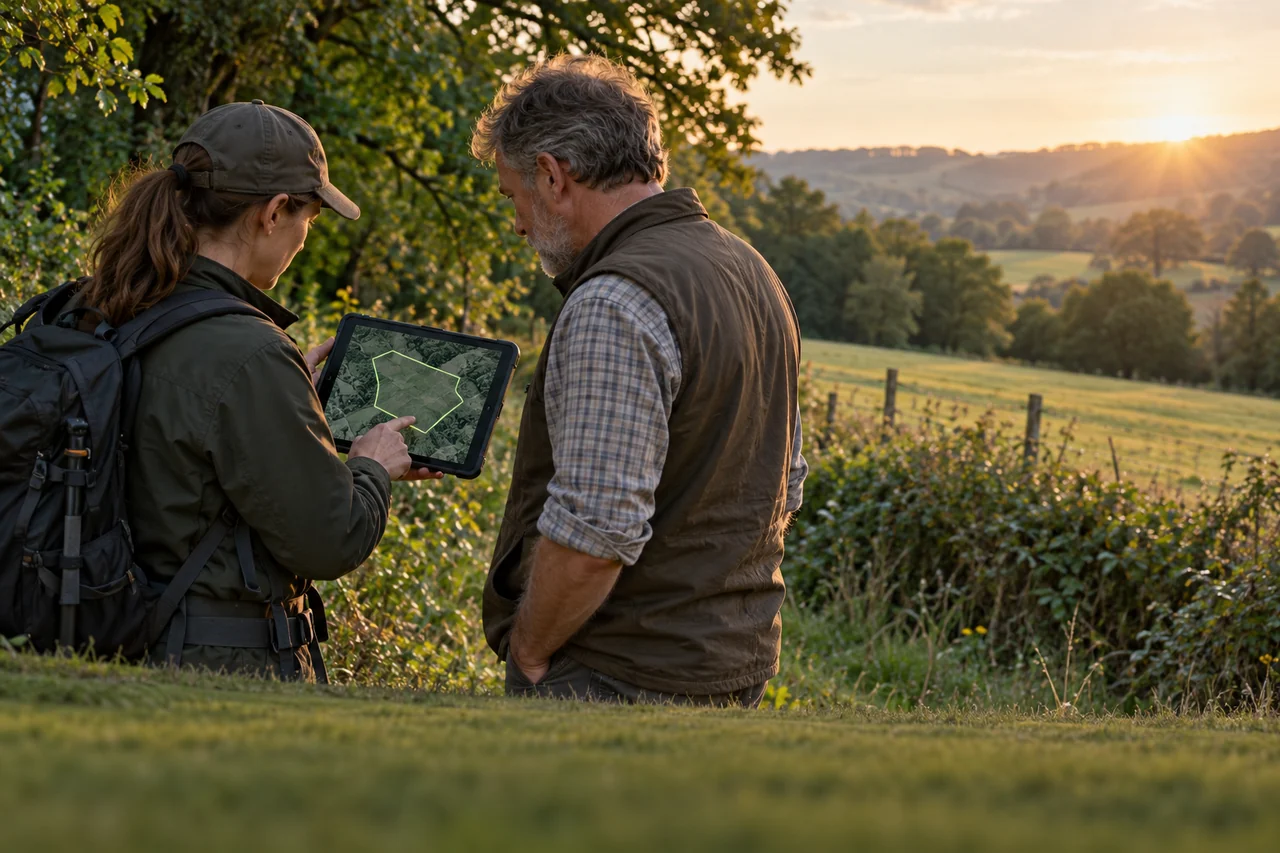
Review imported geometry before use
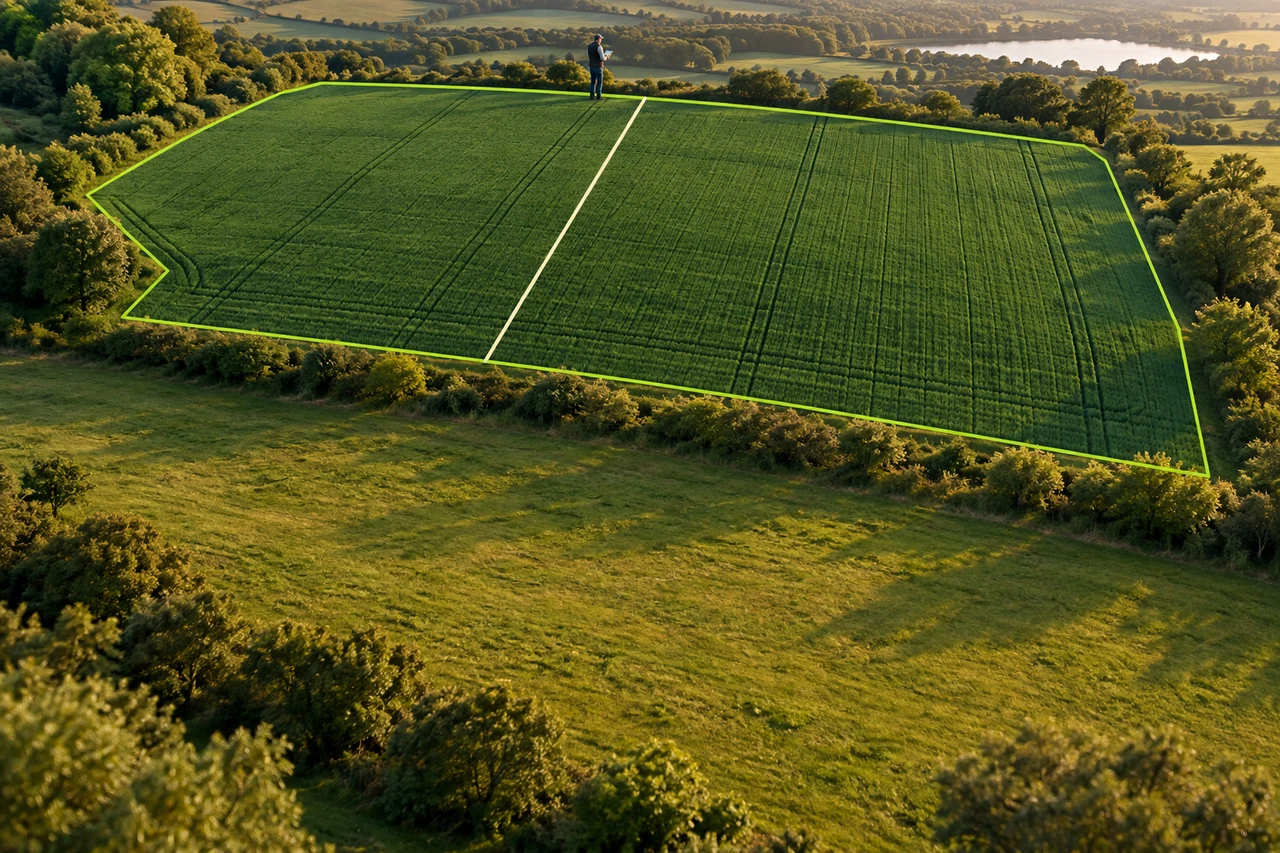
Create smaller polygon sections by hand
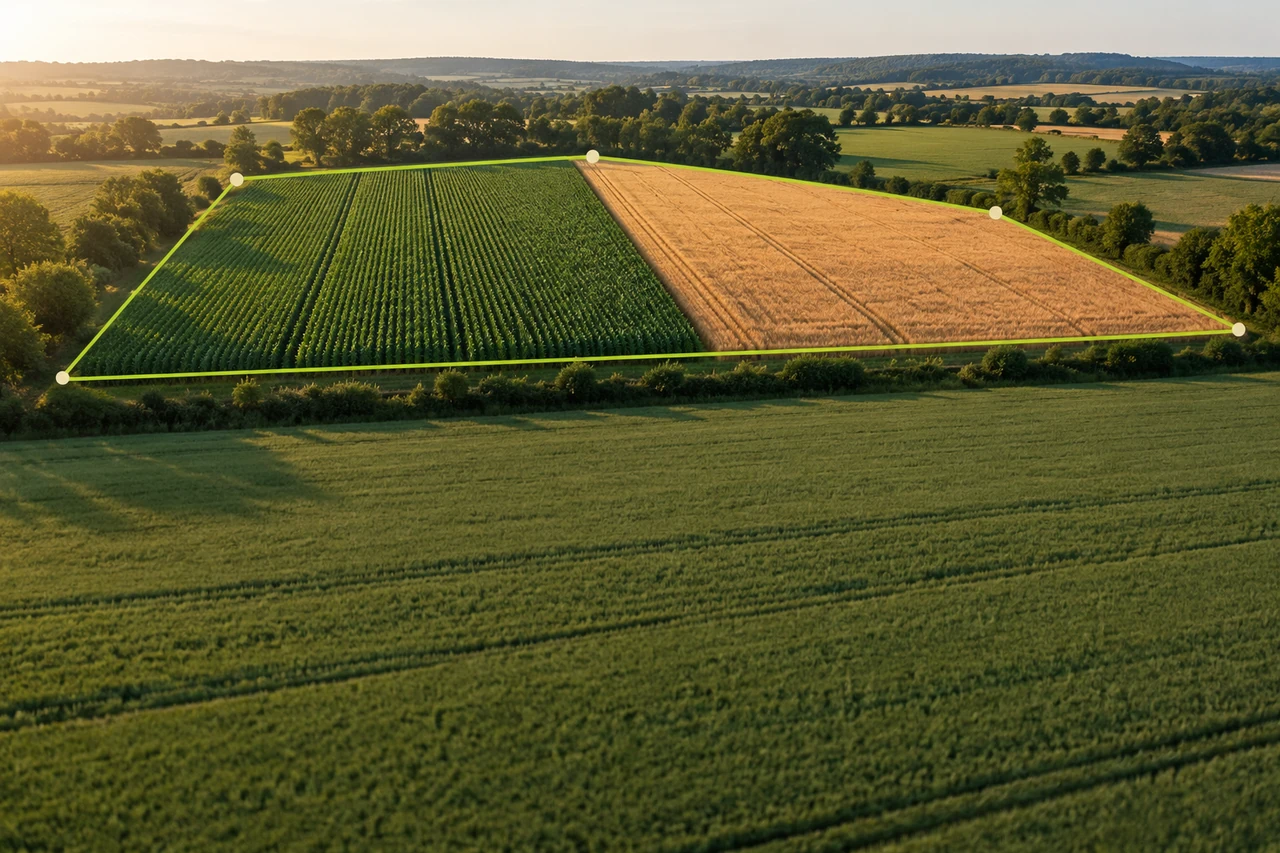
Review one outer boundary after merge
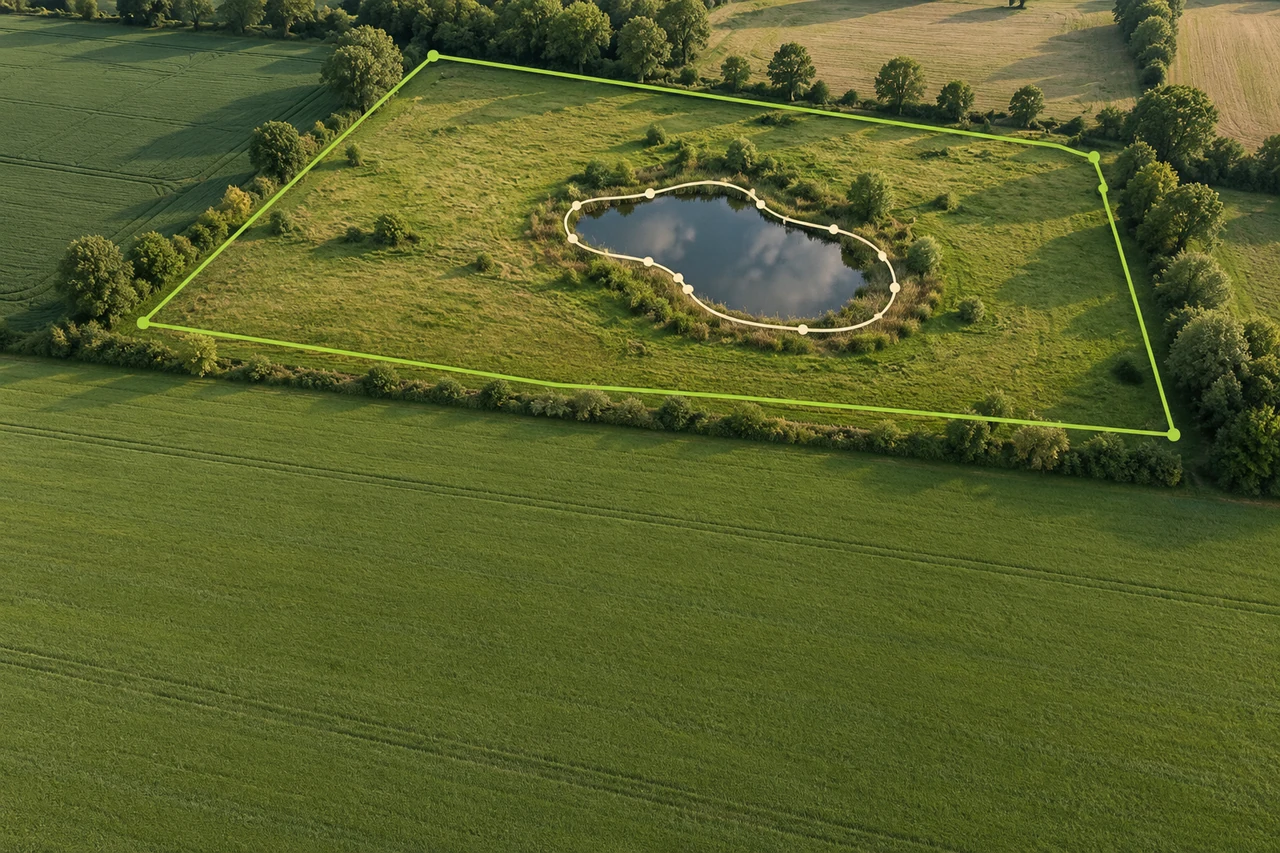
Show a pond as a hole in the field polygon
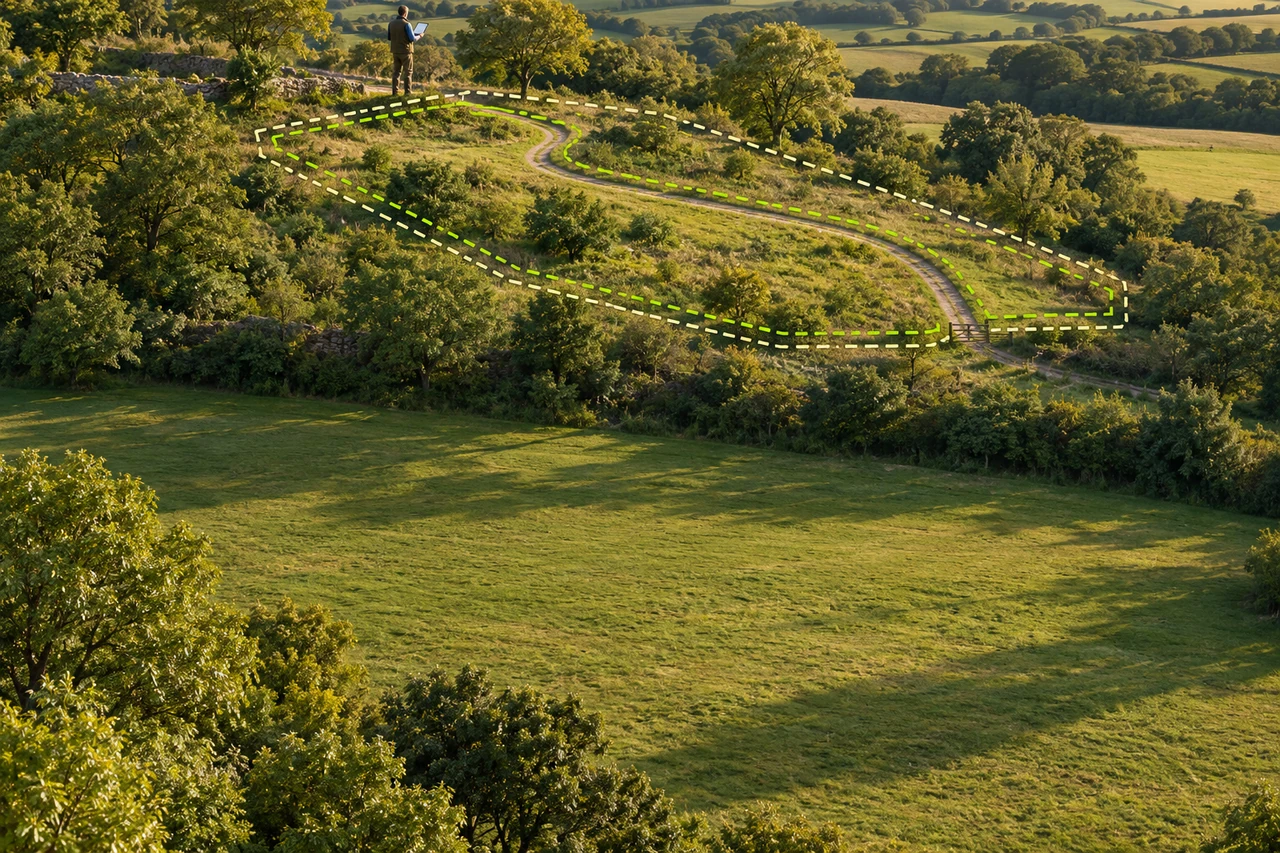
Compare copied boundaries side by side
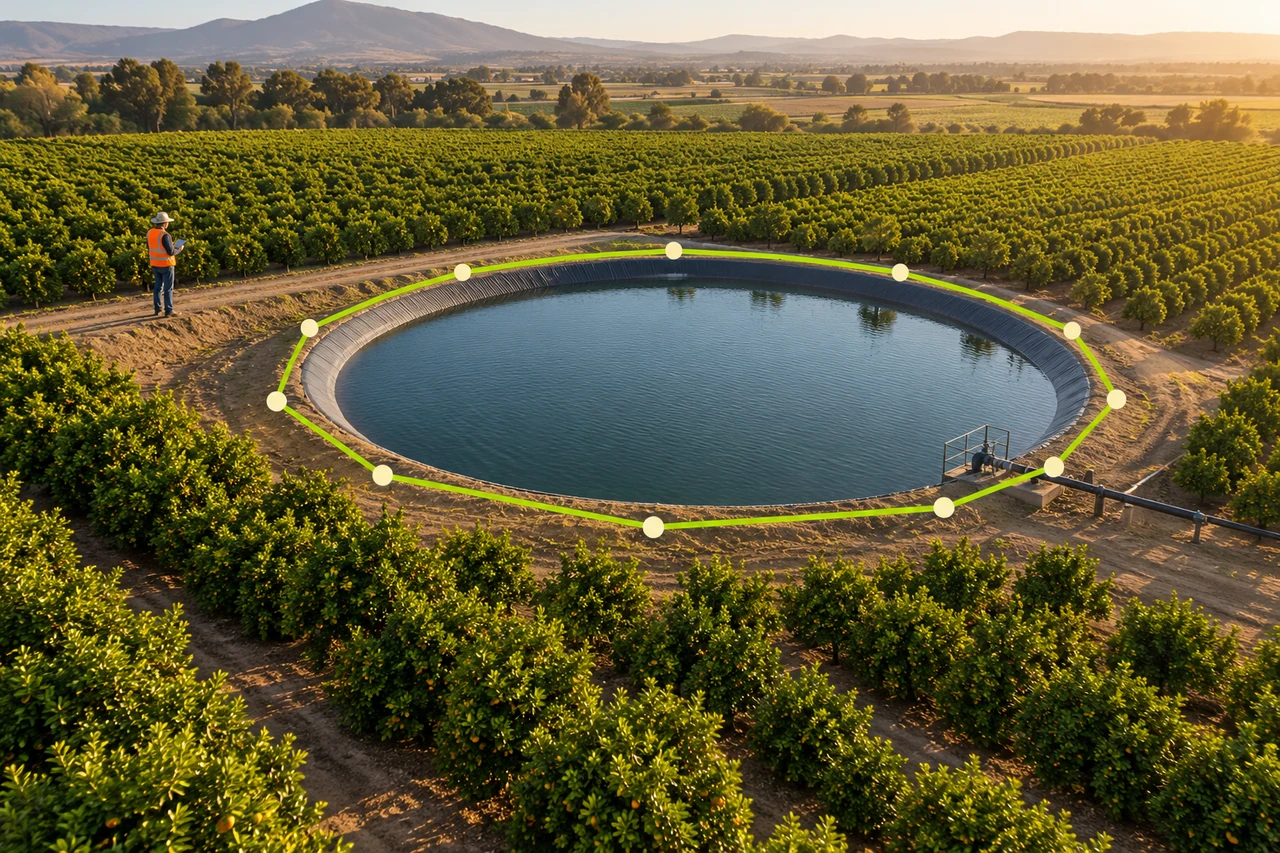
Use an approximate polygon for the next operation
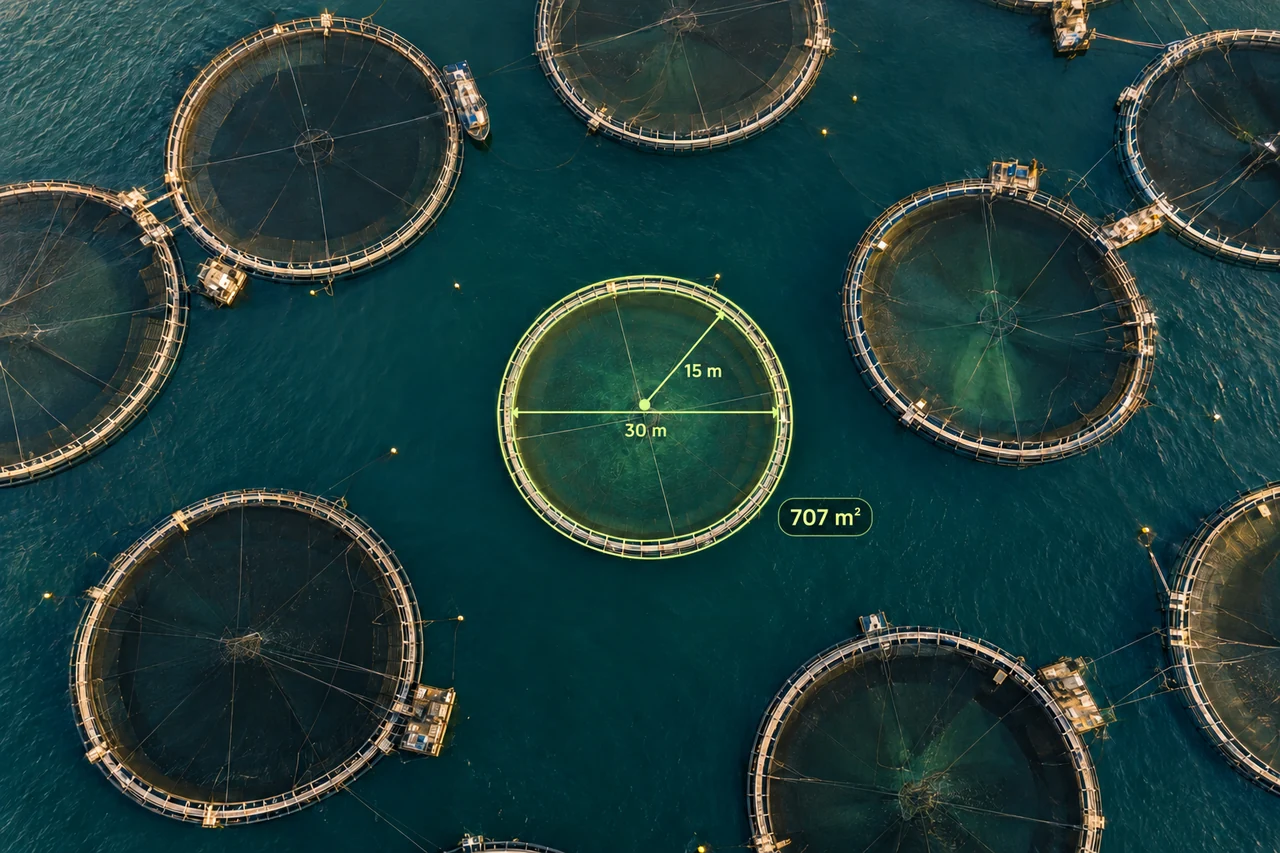

Estimate a cage’s surface circle and spacing to its neighbor.
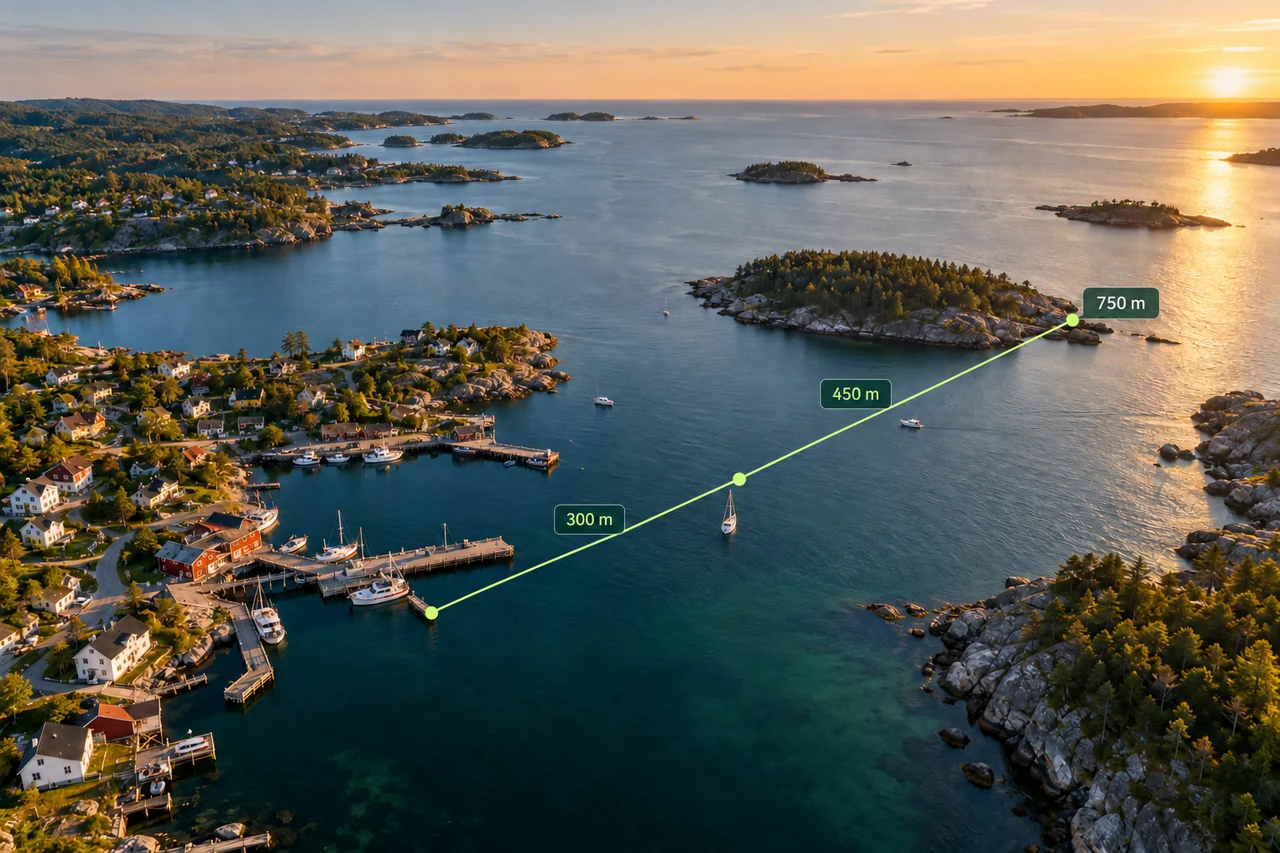

Compare approximate distances between planned stops.
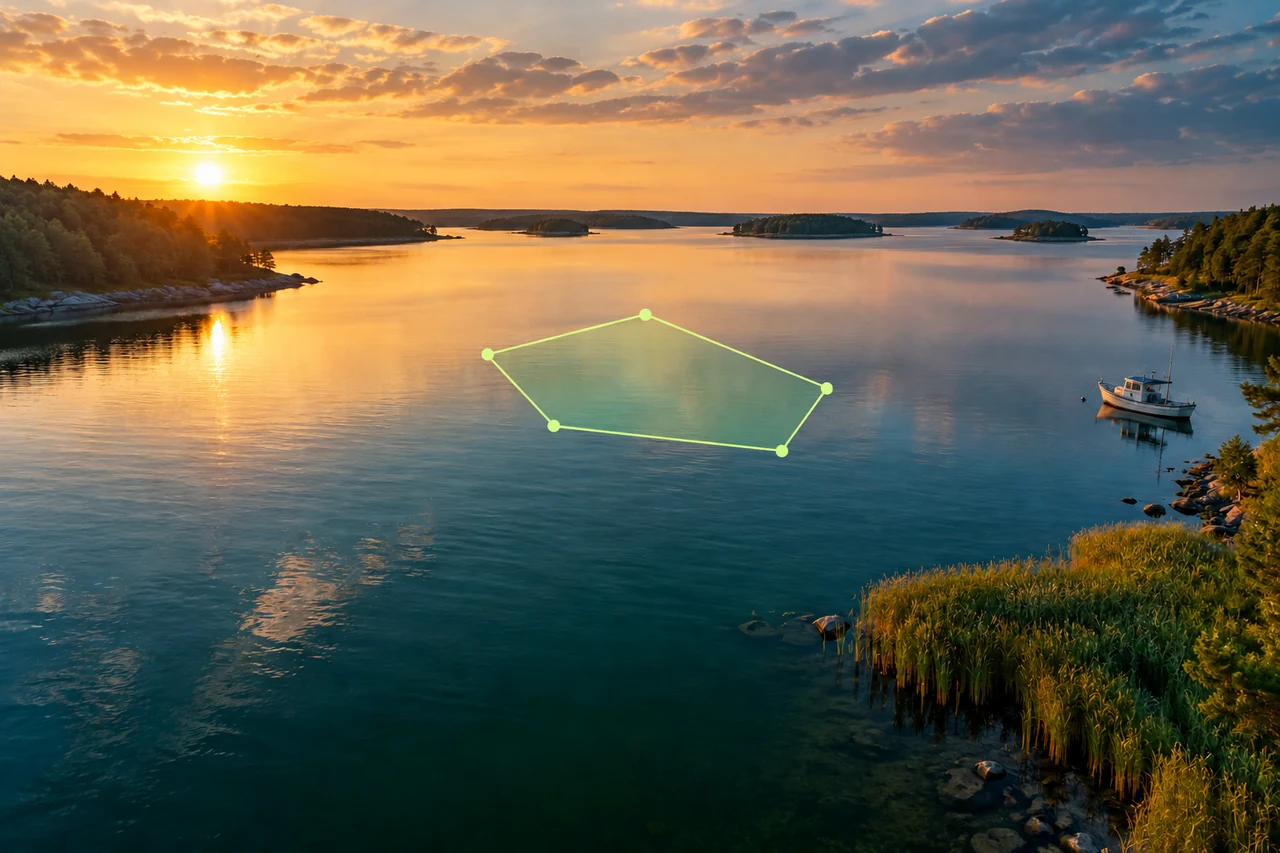
Outline a custom area for a trip plan.
Estimate the worked footprint and exclude untouched ground.
Compare the separate blocks scheduled for work.
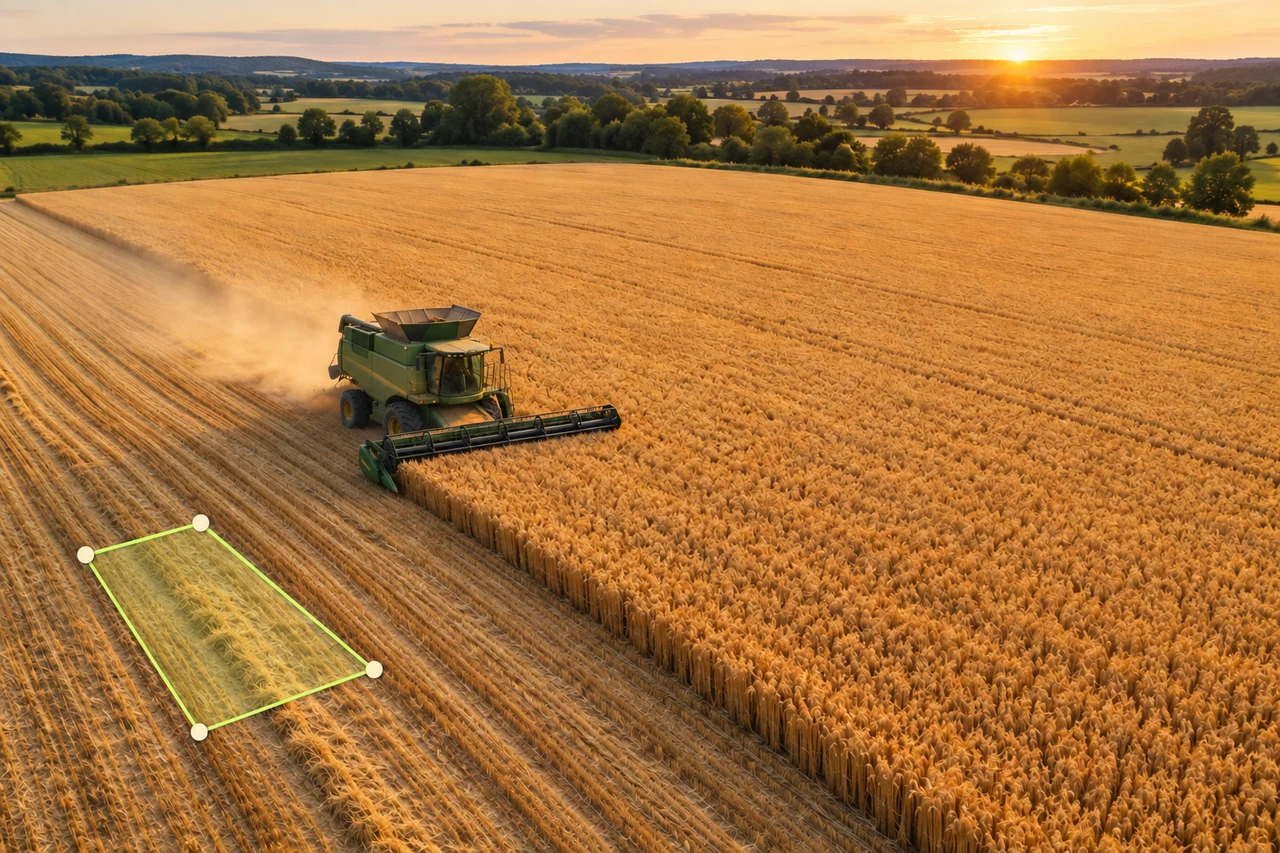
Add up the blocks included in a field job.
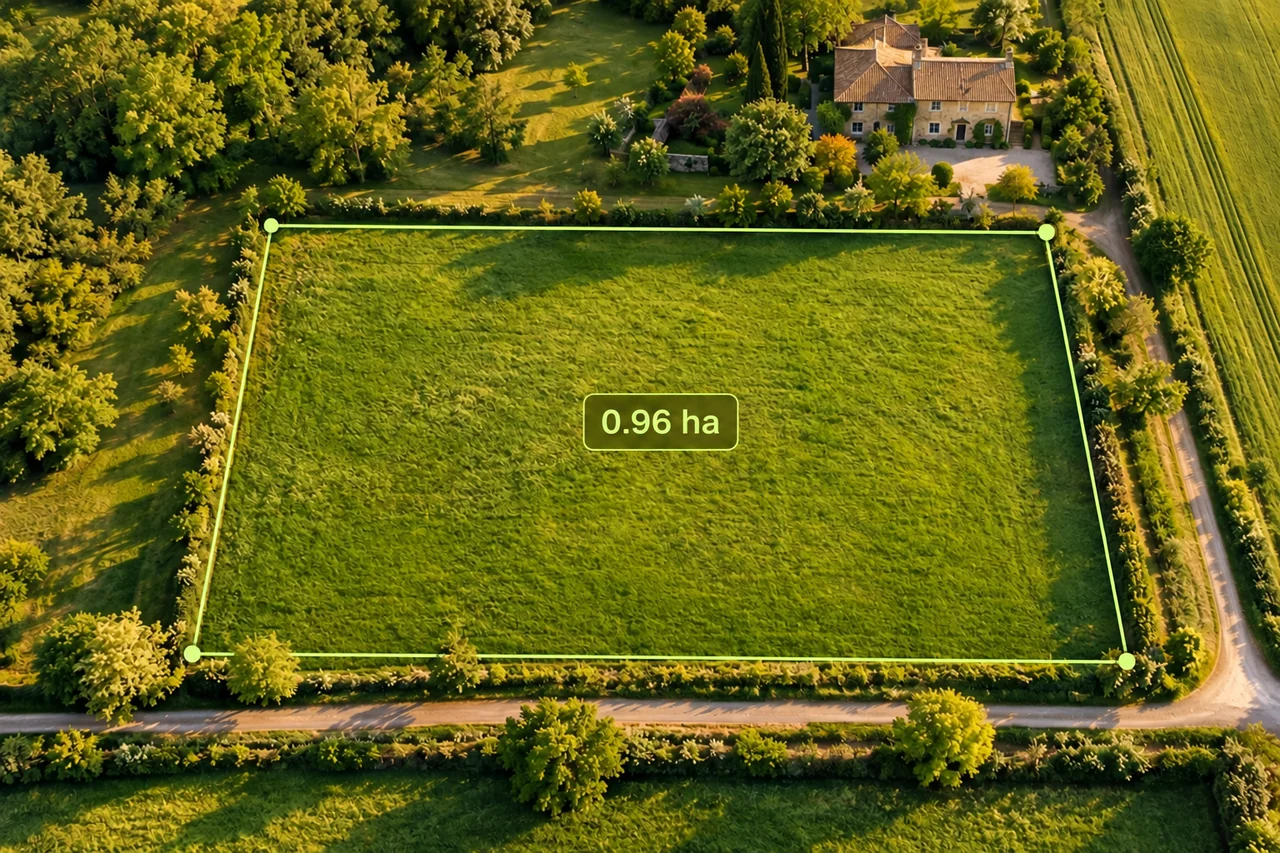
Compare a rough map estimate with a lease discussion.
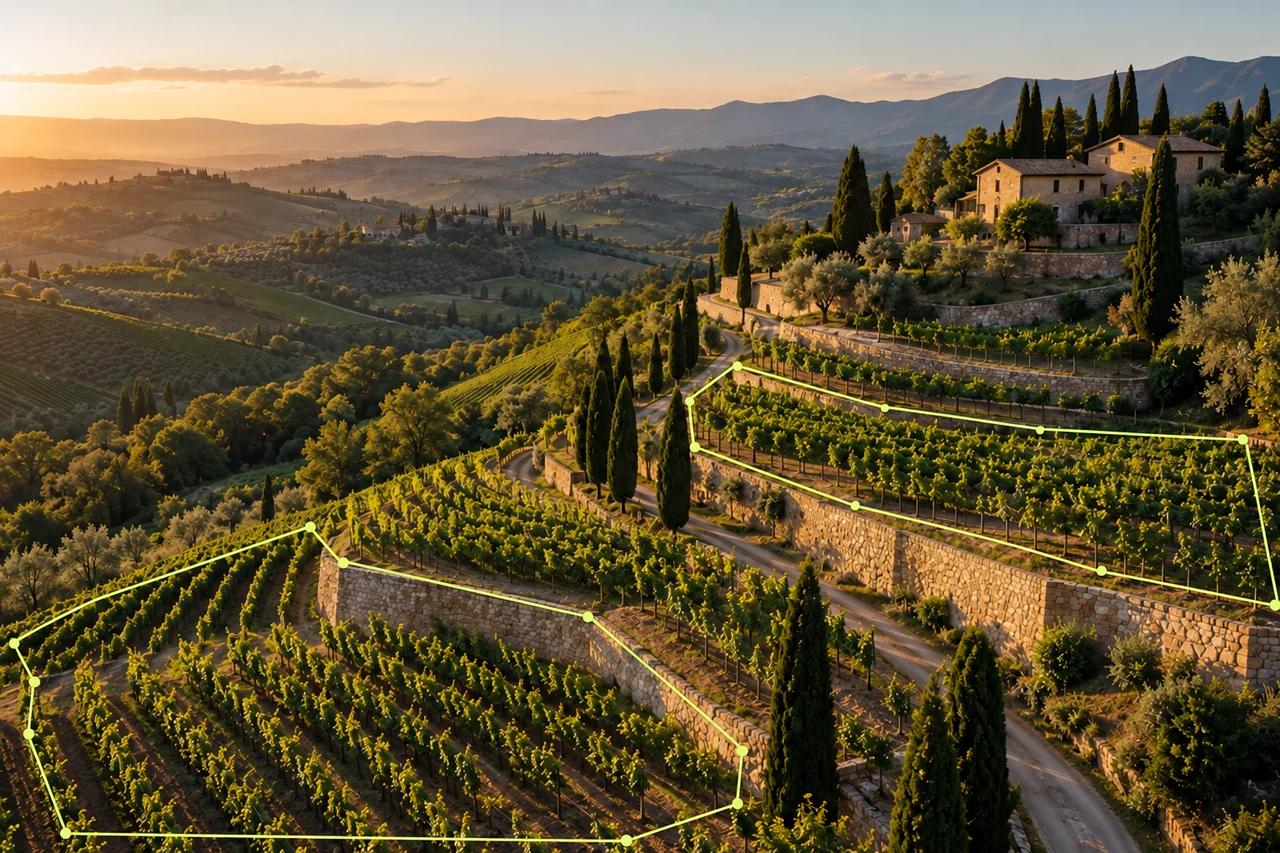
Compare separate crop blocks before planning a workday.
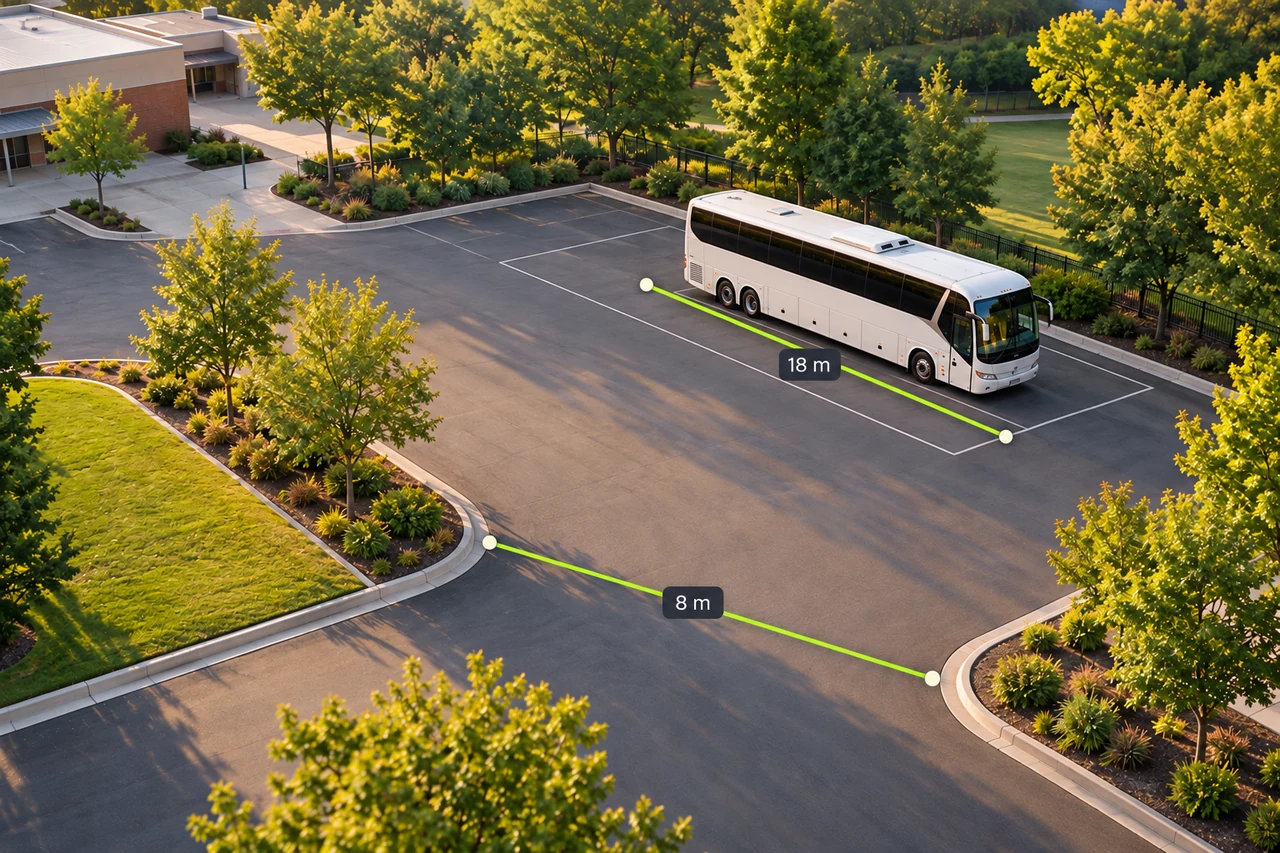
Check visible entrance width and lot footprint before a visit.
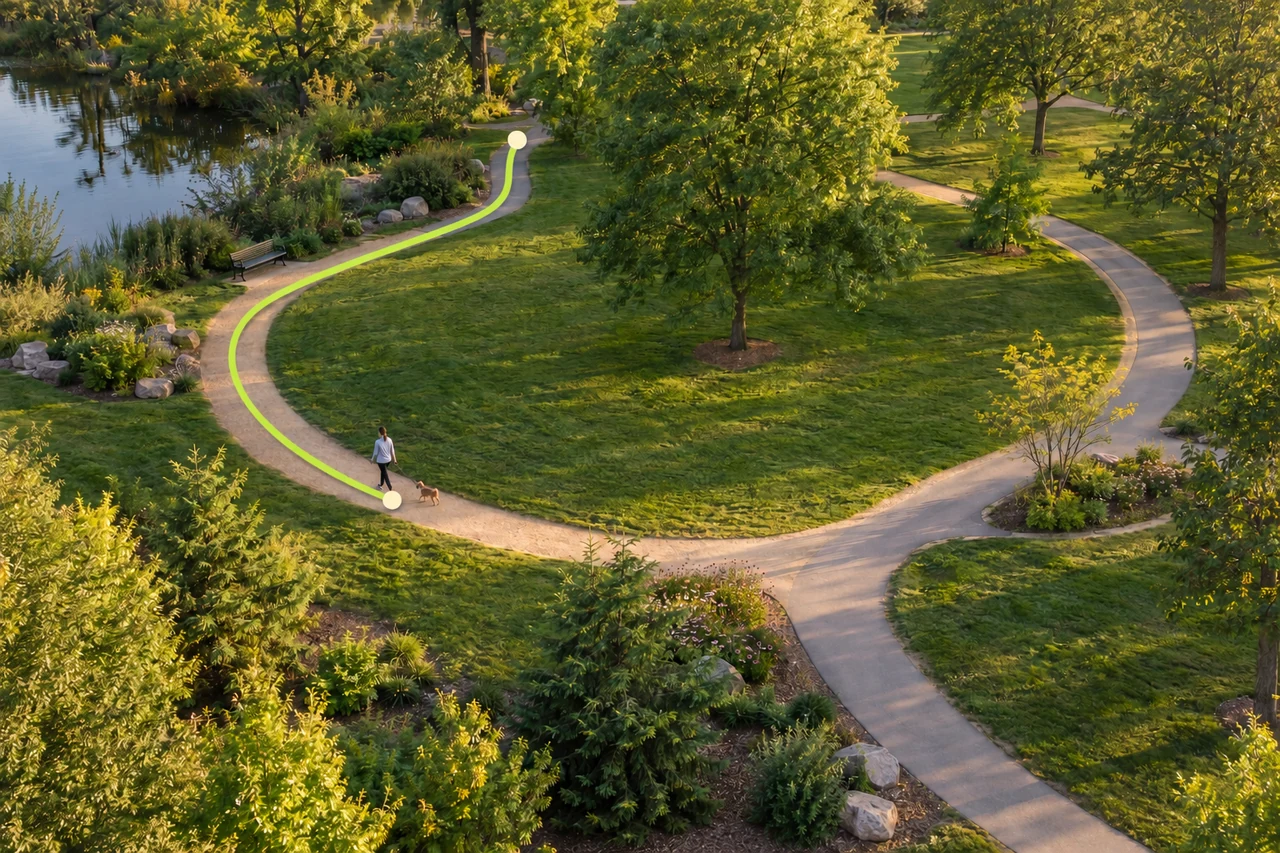

Estimate the distance of a completed walk.
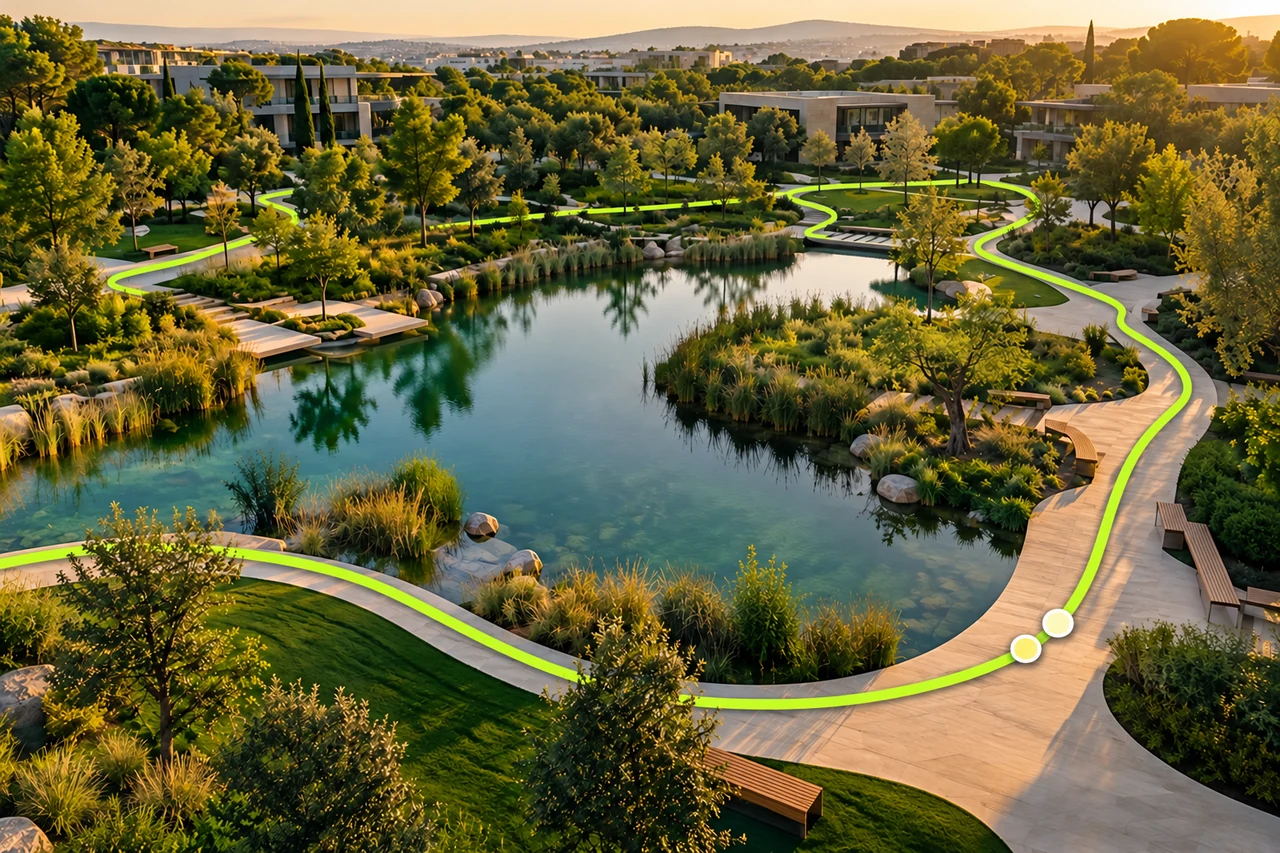
Compare hand-drawn routes with a distance goal.
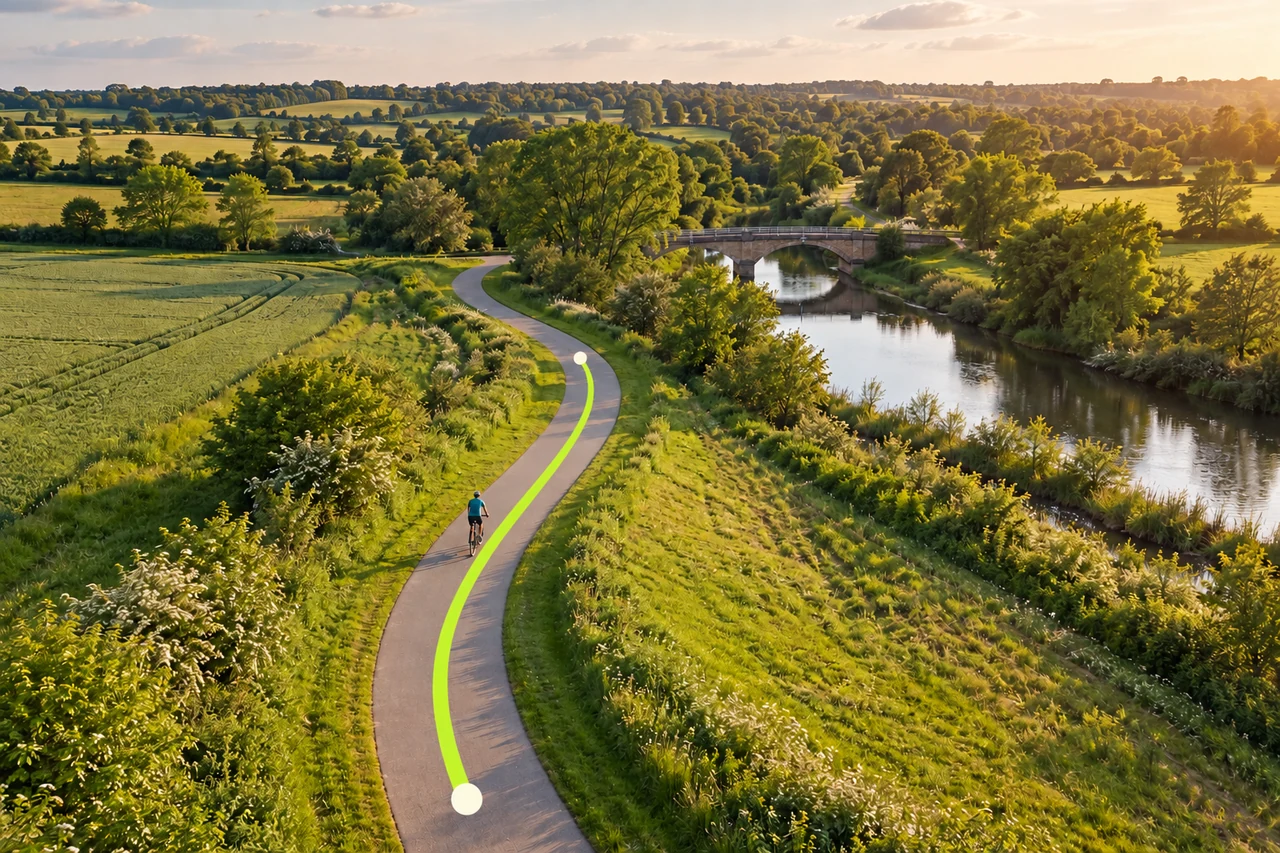
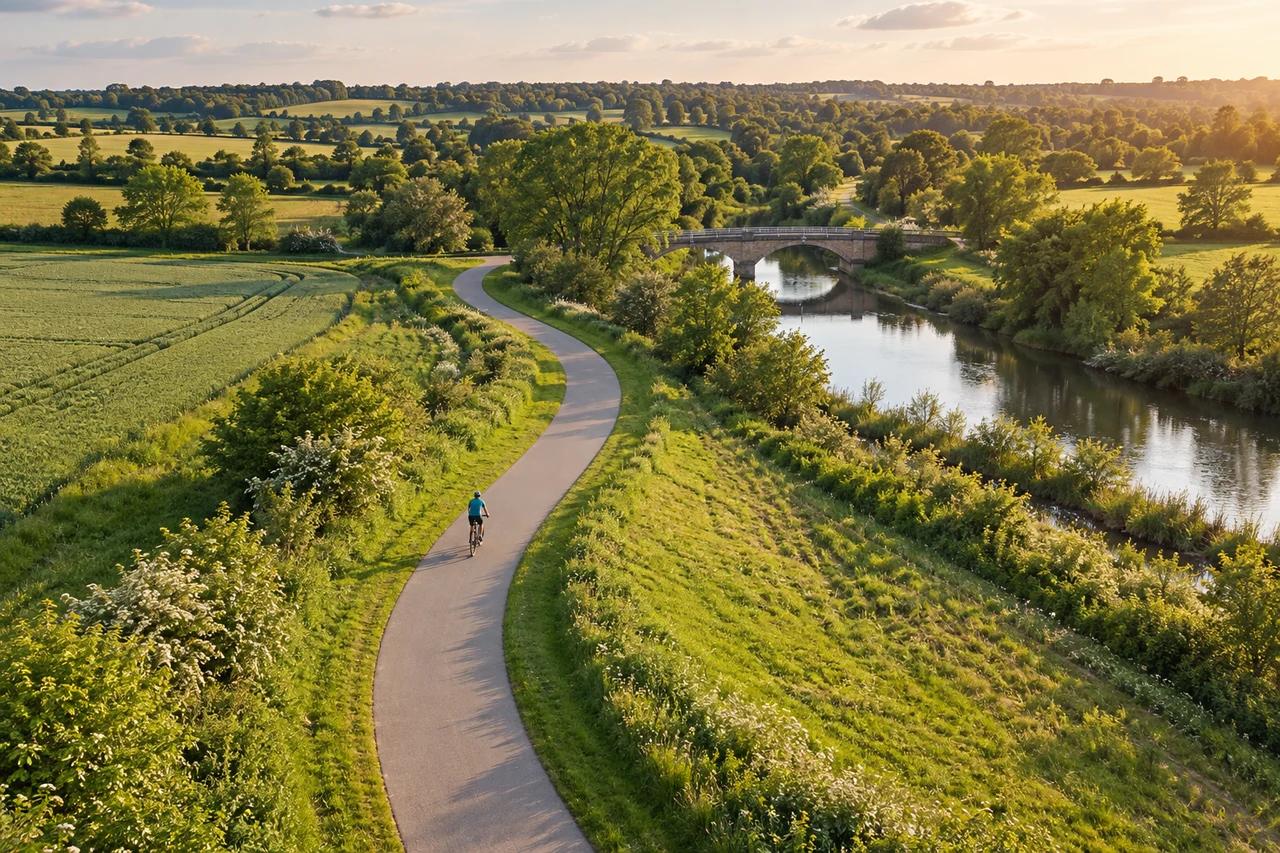
Compare route length with a personal distance reading.
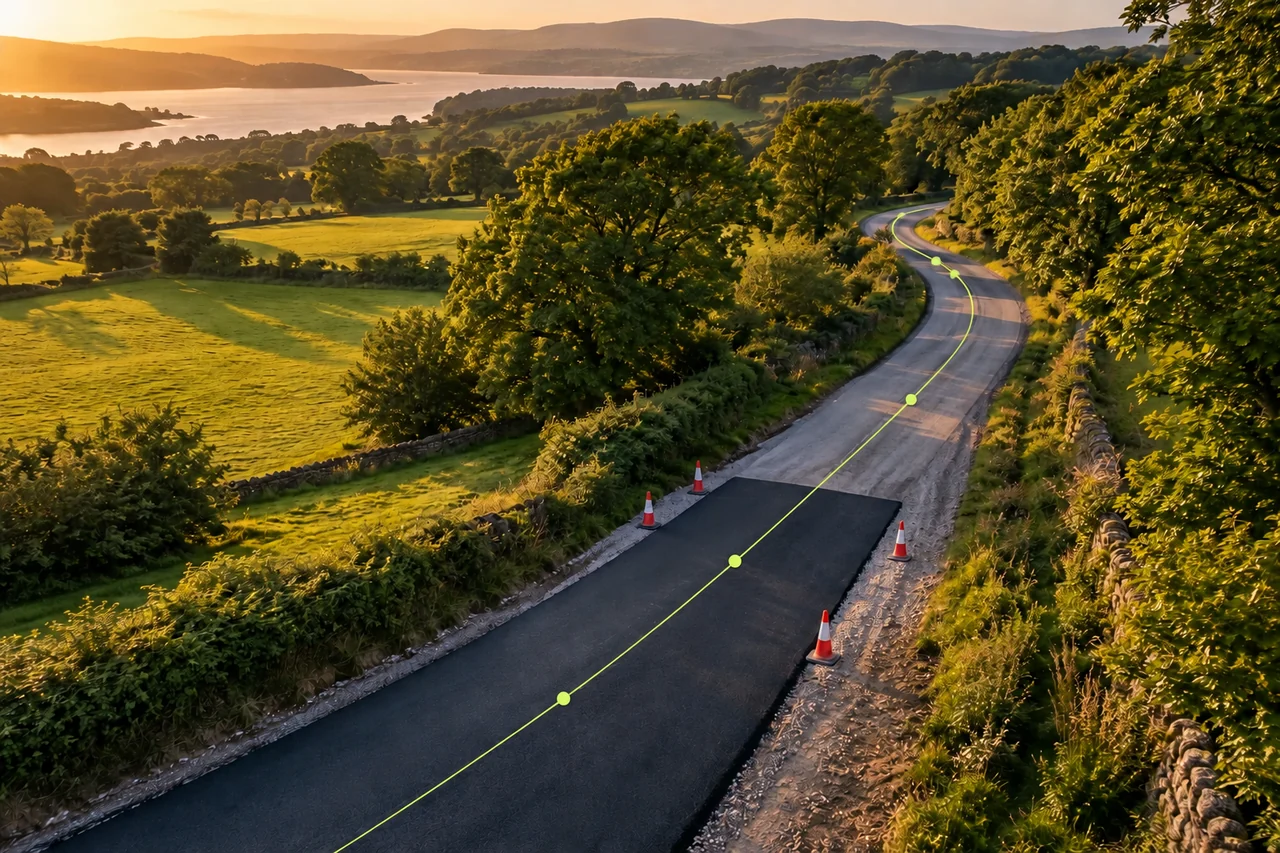
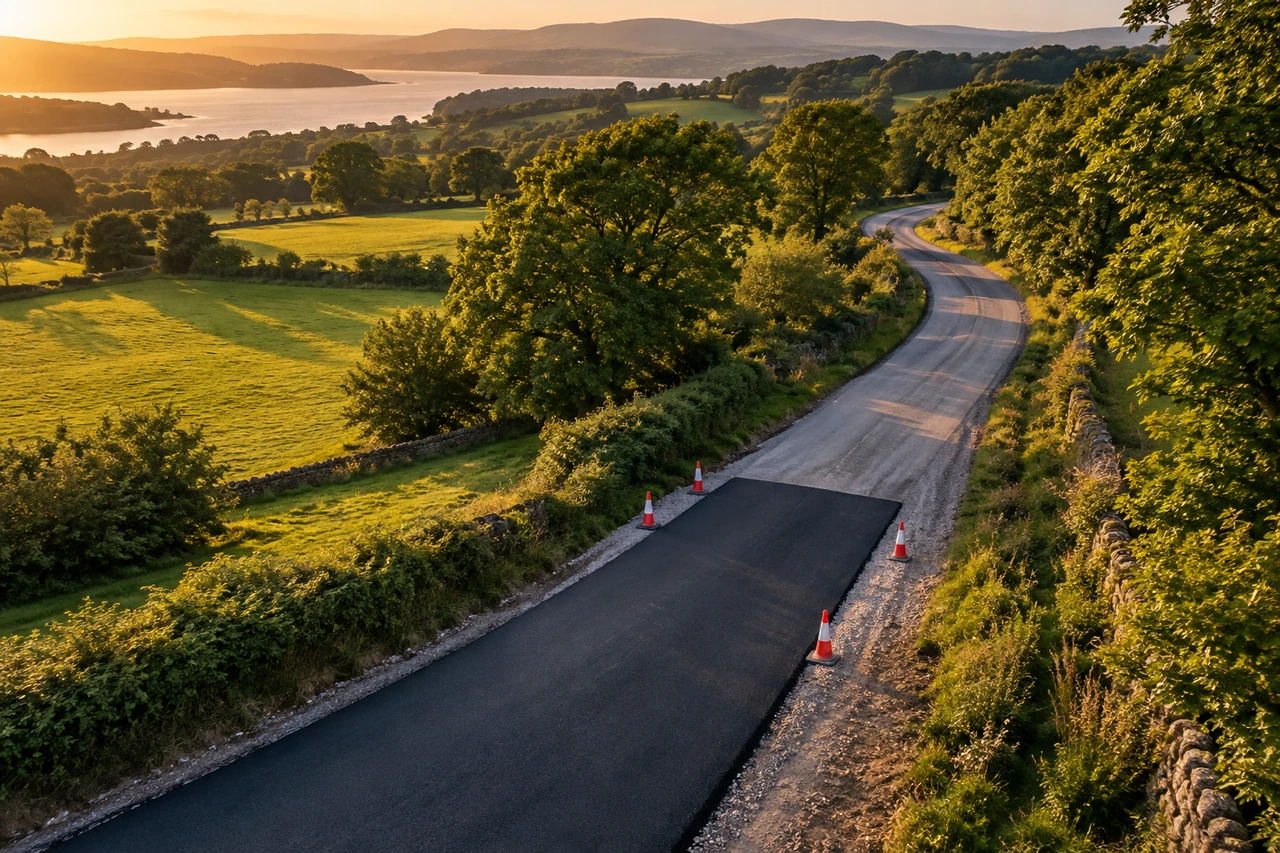
Mark work locations manually along a measured route.
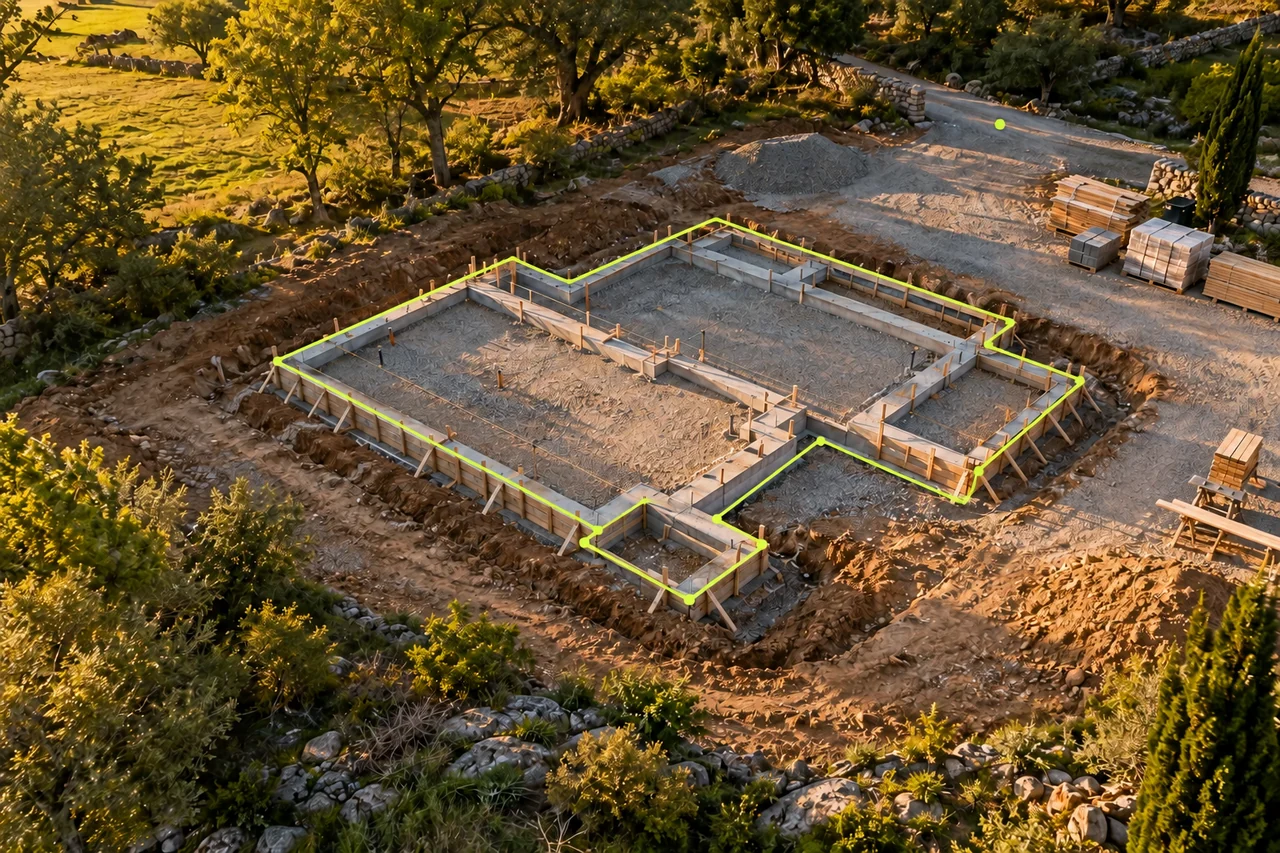
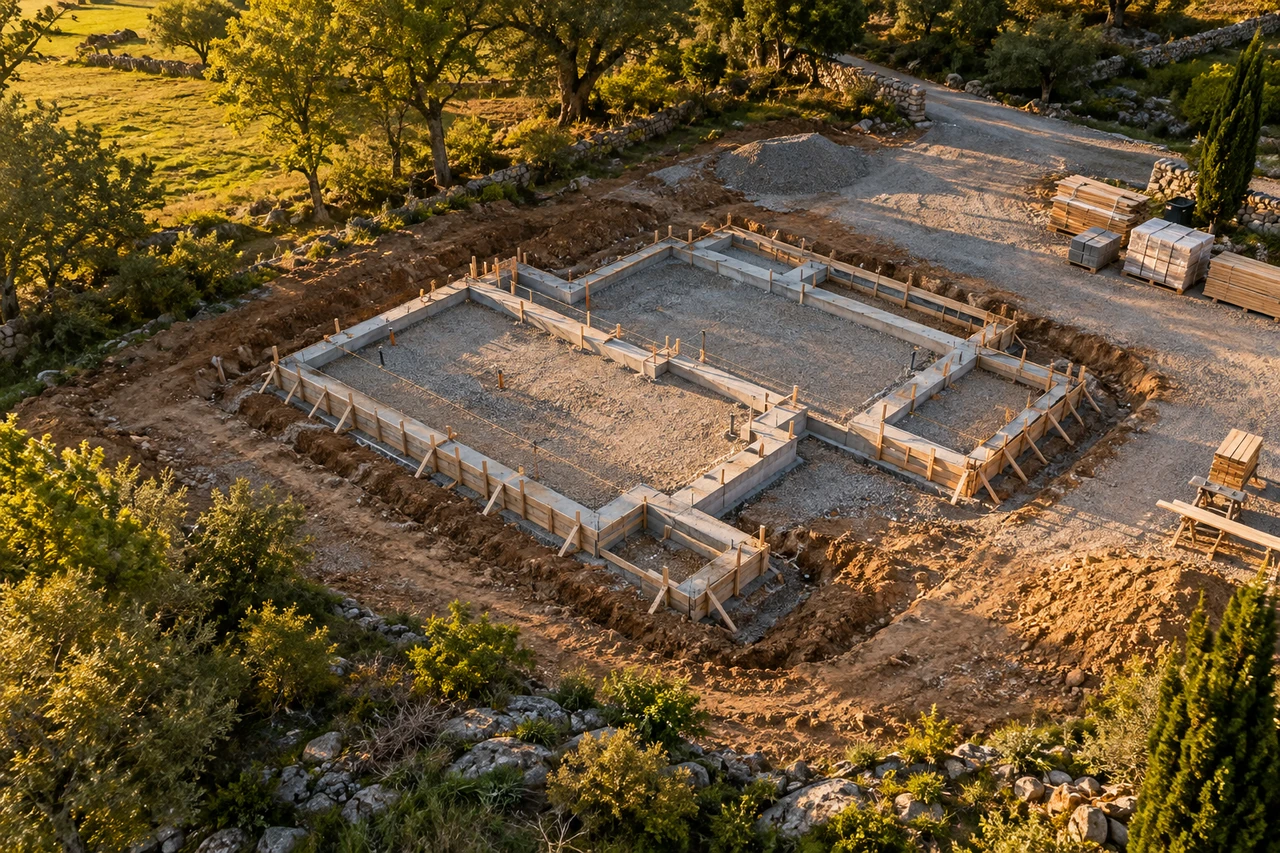
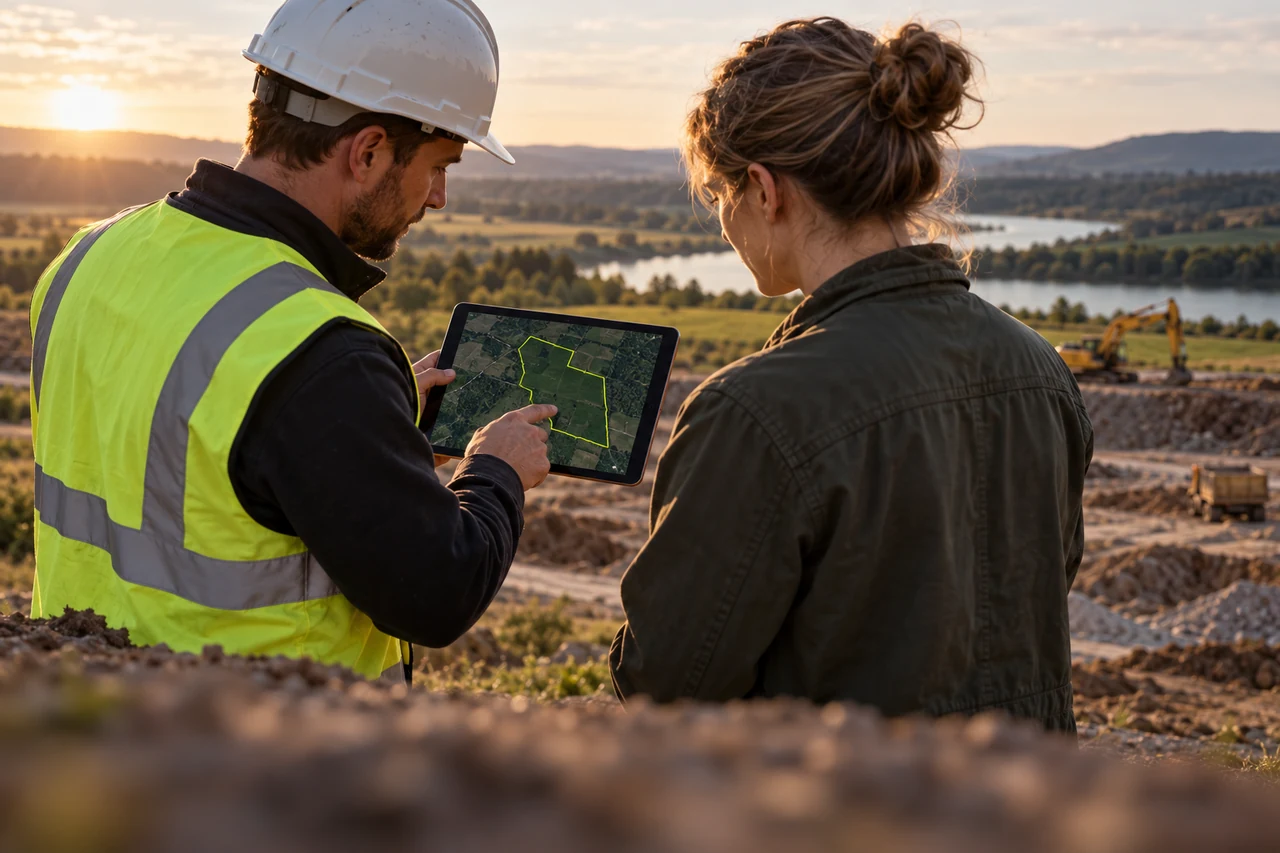
Preview a work-zone footprint before a site visit.
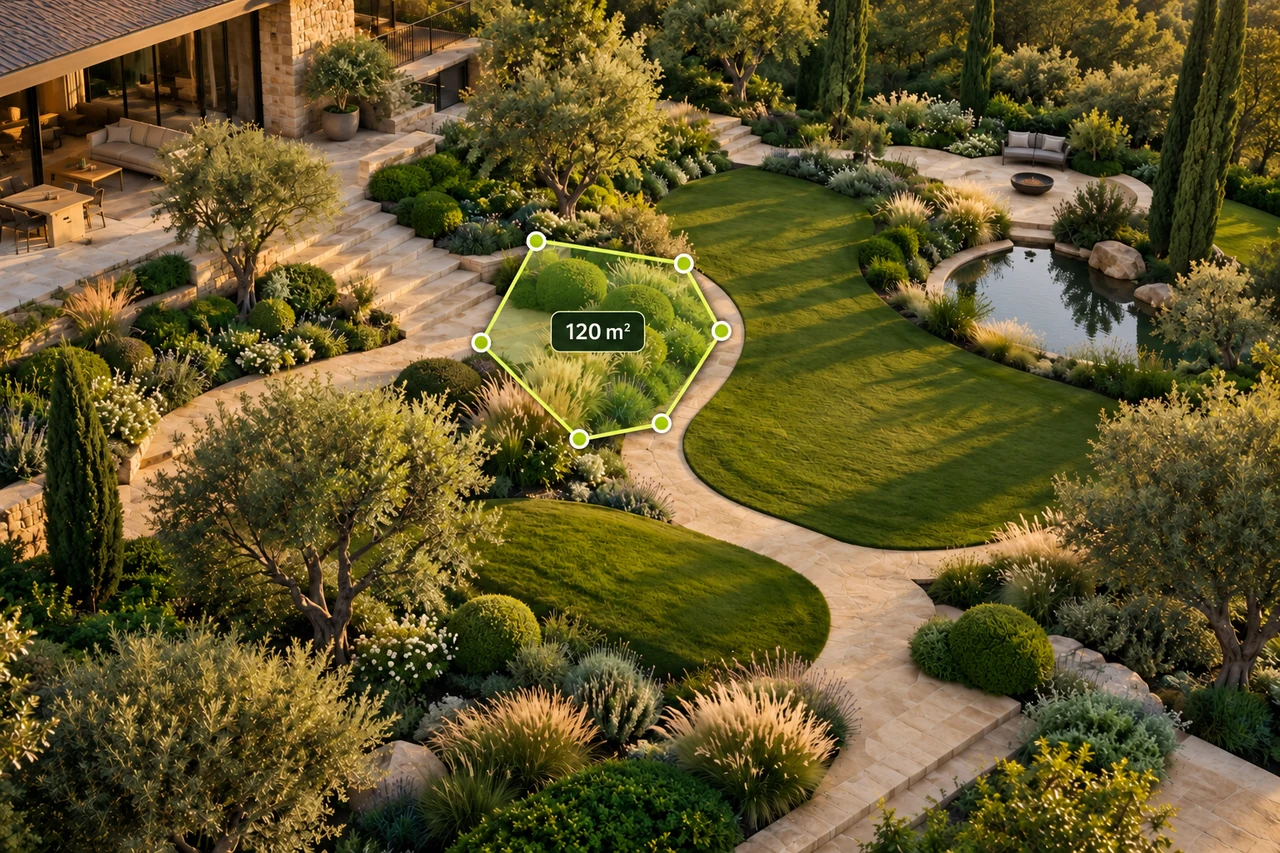
Give every planting zone its place.
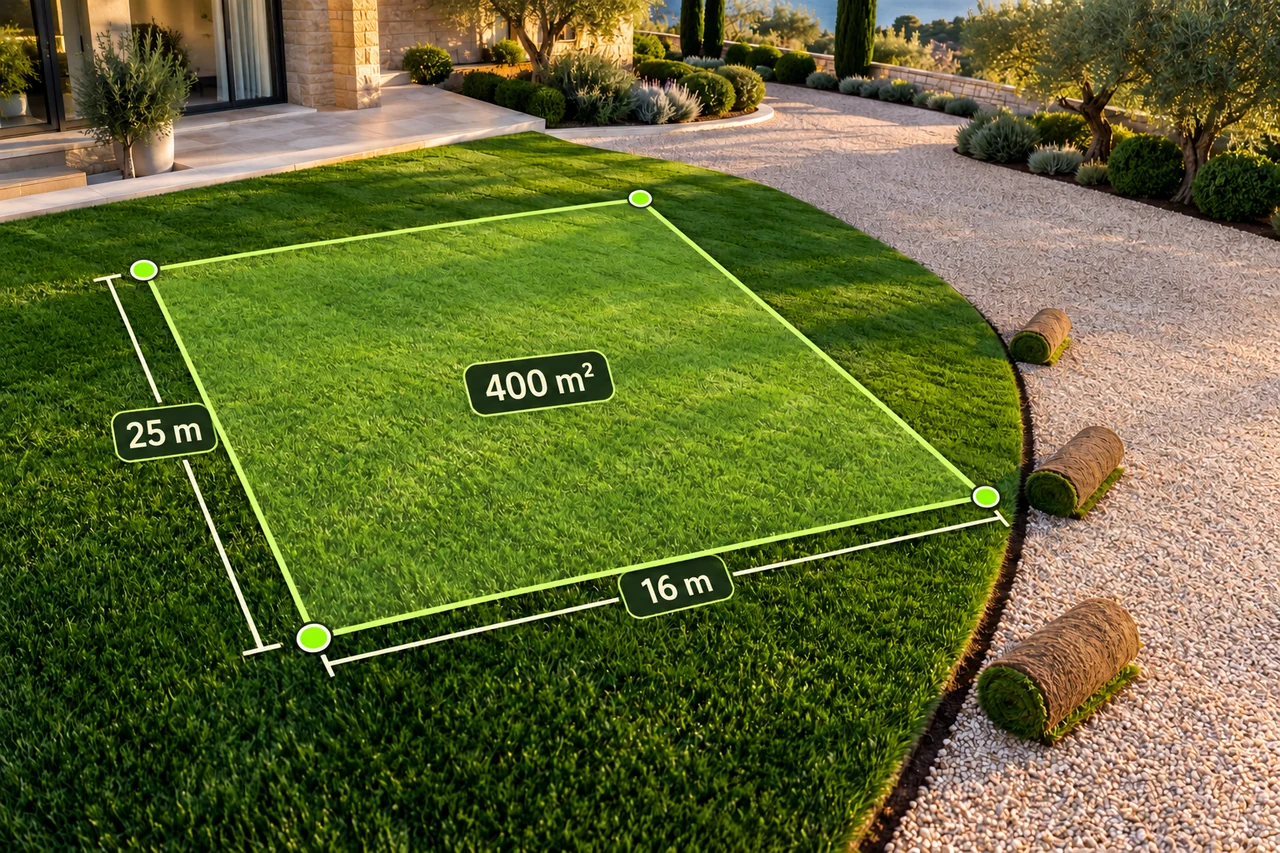
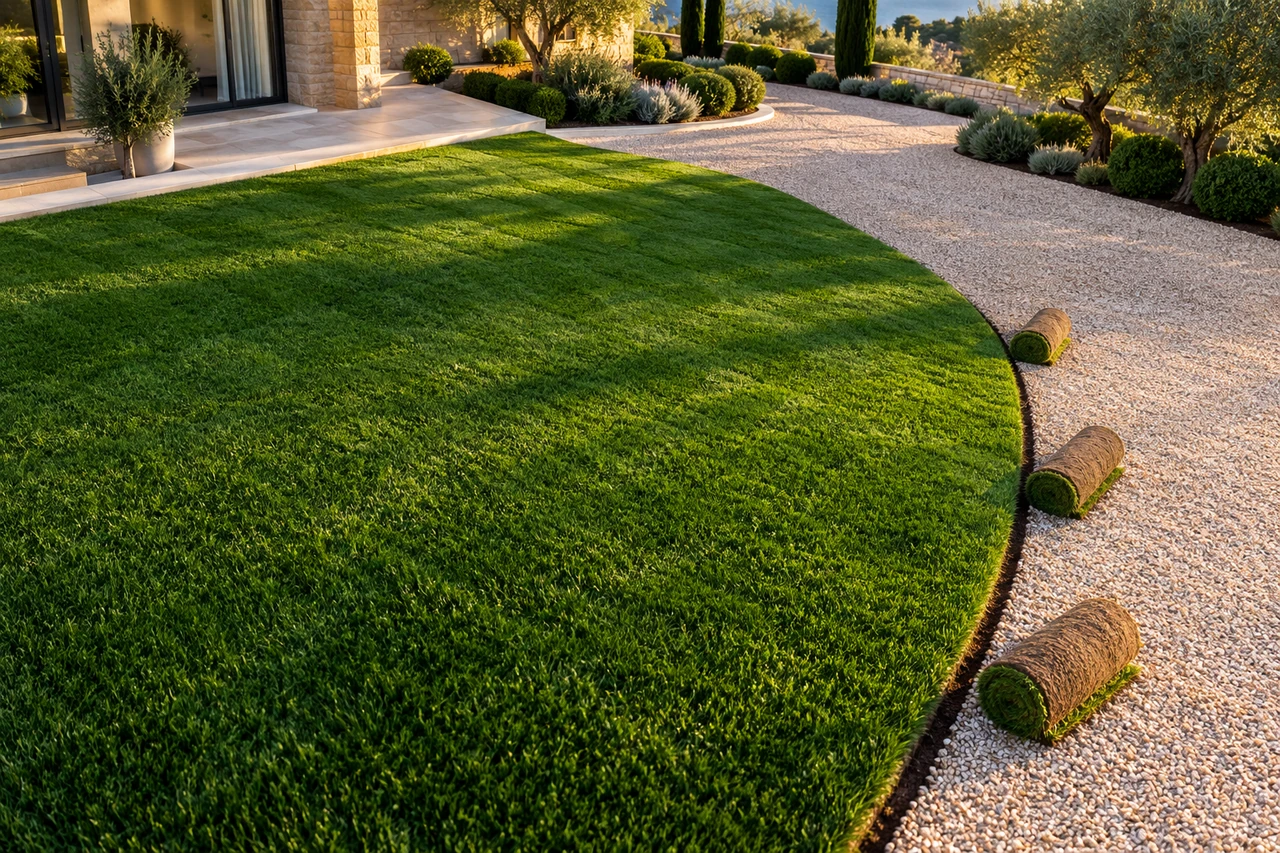
Plan the surface before the finish.
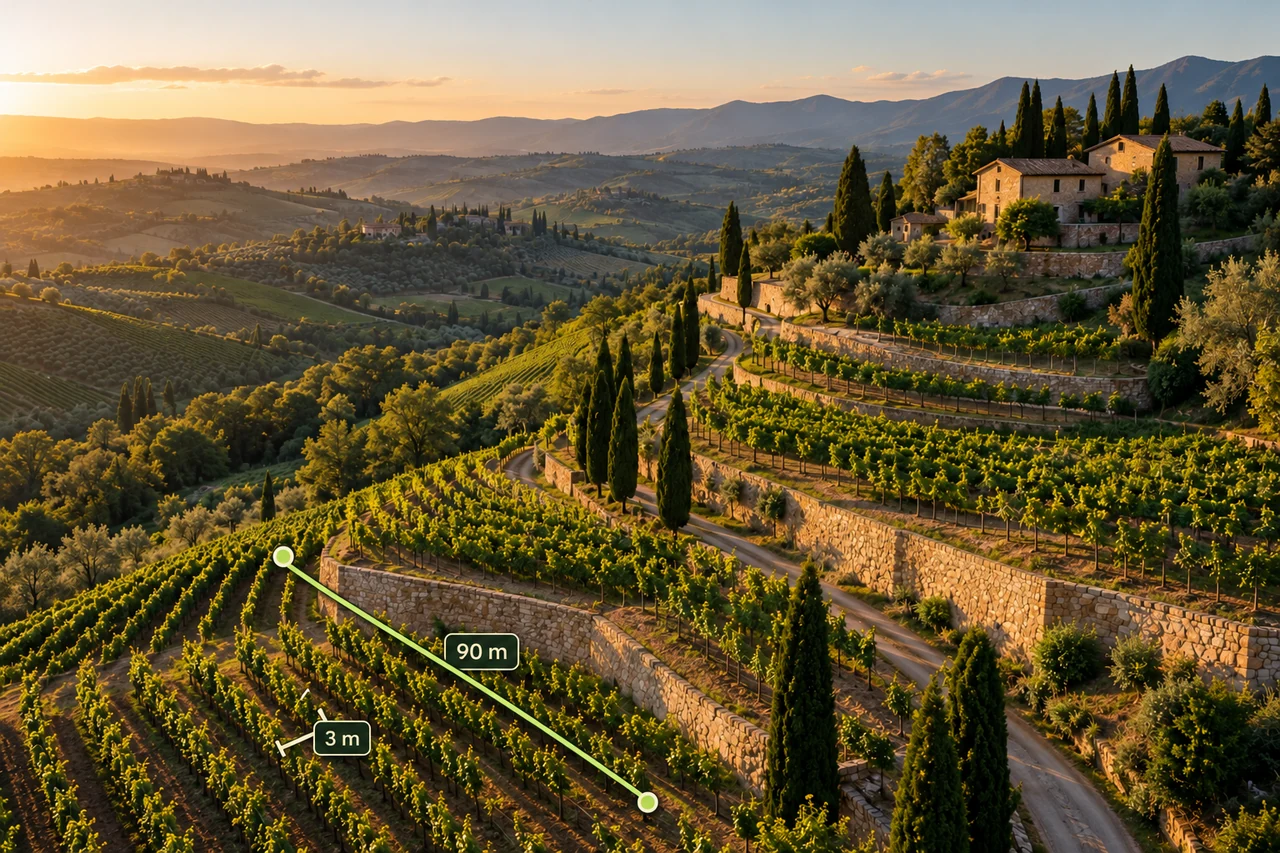
See the rhythm of rows and space.
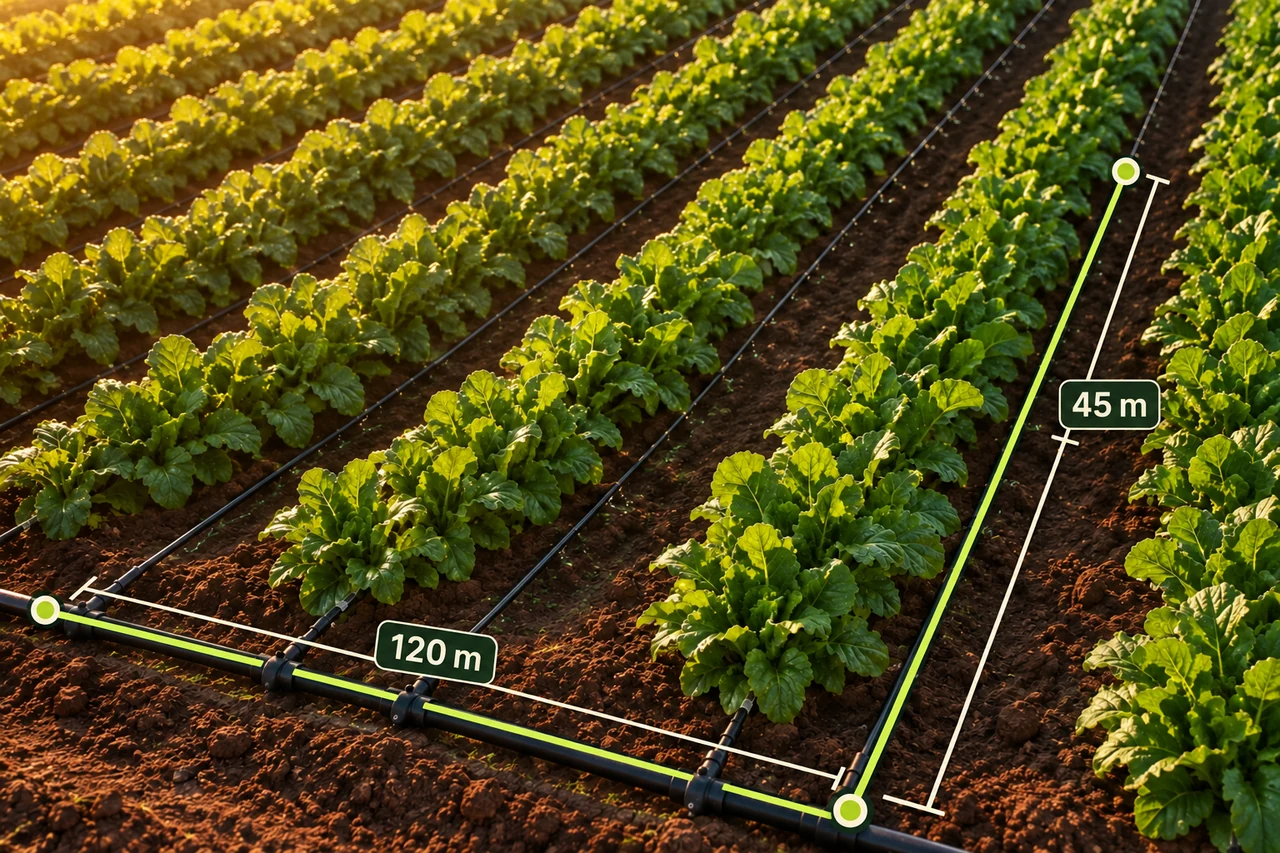
Trace the route before the pipe.
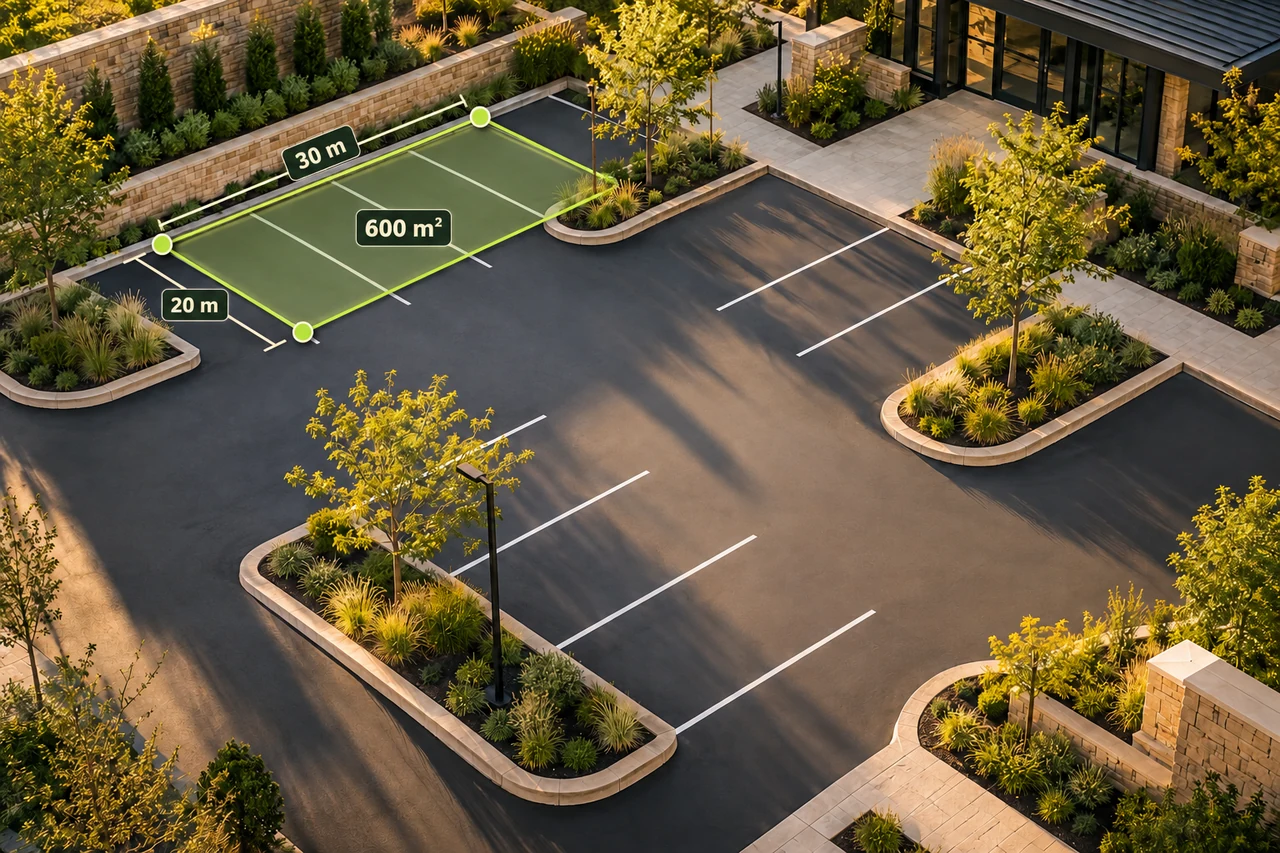
Know the area you intend to cover.
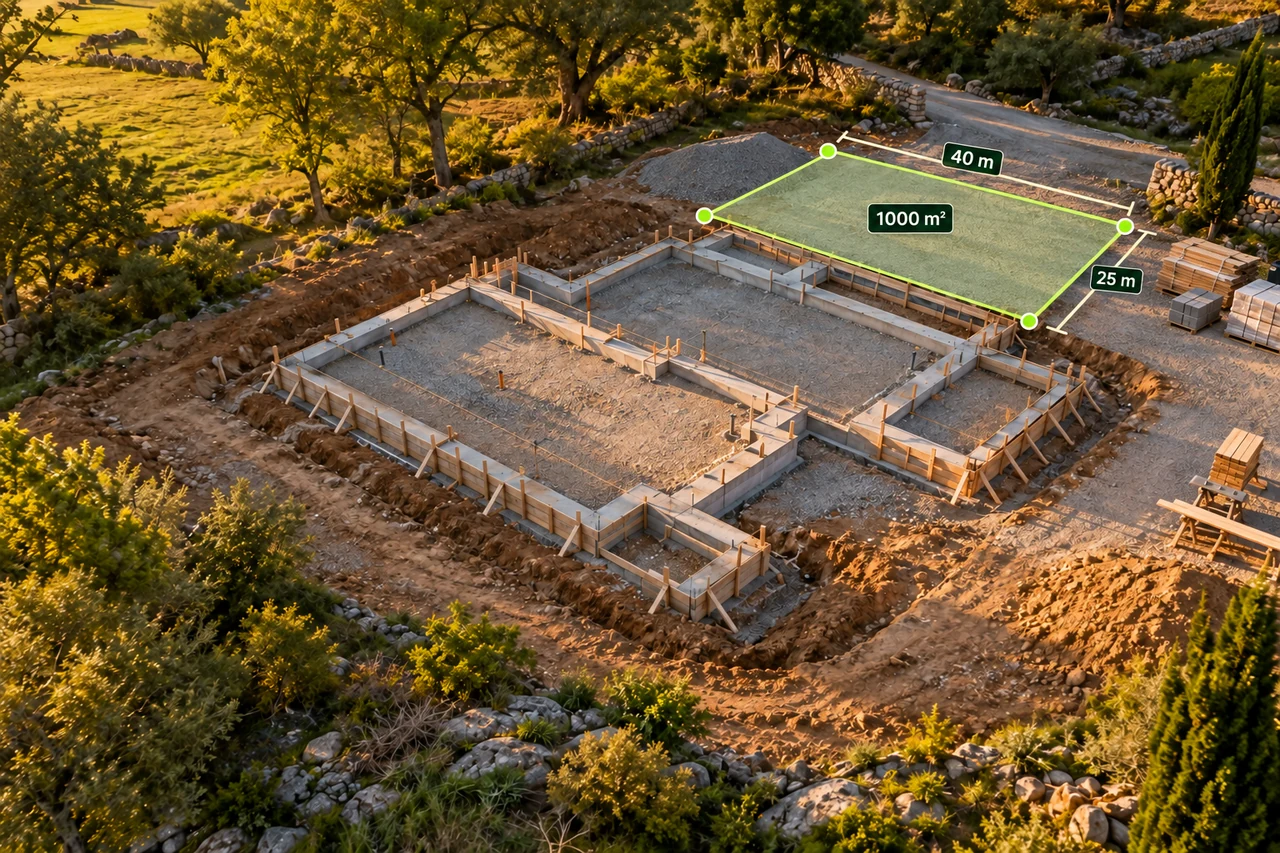
Frame the first site conversation.
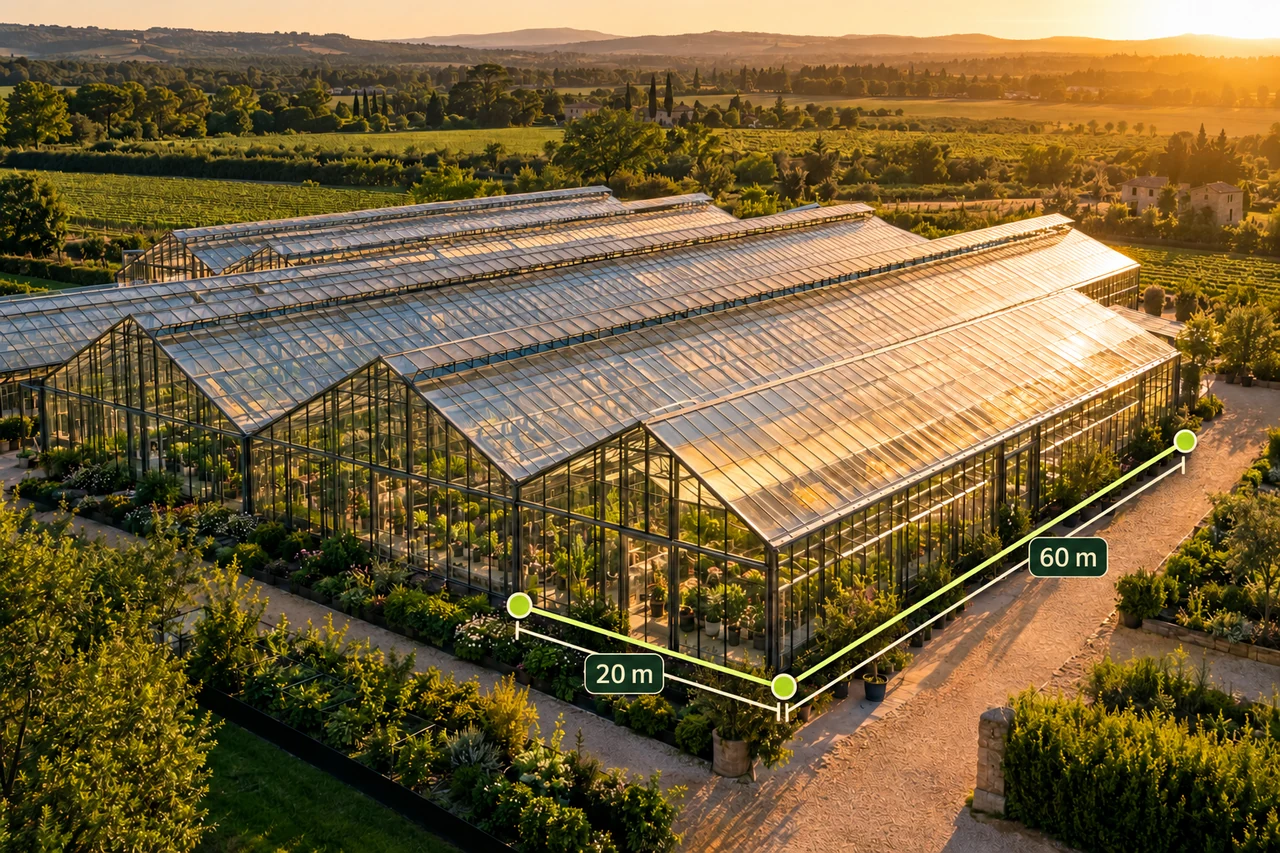
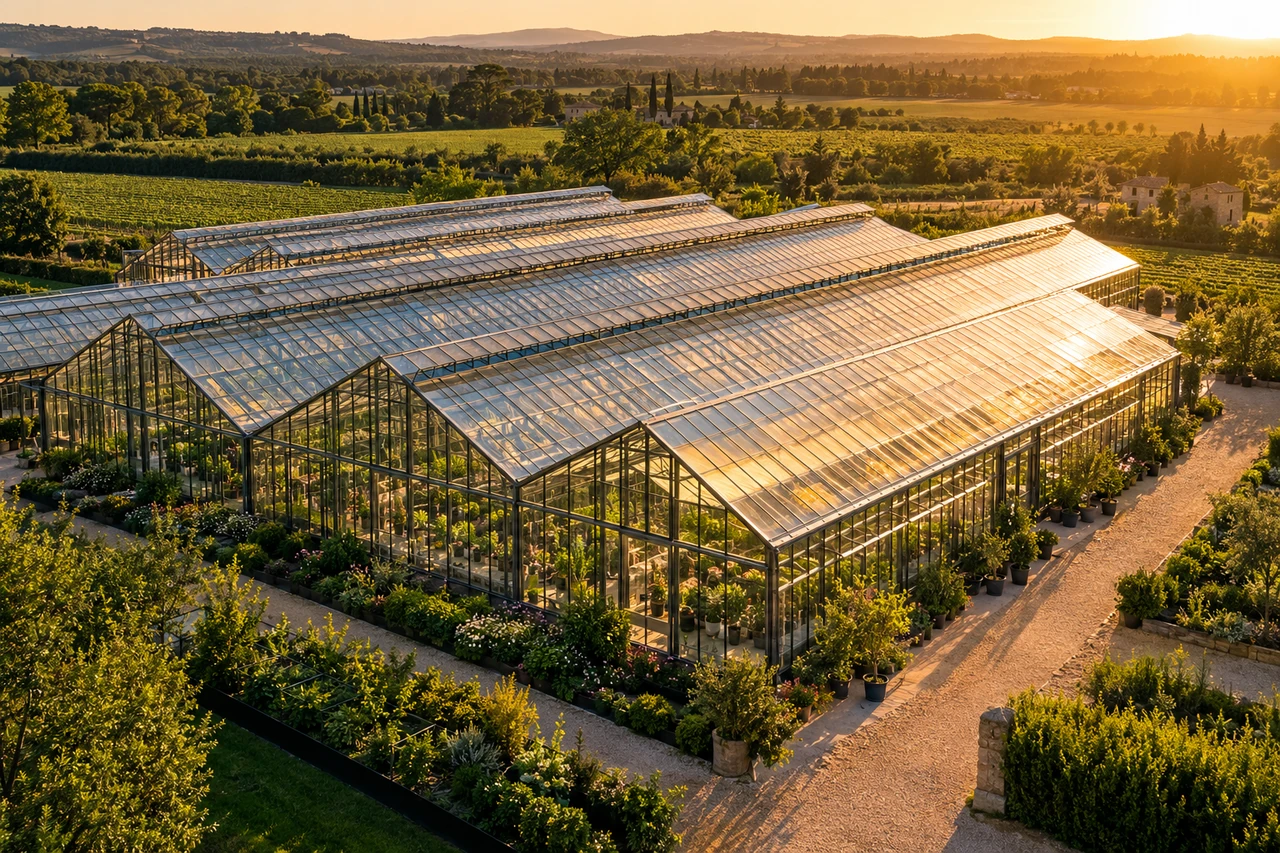
Understand the footprint of growth.
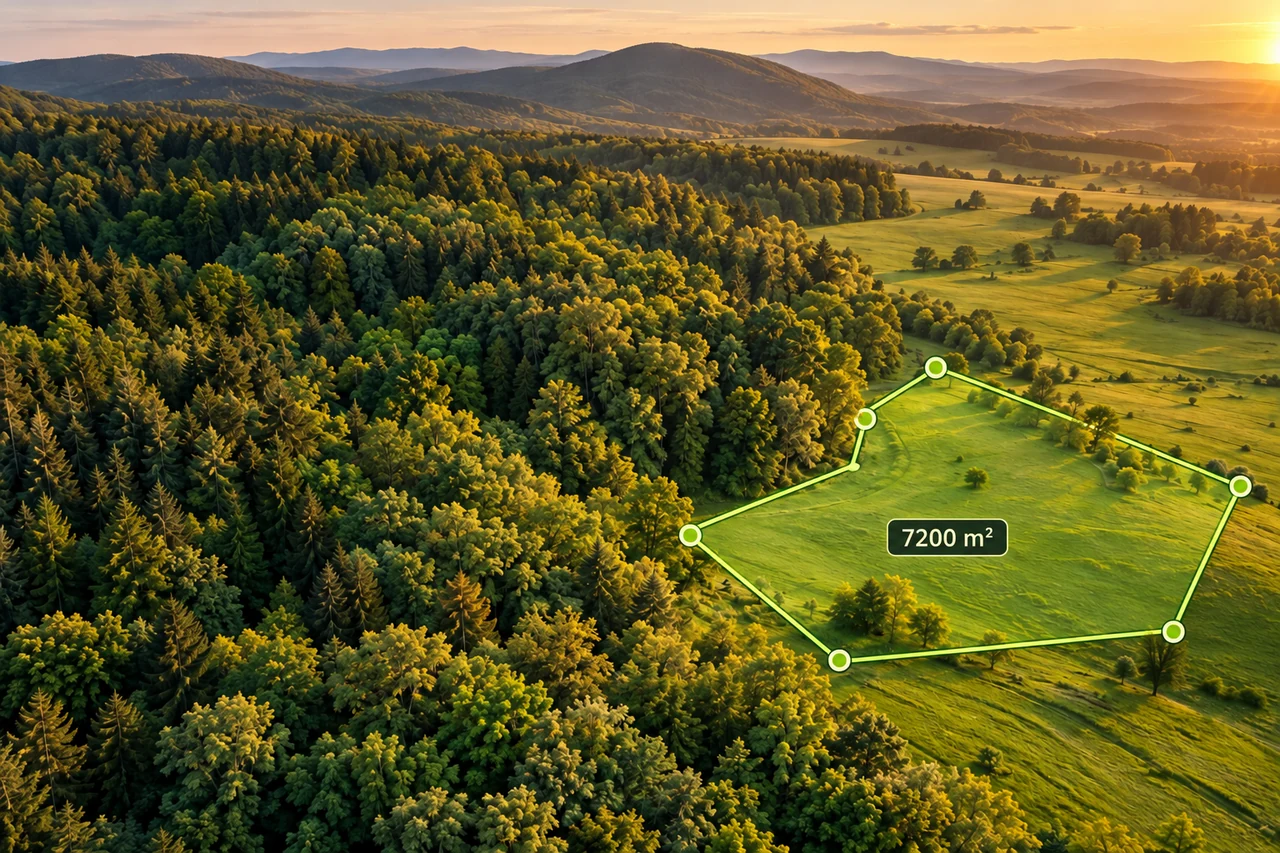
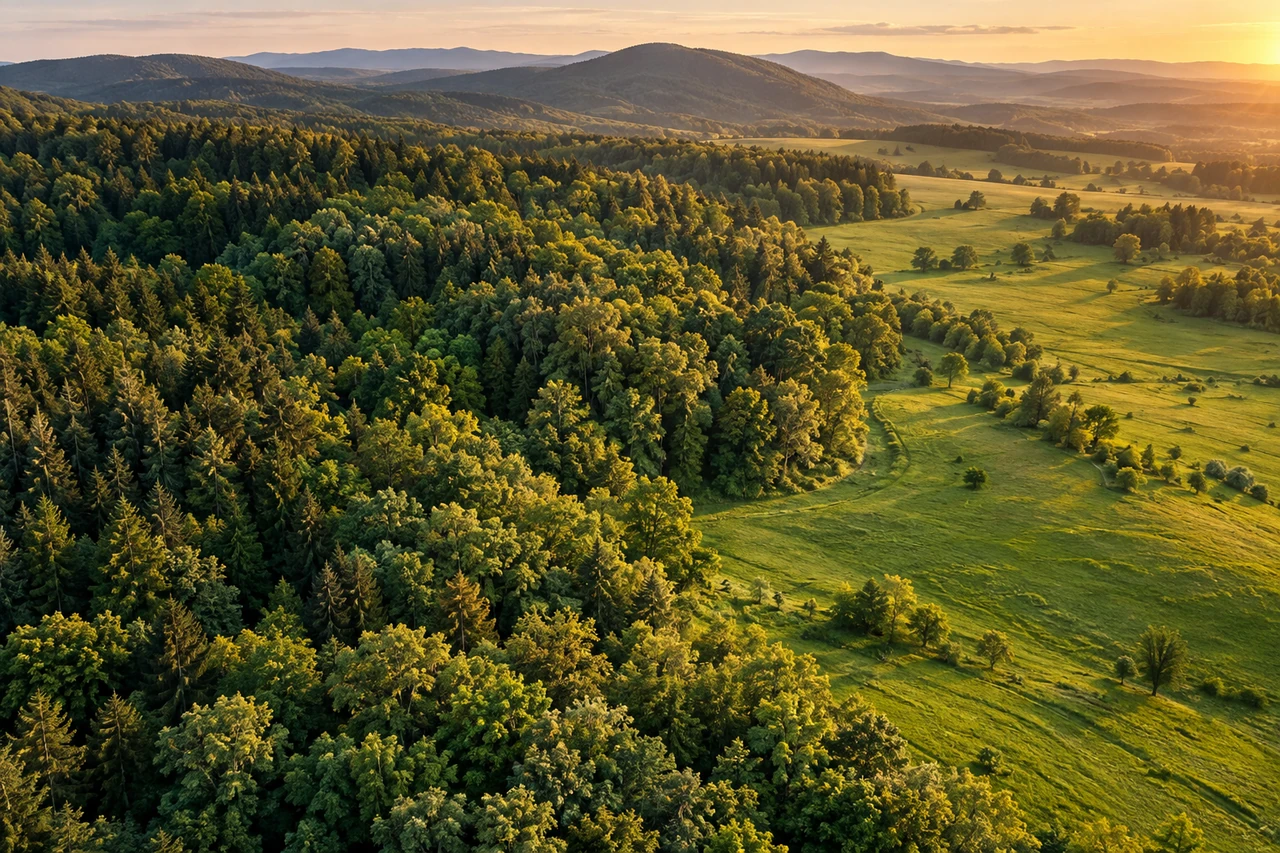
Keep the larger landscape in view.
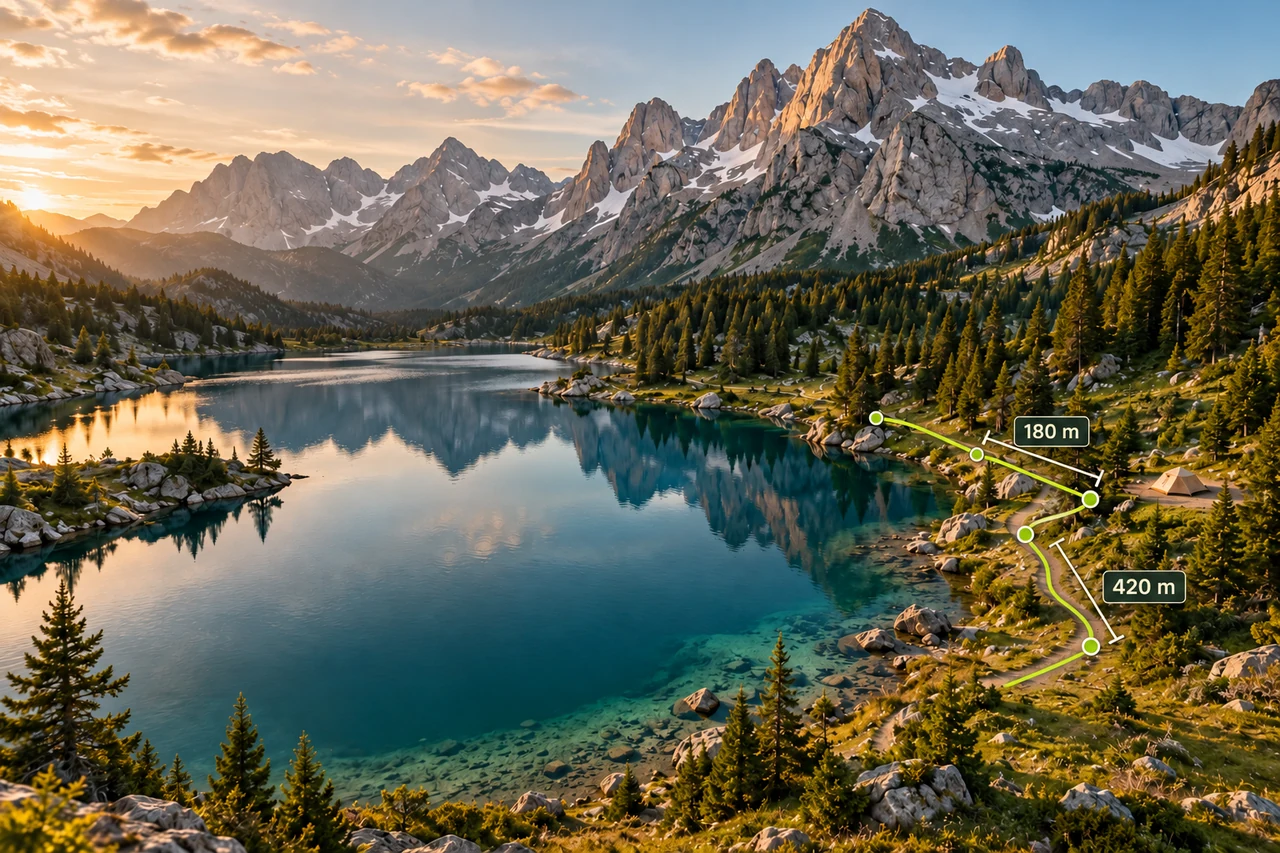
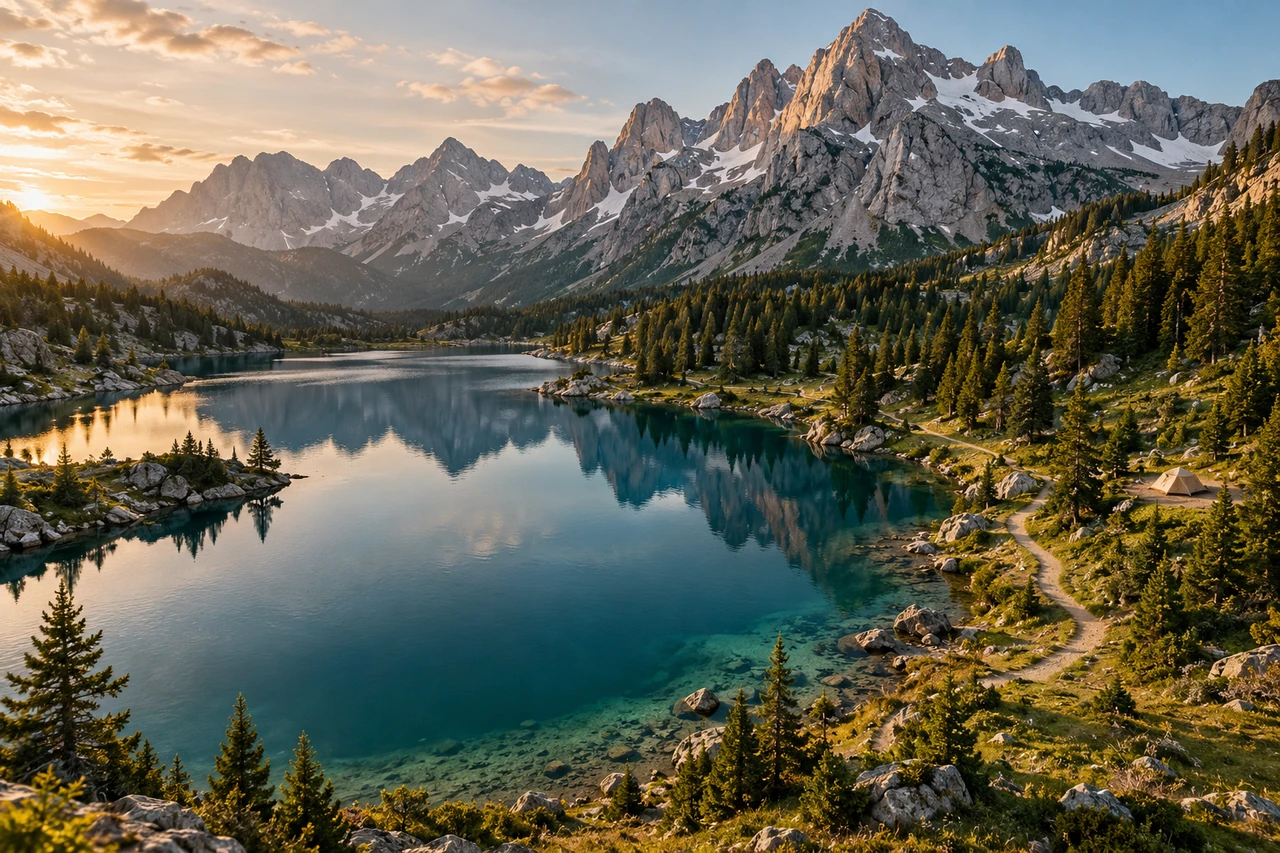
Bring the whole route into view.
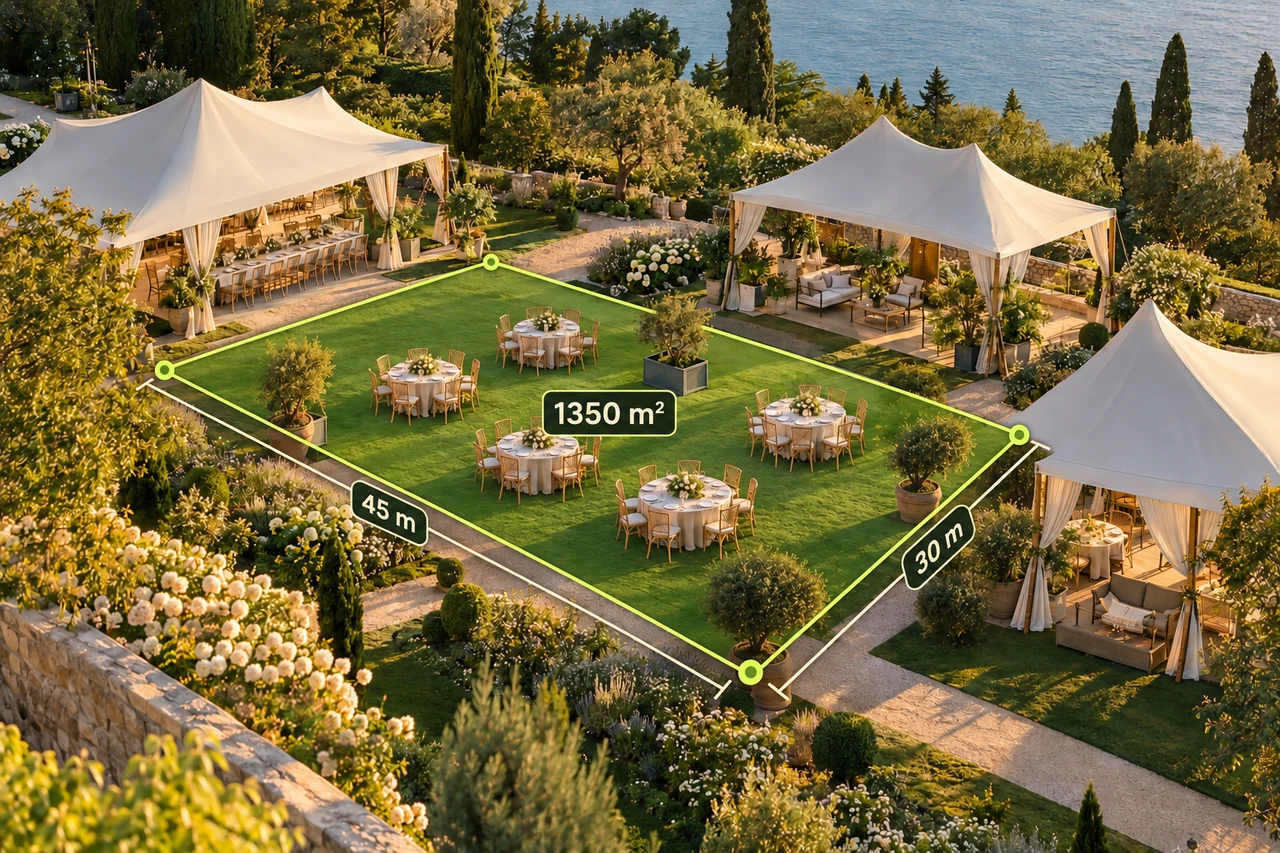

Make room for people and movement.
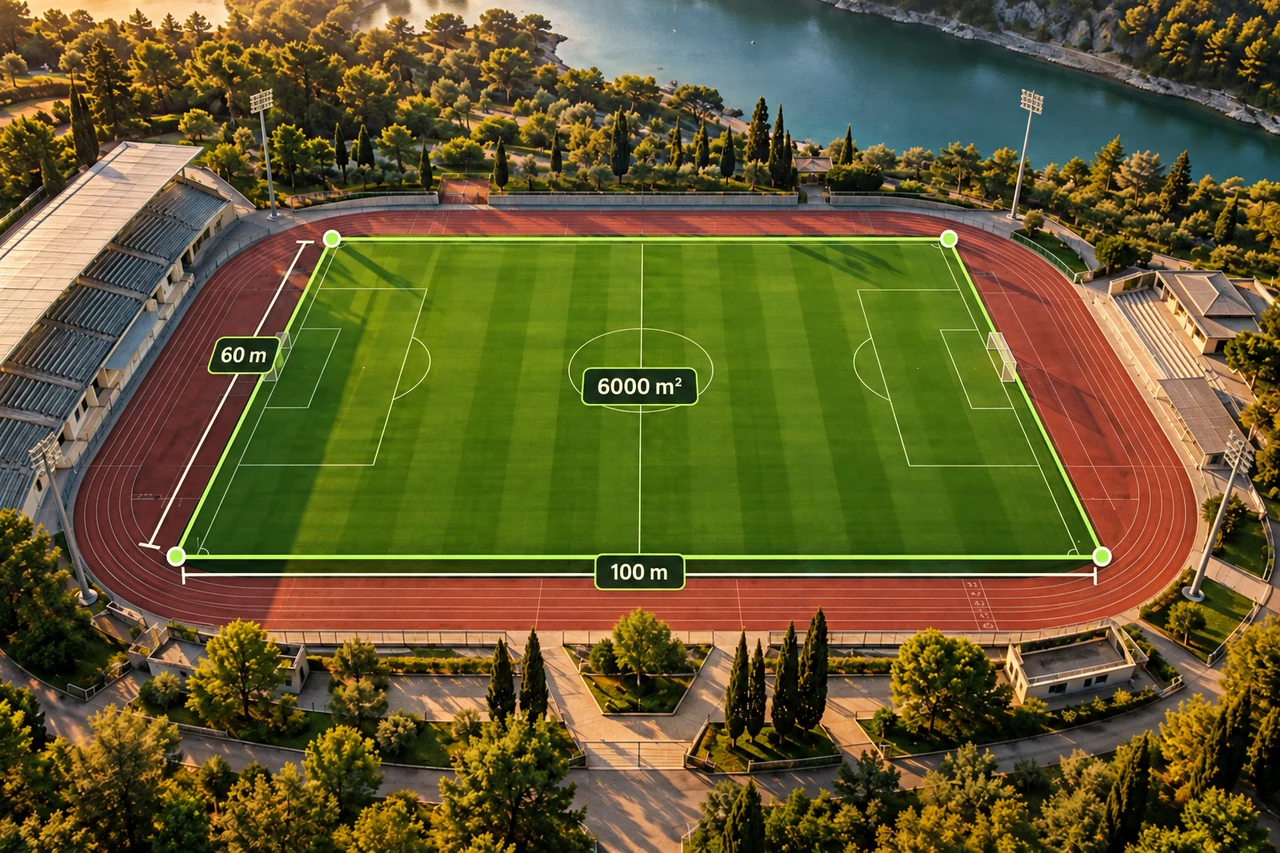

Give every playing space a frame.
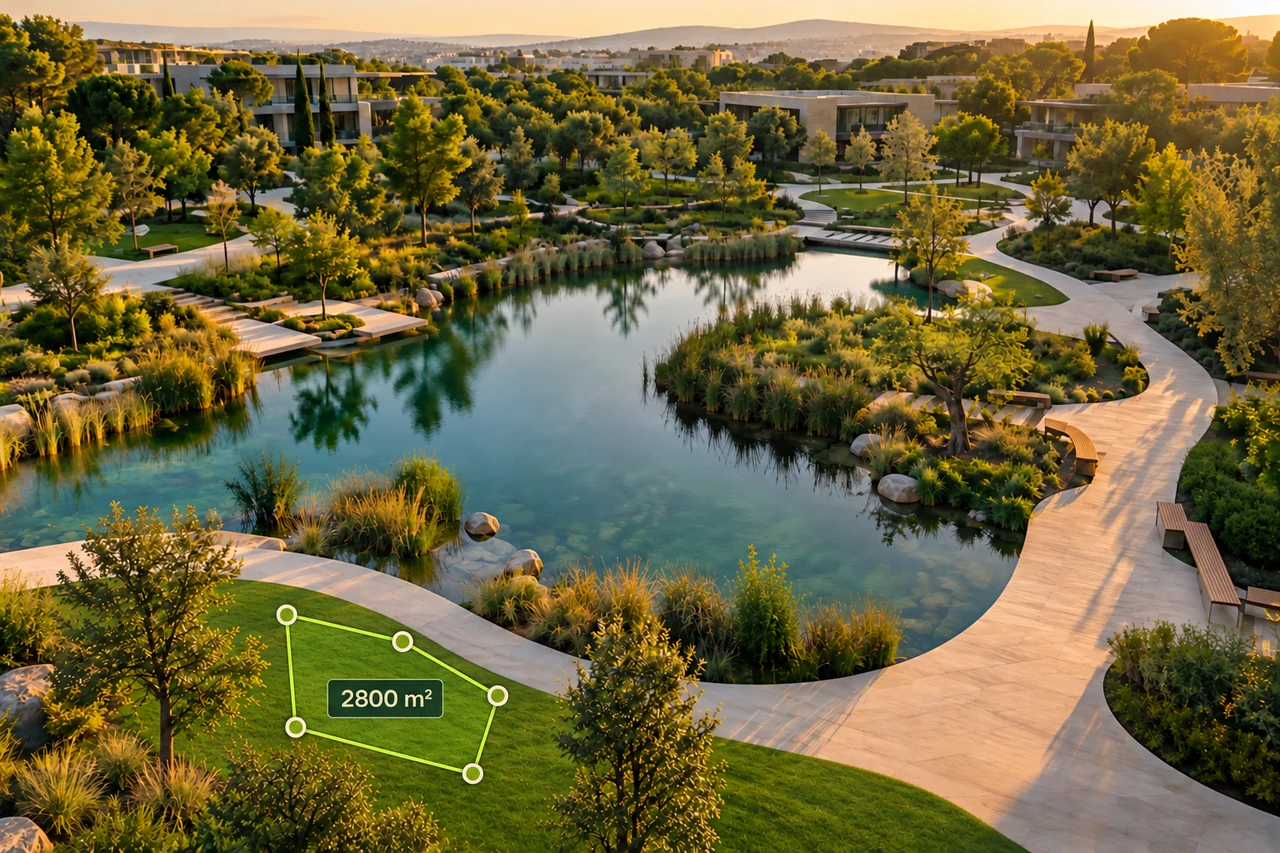
Plan the spaces a city shares.
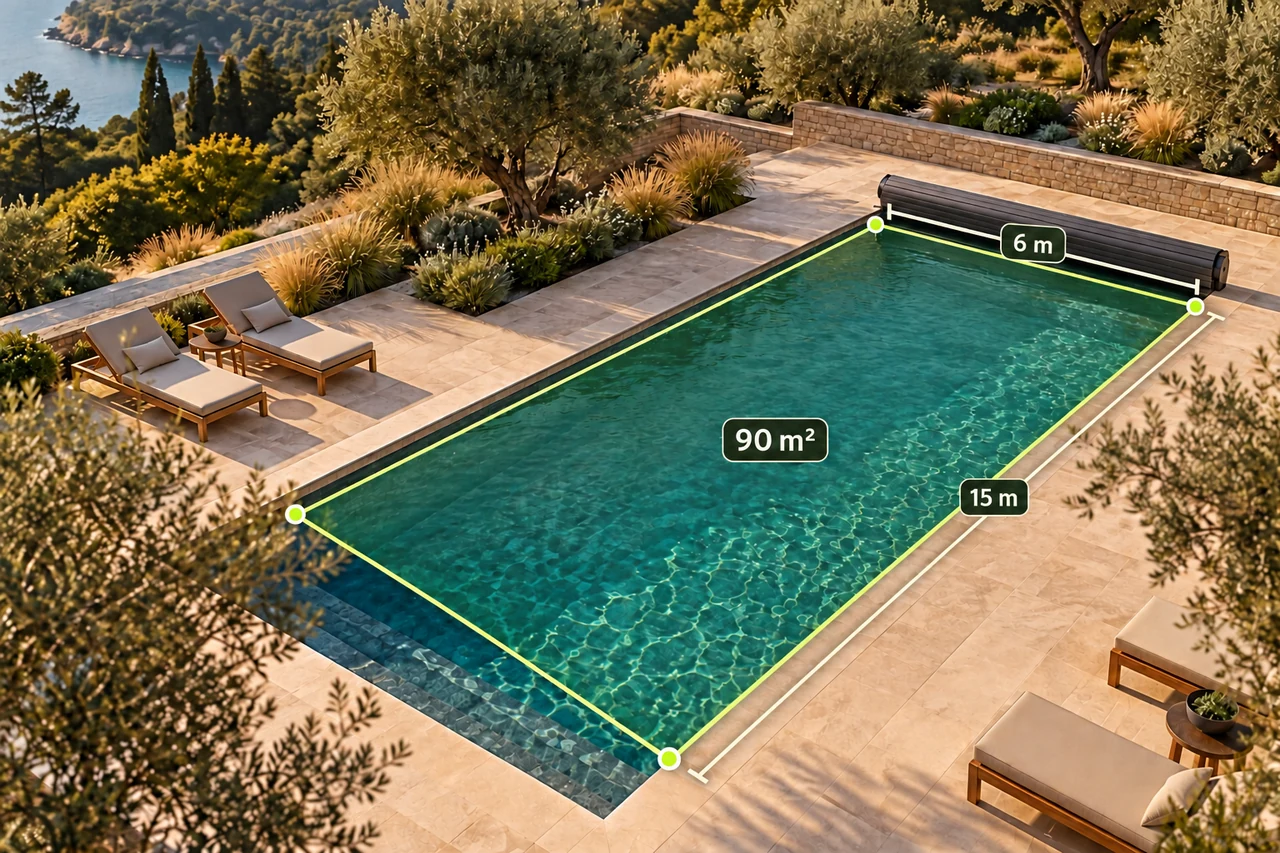
Follow the shape of the water.
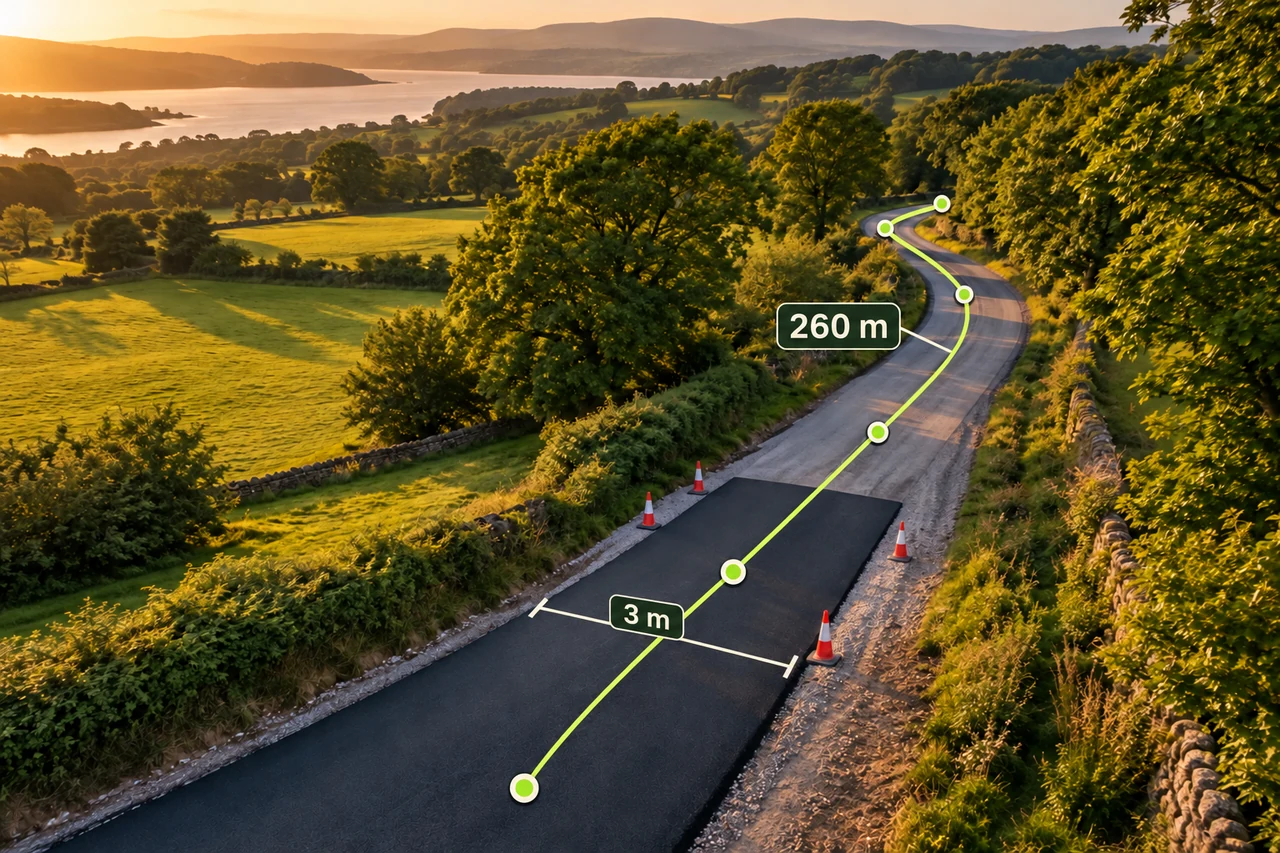
Define the section that needs work.
02 / BEHIND THE VIEW
Every scenario has a practical method. Read the example, check the measurement scope and explore the supporting guides.
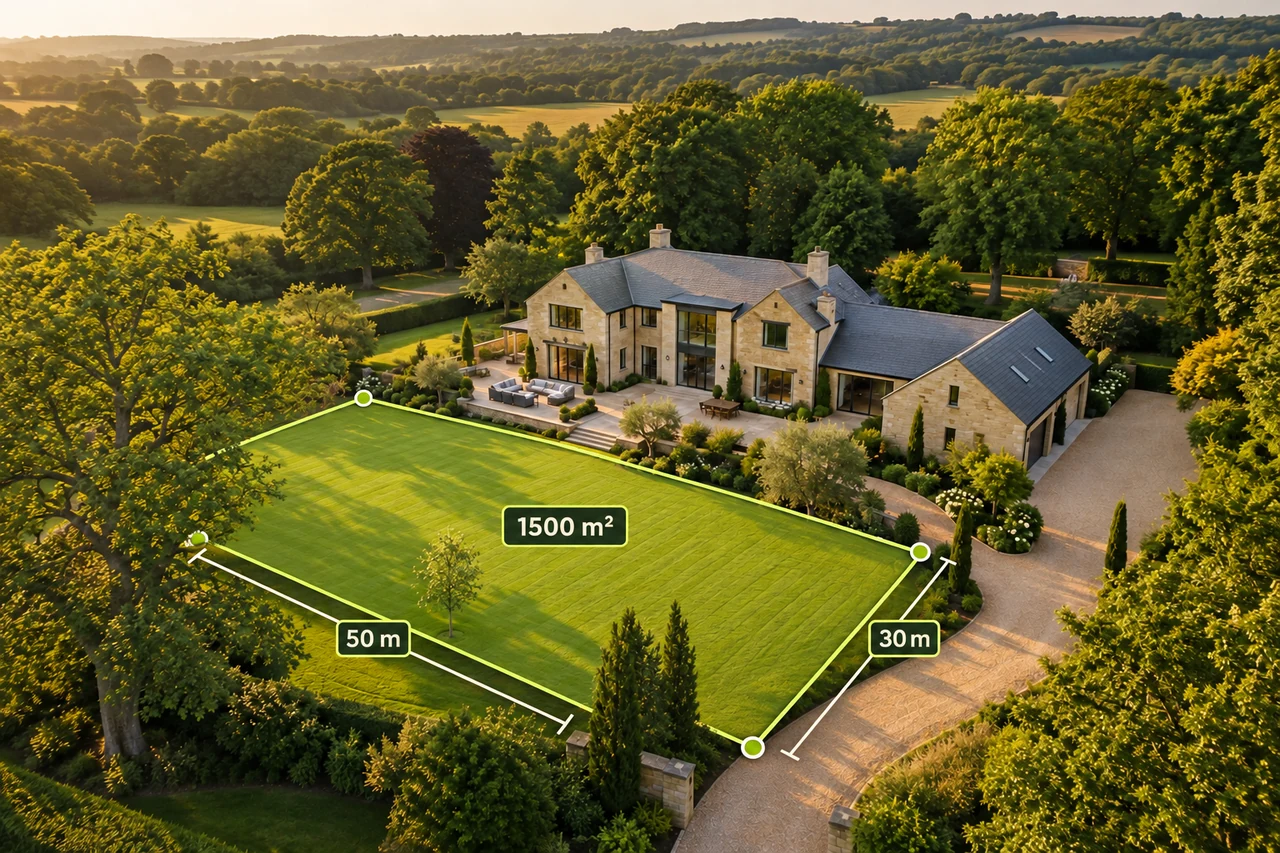
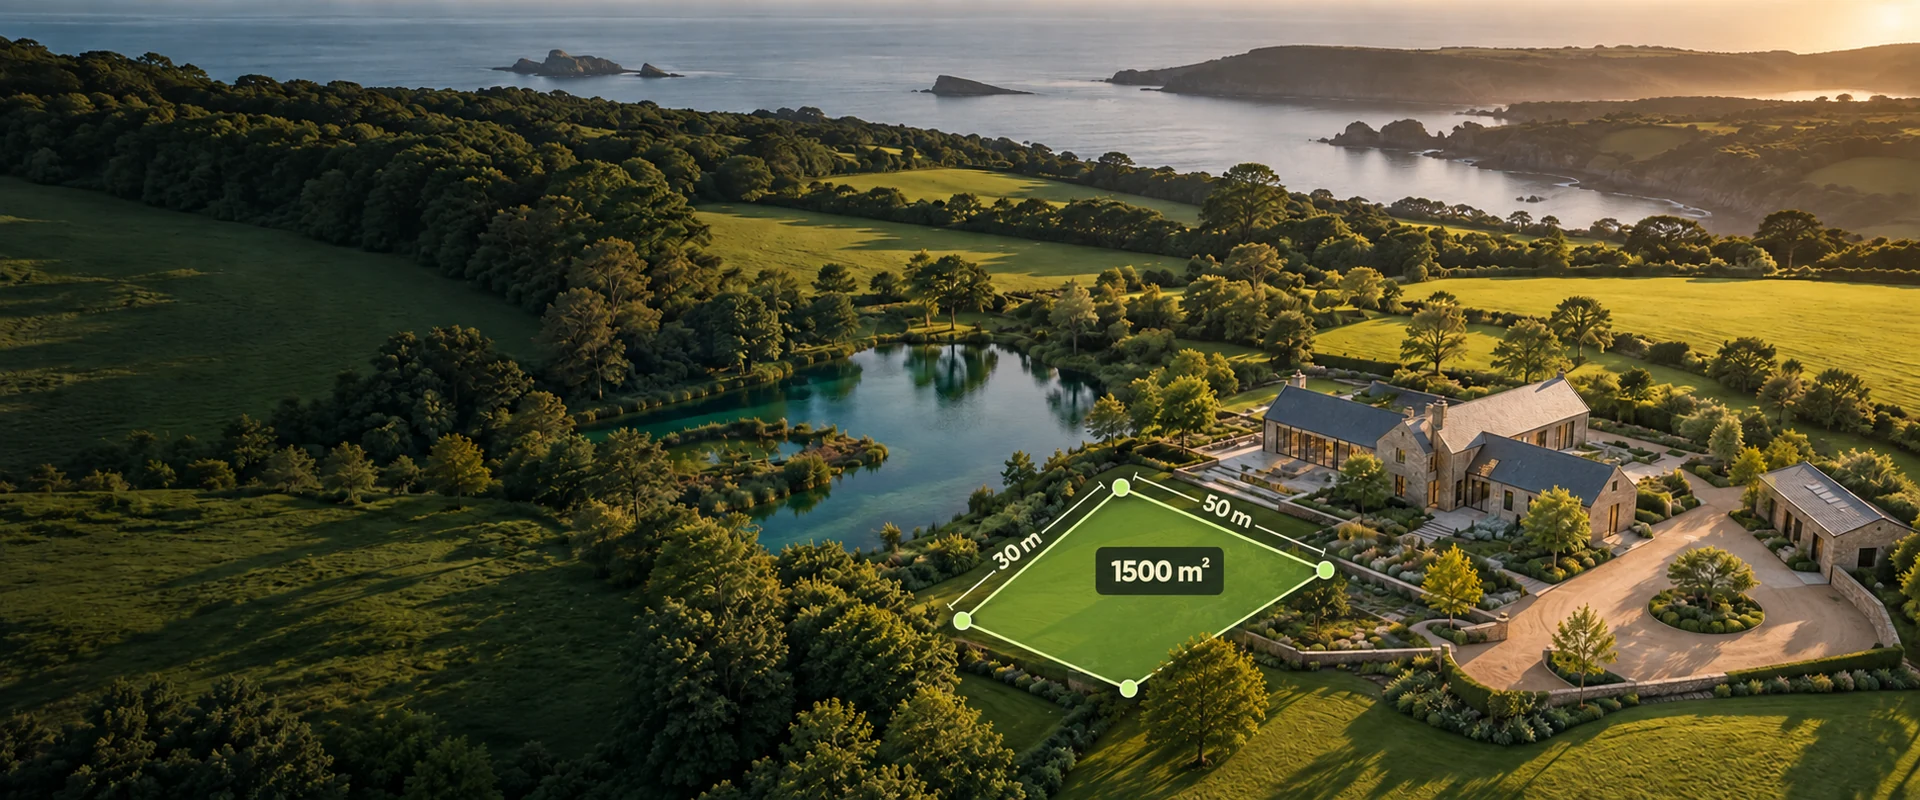
Compare gross visible land and a clearly defined planning remainder before a site visit.
An agent outlines the visible site, then separately marks an illustrative access strip and occupied footprint for a buyer discussion. Every layer is labelled as an estimate with an explicit inclusion rule.
Illustrative, non-overlapping areas: 20,000 m² gross outline − 1,200 m² access allowance − 800 m² occupied footprint = 18,000 m² planning remainder. This is not a finding of legally usable or buildable area.
A traced outline does not establish a legal parcel boundary, ownership or development permission. A planning remainder is not a property valuation, floor-area entitlement or guaranteed usable area.
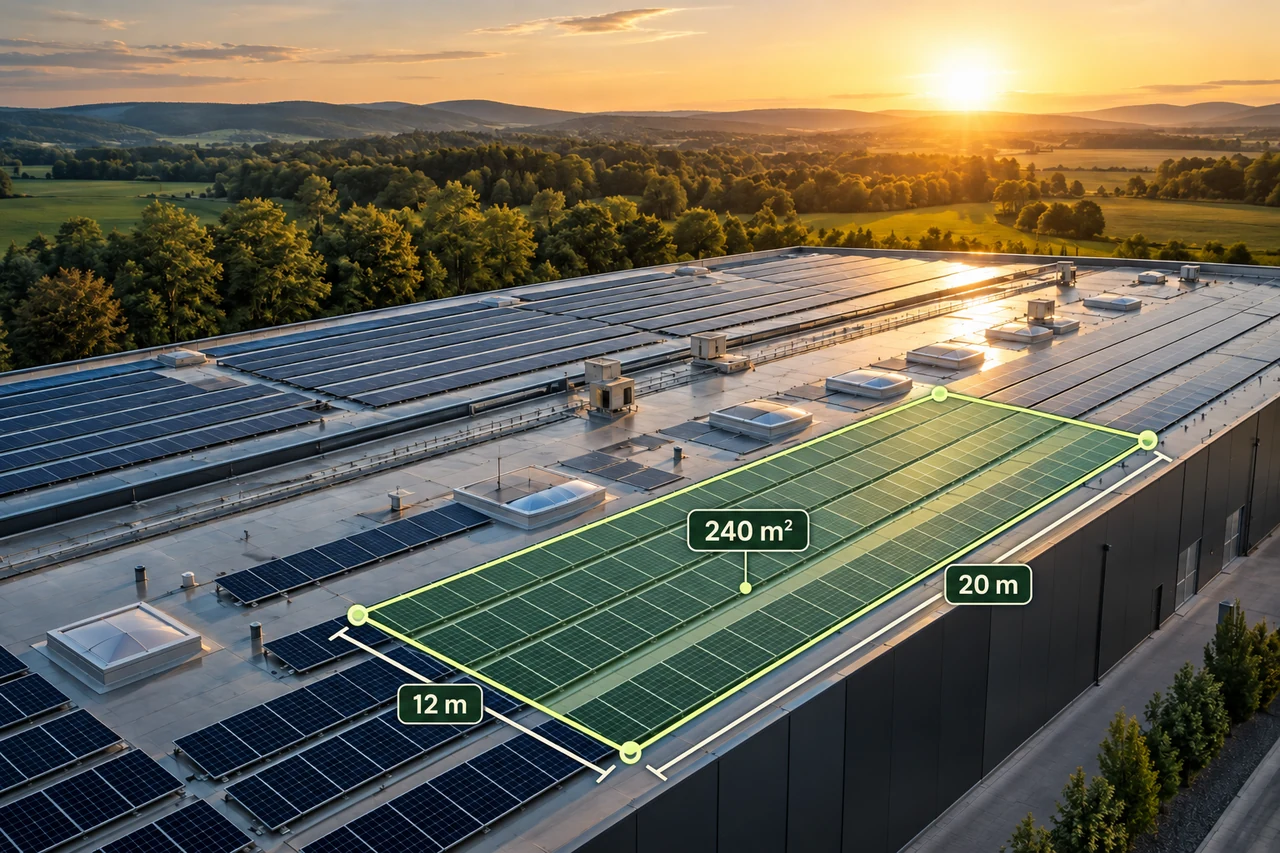
Open the measurement toolIdentify a candidate roof or ground footprint for a more detailed solar assessment.
A property owner compares two candidate roof zones, marks visible obstructions and reserves a clearly illustrative access zone before speaking with an installer.
A 120 m² horizontal roof outline with 20 m² of non-overlapping, explicitly assumed exclusions leaves a 100 m² screening footprint. No fixed panel count, kW capacity or kWh yield follows from that area. On a pitched roof, this footprint is not yet the roof surface area.
Map area alone does not determine panel count, installed capacity, annual energy or savings. Shading changes with time and season; a single image is not a shading study.
Open the measurement toolSeparate a roof's horizontal footprint from pitched covering area before requesting a material estimate.
A homeowner sends a contractor a labelled footprint and an independently supplied pitch, allowing a simple geometric discussion before detailed roof assessment.
Ideal symmetric gable roof: the entire roof's horizontal projection is 10 × 8 = 80 m² and both planar faces are inclined 30°. Each projected half is 40 m², so total surface = 2 × 40 ÷ cos(30°) ≈ 92.38 m². Assumes no overhang beyond the stated projection, no dormers or penetrations, and no waste allowance. Do not double 80 ÷ cos(30°).
An overhead outline does not reveal roof pitch or hidden roof geometry. The formula applies to the stated planar geometry, not arbitrary multi-pitch roofs.
Open the measurement toolReview approximate map distances between visible course features before a visit.
A player studies the distance from a chosen tee point to the visible near edge of a bunker and then to a chosen point on the green. Each endpoint is labelled, so the result is not confused with a current flag measurement.
Illustrative endpoints give 145 m from the tee point to the near bunker edge and 172 m to a selected green point. The 27 m numerical difference is a comparison of these two chosen map distances, not a measured bunker-to-green segment or a recommended carry distance.
This is map-based familiarization, not live laser ranging to a flag. Map geometry does not calculate wind, elevation adjustment, ball flight or club selection.
Open the measurement toolRecord visible pond water surface and organize separate depth and water-management inputs.
A pond manager traces the current waterline for a surface estimate and adds separately measured depth information to a planning worksheet. Seasonal water levels are dated rather than treated as constant.
Ideal rectangular, vertical-sided pond: 40 × 25 = 1,000 m² water surface. If its flat bottom has a constant water depth of 1.2 m, volume = 1,000 × 1.2 = 1,200 m³. The depth is an explicit external assumption; the map does not measure it. Sloping sides or an irregular bottom require appropriate average-depth or volumetric methods.
Surface area alone does not reveal water volume or excavation volume. Fish carrying capacity and stocking decisions also depend on species, depth, water quality, oxygen, flow and management.
Open the measurement toolTrace the intended fence alignment, compare perimeter needs and mark gates before detailed quoting.
An owner compares two equally large enclosure shapes, then records gate openings separately so a contractor can review the intended fence alignment.
Example: one hectare is 10,000 m². A 100 × 100 m square has a 400 m perimeter; a 200 × 50 m rectangle has the same area but a 500 m perimeter. With two non-overlapping 4 m gate openings, illustrative fence-run totals are 392 m and 492 m, before ground slope, installation details and material allowances.
Area alone does not determine fence length. A planned alignment is not a boundary determination; terrain can change installed ground length.
Open the measurement toolCapture a field outline from the phone location stream and calculate the polygon area.
A land manager walks an accessible parcel edge to make a preliminary field-area record in a project.
What you need: Location permission and an editable project. Select an area layer to measure an area, or a distance layer for a path.
After walking four sides, review the computed polygon area and the recorded trace; compare uncertain edges with a trusted source.
Keep the recording screen open. Phone GPS can drift; review the saved outline. The recorded path length is distinct from a closed boundary perimeter.
Start in the appSave a preliminary polygon for an accessible harvested block without implying machine telemetry.
After a harvest pass, a worker walks the edge of a block and records its area for later review.
What you need: Location permission and an editable project. Select an area layer to measure an area, or a distance layer for a path.
Keep the recording screen open. Phone GPS can drift; review the saved outline. The recorded path length is distinct from a closed boundary perimeter.
Start in the appMeasure and preserve a walked path as a distance line for maintenance or site inspection.
A field inspector walks a drainage, fence, or access route and needs a trace and distance for later handoff.
What you need: Location permission and an editable project. Select an area layer to measure an area, or a distance layer for a path.
Keep the recording screen open. Phone GPS can drift; review the saved outline. The recorded path length is distinct from a closed boundary perimeter.
Start in the appKeep a manually mapped boundary and a later GPS trace in separate layers for visual review.
A planner drafts a parcel from imagery, then a worker walks an accessible edge to spot visible differences.
What you need: Location permission and an editable project. Select an area layer to measure an area, or a distance layer for a path.
Keep the recording screen open. Phone GPS can drift; review the saved outline. The recorded path length is distinct from a closed boundary perimeter.
Start in the appInspect recorded vertices after collection and make a deliberate geometry edit where justified.
A field worker notices one recorded point appears offset near a canopy or wall and reviews the trace before sharing it.
What you need: Location permission and an editable project. Select an area layer to measure an area, or a distance layer for a path.
Keep the recording screen open. Phone GPS can drift; review the saved outline. The recorded path length is distinct from a closed boundary perimeter.
Start in the appSeparate intentional stops from the active GPS walk by pausing and resuming the recording.
An inspector stops to examine a gate or take a break, then continues the same measurement session.
What you need: Location permission and an editable project. Select an area layer to measure an area, or a distance layer for a path.
Keep the recording screen open. Phone GPS can drift; review the saved outline. The recorded path length is distinct from a closed boundary perimeter.
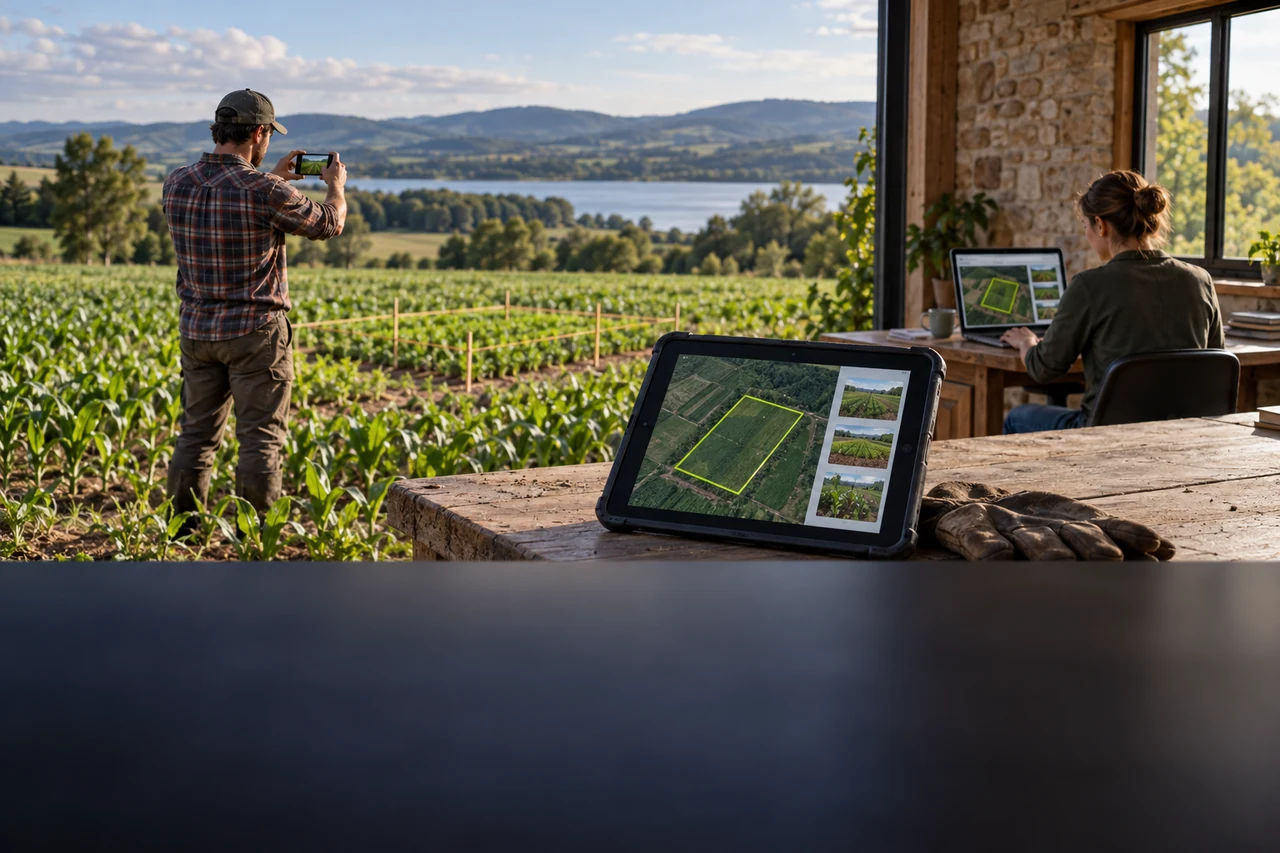
Start in the appA field measurer records a site boundary and evidence for office review.
Create a project in the team workspace, draw the measured area, attach site photos, and add a short text note to the project or layer. After sync, an authorized office teammate can review the same project and its evidence.
What you need: Team workspace access; creating a team requires Pro. Team project editing also requires Pro and an editable role.
This is a project handoff, not live co-editing or a chat. Sync may be delayed; local changes not yet synced are not visible to teammates.
Start in the appAn agricultural team keeps separate parcel measurements organized for shared review.
Create a separate project for each parcel in the team workspace, use clear project names, and let teammates with suitable roles review or edit them. Photos and text notes can preserve visit context on each project.
What you need: Team creation requires Pro. Invitations and editing depend on role; team project editing requires Pro.
Projects remain separate records; the workspace does not automatically combine parcel boundaries or calculate farm totals.
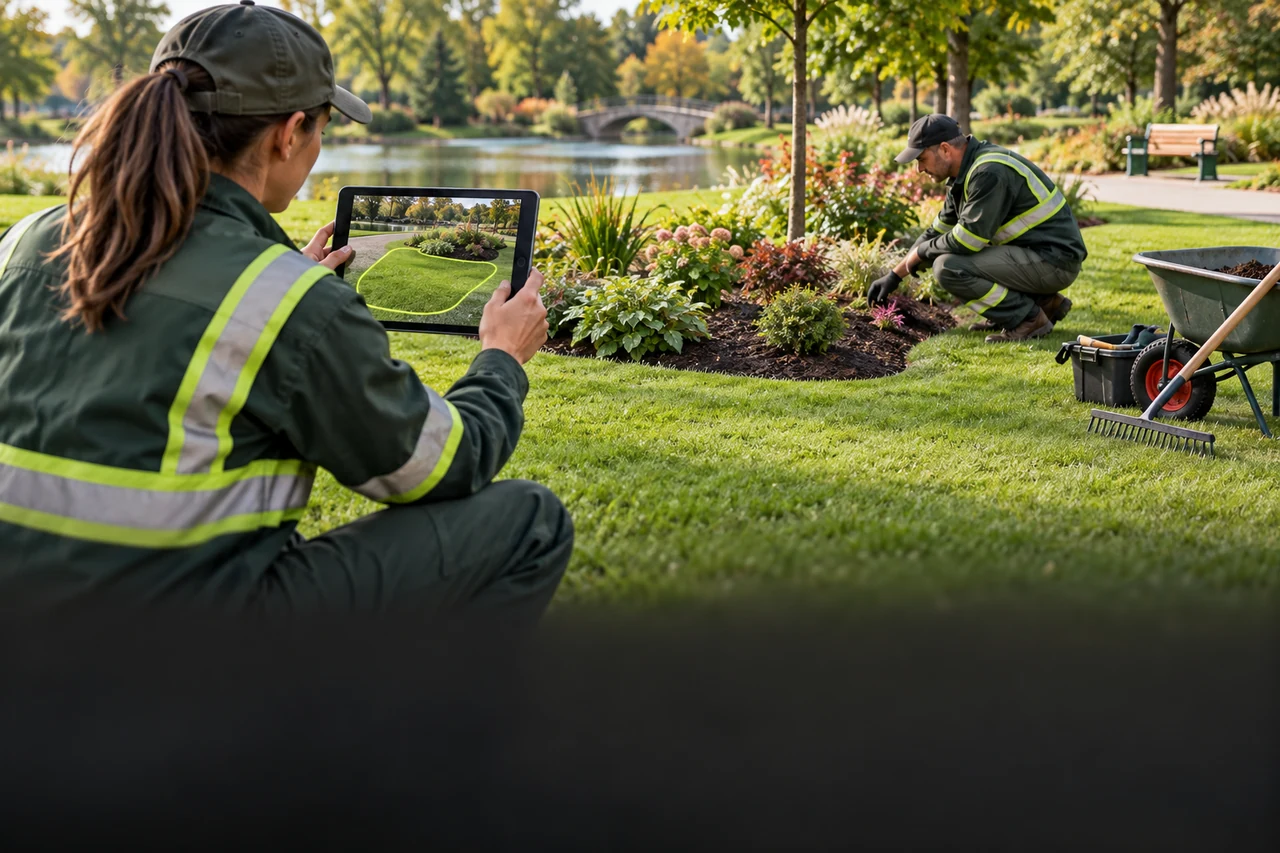
Start in the appA parks crew keeps the measured work area and visit photos in a shared project.
Outline the maintenance zone as a map area, organize the work in a project layer, and attach photos with a short note describing what the office should check. An authorized teammate can review the synced project.
What you need: Team workspace and an appropriate member role; team project editing requires Pro.
Photos and notes document a visit; they do not assign work, verify completion, or track crew location live.
Start in the appField staff collect their own projects while an editor can update team projects.
Invite field staff as Surveyors to create projects and edit projects they own or created. Assign Editor to a teammate who needs broader team project editing. This separates field collection from wider project maintenance.
What you need: An owner or admin manages invitations and roles. Team project editing requires Pro.
Role permissions are not task assignments or approval steps. Surveyors cannot edit projects owned or created by someone else unless granted a broader role.
Start in the appA client or manager reviews a shared measurement without editing it.
Add the client or manager as an authenticated team member with Viewer access. They can view the project while editing remains reserved for members with the required role and Pro access.
What you need: The reviewer must be an invited, authenticated team member. Creating a team requires Pro.
There is no public anonymous share link in this workflow. Viewer access does not permit editing.
Start in the appA contractor and subcontractor review the same measured scope and field notes.
Draw and name the work boundary, add a text note and site photos, then invite the subcontractor to the team workspace with an appropriate role. Both sides can refer to the same project record after it syncs.
What you need: The subcontractor must join as an authenticated team member. Team creation and editing require Pro.
A shared measurement is a reference, not a contract, quote, approval, or proof of legal boundary. No live simultaneous co-editing is implied.
Start in the appAn office reviewer checks synced project history and resolves a version conflict.
Review retained cloud snapshots and activity to understand synced project changes. If a conflict is reported, inspect the local and remote versions and choose which complete project version to keep.
What you need: Cloud workspace access and network sync for remote snapshots.
History is limited to retained synced snapshots; it is not a full audit of unsynced edits. Conflict resolution chooses a complete version, not an automatic merge or approval workflow.
Start in the appA property team keeps measurements and photos from separate visits in a shared project.
Use a shared project for the property, add or update measured areas after each visit, and attach dated context as text notes and photos. Team members with access can review the evolving record between visits.
What you need: Team access and appropriate member roles; team creation and editing require Pro.
This is a shared measurement record, not a property CRM, appointment tracker, legal survey, or real-time visit feed.
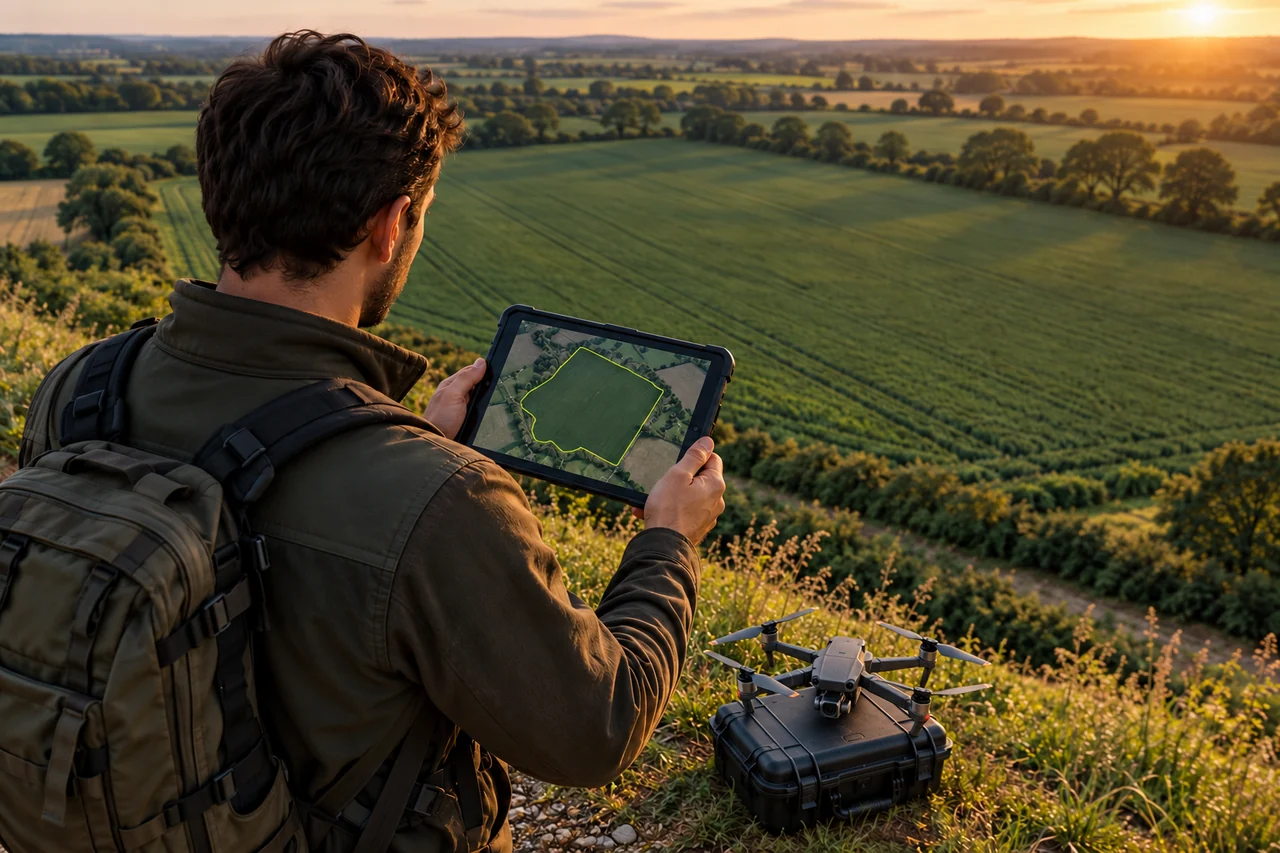
Start in the appSketch the ground area a mapping team intends to cover.
Trace a simple field boundary on the map, review its area and perimeter, and record which edges still need a site check.
What you need: Use a map with recognizable boundaries; treat the result as an approximate planning reference.
A four-sided field outline can provide an approximate area and perimeter for a pre-job note; confirm the boundary and target software separately.
This is a manually drawn ground-area estimate. It does not create a drone flight path, control a drone, check airspace, certify coverage, or verify safe flight conditions.
Start in the appPrepare a simple field outline as a portable boundary file for a separate planning tool.
Measure the field boundary, export a KML file, and give it to the operator to inspect in software that accepts the format.
What you need: Export a KML file and check that the receiving application accepts the geometry.
This is a file handoff only. No direct drone integration, flight automation, chemical rate, application prescription, or compatibility certification is claimed.
Start in the appEstimate the length of a road, utility line or other linear survey corridor.
Trace the planned corridor as a line and note the approximate distance for a separate survey brief.
What you need: Use a map image where the corridor can be followed; confirm obscured or changing segments on site.
A measured reference line is not an autonomous flight route, obstacle survey, clearance check, or navigation instruction.
Start in the appOrganize measured areas, reference points, notes and photos before a mapping visit.
Create named measurement layers for separate sites, add a short note to uncertain edges, and attach field photos when useful.
What you need: Photo selection and team access depend on platform, account, role and project settings.
A project note is not an automated flight checklist, live team tracker, or flight-safety assessment. Team creation and editing have account and role requirements.
Start in the appKeep measurements for several survey locations organized for review and file handoff.
Use a clearly named project or layer for each location, then share access with permitted team members or export a portable boundary file.
What you need: Team workspace setup and editing are subject to Pro and role requirements; KML support depends on the receiving software.
This is project organization and file handoff, not live simultaneous co-editing, automatic conflict merging, public anonymous sharing, or drone fleet control.
Start in the appMove a saved outline into another map application that accepts KML.
Review the boundary and project name, export KML, then open the file in compatible mapping software and inspect the result.
What you need: Land Ruler offers KML export; compatibility and display behavior vary by receiving application.
Exporting a file is not a direct integration or guaranteed round trip. Do not infer GeoJSON or KMZ export availability from other app editions.
Start in the appTransfer a saved line or point-based project into a tool that accepts GPX.
Export GPX from a saved project, open it in the next tool, and confirm that the route or points appear as expected.
What you need: Land Ruler offers GPX import and export; receiving software must support the included geometry.
GPX compatibility and metadata retention vary. This workflow does not claim continuous tracking, navigation, or fitness recording is active in every platform or mode.
Start in the appUse exported measurements as inputs to a separate spreadsheet or work estimate.
Export the project CSV and use its measurement records in a worksheet; add pricing, labor, product rates and yield only from separate sources.
What you need: Land Ruler offers its project CSV export. Use the app-produced structure rather than assuming an arbitrary CSV is interchangeable.
CSV provides measurement data, not automatic pricing, labor, dosage, yield, or invoice validation. Confirm decimal separators and units in the spreadsheet.
Start in the appReview a previously prepared KML, GPX or Land Ruler CSV project in the app.
Choose a supported file, review the imported layers on the map, and correct or annotate uncertain geometry before relying on it.
What you need: The Land Ruler Flutter import UI exposes KML, GPX and CSV. Other app editions may have different format support.
KMZ and GeoJSON import are not exposed by this Flutter importer. Importing does not verify legal boundaries, file provenance, imagery date or survey accuracy.
Start in the appDivide one polygon into smaller manually defined areas for staged work or review.
A site planner divides a large connected work zone into named sections for separate estimates.
What you need: Editable project and a polygon that satisfies the split tool’s geometry requirements; the split tool is Pro-gated.
This is a manual geometry operation, not an automatic work schedule or assigned crew plan. Review the cut endpoints and resulting areas; unsupported/self-intersecting splits may be rejected.
Start in the appCombine eligible neighboring or overlapping polygons into one manually reviewed outline.
A planner keeps adjacent work blocks separate during drafting, then joins them once the shared edge is no longer needed.
What you need: An editable project, Pro access and eligible adjoining or overlapping polygon layers.
The merge operation is for eligible touching/overlapping candidates; it is not a union of arbitrary disjoint parcels. Inspect the resulting boundary for unexpected notches or overlaps.
Start in the appRepresent an interior exclusion as a polygon hole and review the net area.
A planner wants a field’s gross outline and the area around a pond or building excluded from the usable total.
What you need: Polygon geometry and the Pro-gated inner-boundary operation.
The hole is created from a polygon you select; the app does not detect ponds/buildings automatically. Ensure the inner boundary lies inside the outer polygon and review the net result.
Start in the appPreserve an original measured outline and compare a manually adjusted alternative in the same project.
A planner evaluates two access or planting layouts without overwriting the first measured option.
What you need: Editable project with layer copy/duplicate controls.
Comparison is manual; the app does not automatically optimize, score, or choose a layout. Copying a layer preserves geometry but edits to each option should be reviewed independently.
Start in the appConvert a circular measurement into an approximate polygon when a polygon-only operation is needed.
A planner has a circular irrigation or exclusion footprint and needs to include it in a polygon editing workflow.
What you need: A circle layer and a polygon operation. The app asks before converting the circle to an approximate polygon.
Conversion is an approximation and changes the editable circle controls. Keep or duplicate the original if exact radius editing may be needed later.
Start in the appEstimate the surface footprint and spacing of circular cages.
Sketch a 15 m radius circle for a 30 m diameter offshore cage. Its surface area is about 706.86 m² and its circumference about 94.25 m; compare spacing to a neighboring cage separately.
A circle with radius 15 m has area π × 15² ≈ 706.86 m² and circumference 2π × 15 ≈ 94.25 m. Depth and net volume are not derived.
Map-based circle estimates describe a surface footprint only. They do not measure water depth, net volume, currents, or safe vessel clearance.
Open the measurement toolCompare the map distance between a launch point and planned stops.
Draw a short line between a boat launch and a coastal picnic stop, then compare a second stop before heading out.
Two manually drawn segments of 300 m and 450 m total 750 m. Compare the drawn length with other stop combinations, then check the actual marine route separately.
Use the drawn line for approximate trip-distance planning. Check the actual marine route and water conditions separately.
Open the measurement toolOutline a custom area on the map for later reference.
Mark a few shoreline landmarks and draw a custom polygon around the intended drift-fishing area for a trip plan.
A four-sided sketch covering 0.4 km² can help compare the rough size of two candidate areas; it does not identify permitted fishing grounds.
The outline describes your chosen map area. Check permitted fishing boundaries and local access rules separately.
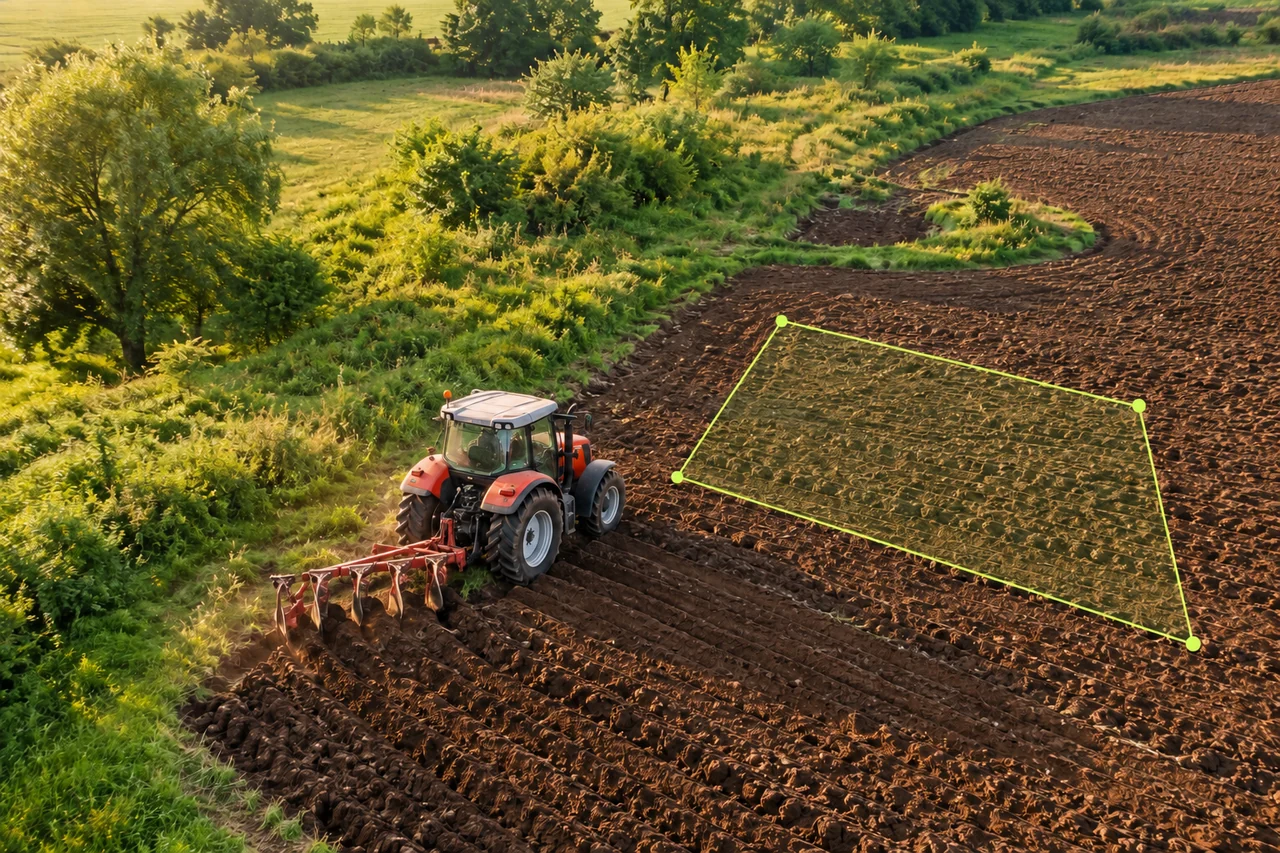
Open the measurement toolMeasure the part of the field intended for tractor work.
Trace the field outline before cultivation. Measure a farmyard, pond or other unworked patch separately, then subtract its area in your worksheet.
A 25,000 m² field minus 1,000 m² outside the job leaves 24,000 m², or 2.4 ha, to plan for.
Place the boundary points manually and check what is included. The result is a horizontal map-area estimate for planning the job.
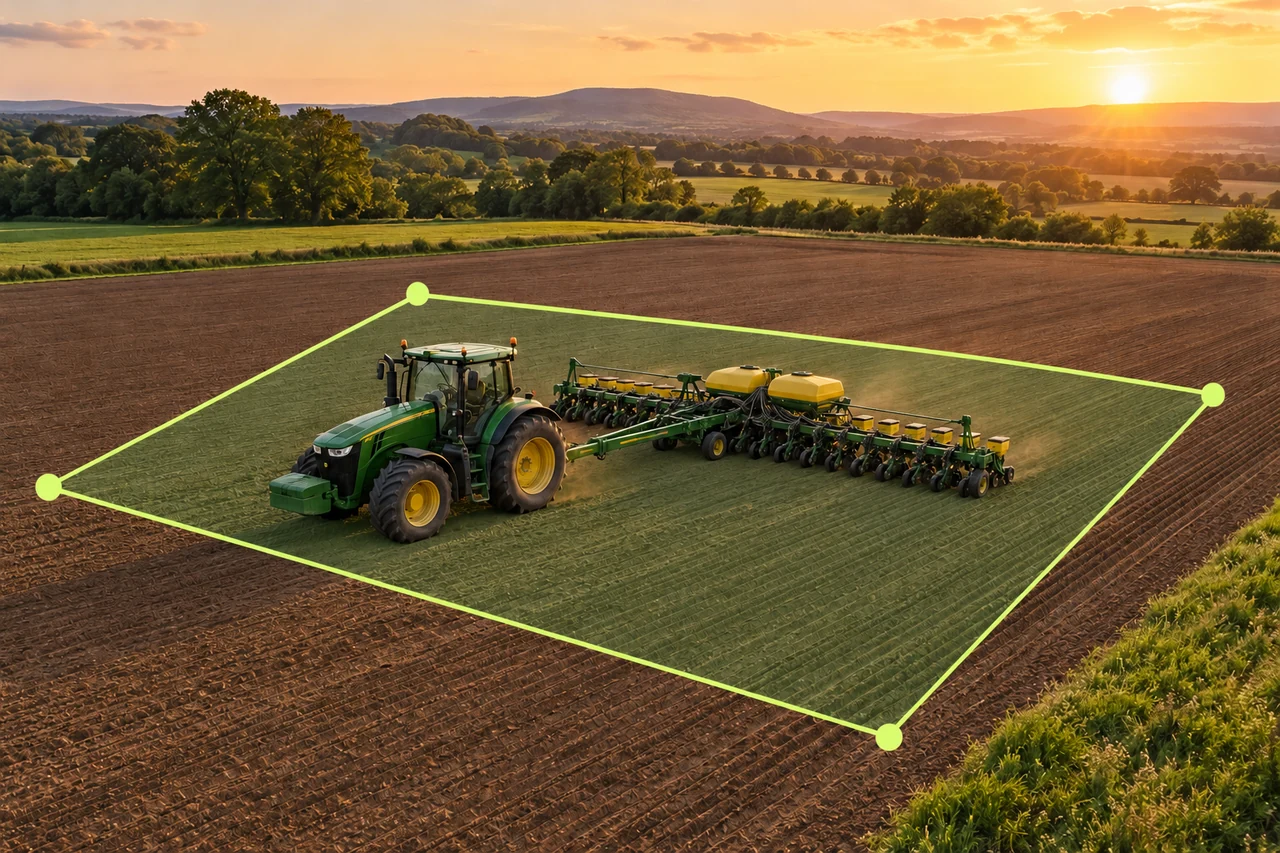
Open the measurement toolMeasure separate blocks intended for sowing or field treatment.
Outline the separate blocks scheduled for sowing or application. Measure any ponds, paths or other areas outside this job separately before working out the net area.
A 1.2 ha block plus a separate 0.8 ha block totals 2.0 ha. Any application rate must be determined separately from the product label and equipment guidance.
Use the measured area as a planning input. Application rates and equipment settings come from the chosen product and machine instructions.
Open the measurement toolMeasure the blocks included in a mowing or harvest job.
A farm contractor outlines the blocks included in a mowing or mechanical-harvest job and adds their horizontal areas to describe the planned work.
A 1.6 ha block and a 2.4 ha block total 4.0 ha scheduled for work. Any price or crop-volume estimate is separate.
Record the included blocks and their measured areas together. Yield, working time and contractor rates are separate inputs.
Open the measurement toolEstimate a field footprint before discussing its annual lease.
Trace a rectangular field and compare the mapped area with the acreage stated in a lease discussion before arranging a site visit.
A mapped 120 m × 80 m rectangle is 9,600 m², or 0.96 ha. Compare it with the stated area, then verify on site or with survey records.
A map estimate can flag a difference for follow-up; it cannot verify a lease, title, ownership, or surveyed boundary.
Open the measurement toolCompare the size of separate blocks before organizing a harvest crew.
Measure two separated crop blocks, total their areas, and combine that figure with the farm’s own productivity assumptions when planning a day’s work.
Two measured blocks of 6,000 m² and 4,000 m² total 10,000 m² (1 ha). A farm can combine that area with its own output-per-hour figure; the app does not calculate labor cost.
Area is one planning input. Crew size, yield, labor hours, and cost must come from separate records or assumptions.
Open the measurement toolInspect visible access width and parking footprint before a visit.
A school-trip driver checks aerial imagery of a destination lot, then measures a visible entrance width and parking area before planning a visit.
A drawn 8 m entrance and an 18 m standing bay give two preliminary dimensions to discuss with the venue; check the vehicle and site conditions separately.
Visible entrance and parking dimensions support a first site check. Confirm turning space, overhead obstructions and current access with the venue.
Open the measurement toolSketch a completed neighborhood loop and check its approximate length.
After a walk, trace the streets and park paths you followed to estimate the distance covered with a dog.
Three drawn segments of 0.8 km, 0.6 km and 0.5 km total about 1.9 km on the map.
Trace the route you actually walked; the result is the length of your manually drawn line.
Open the measurement toolCompare route options to reach a chosen distance in an unfamiliar city.
Trace two park-and-street route options before a run abroad and choose the one closest to the intended training distance.
If one loop is 4.7 km and another is 5.2 km, compare each with a 5 km training goal before choosing.
Compare the lengths of the lines you draw. Check path access and conditions before setting out.
Open the measurement toolCheck the approximate distance of a planned commute or ride.
Trace the route to work and compare its map distance with a bike computer reading as a rough personal check.
A mapped 7.4 km commute and a 7.6 km bike-computer reading differ by 0.2 km; check route and device setup separately.
Map distance can differ from wheel, GPS, and road measurements. This is not a certified calibration method or live ride tracker.
Open the measurement toolManually mark positions along a work route at known distances.
Trace a field-access route and place separate reference marks at each 100 m point to help anticipate upcoming work locations.
Four manually placed 100 m intervals span 4 × 100 m = 400 m. The example illustrates arithmetic, not automatic marker placement.
Draw the line and place the intermediate points manually. Check their real-world positions separately on site.
Open the measurement toolEstimate the footprint and nearby access distance of a work zone.
Before an inspection visit, outline a visible work area and measure the approximate distance from the site entrance to the area.
A 40 m × 25 m rectangular work zone is about 1,000 m²; verify access and boundaries on site before operational decisions.
Use area and access distance as starting references for the visit. Confirm site boundaries, current access and working conditions on site.
Open the measurement toolSeparate planting beds from paths.
Trace a courtyard, then measure a separate planting-bed outline.
Map area does not establish soil depth or plant suitability.
Open the measurement toolEstimate the horizontal area to seed.
Measure a lawn and subtract a separately measured paved island.
Application rates and product quantities require the chosen product's instructions.
Open the measurement toolCompare row lengths and planting-block footprints.
Trace an existing row alignment and the boundary of its block.
Row spacing, plant counts, yield, and machinery access need separate inputs.
Open the measurement toolMeasure proposed line alignments.
Compare two manually traced paths from a supply point to a planting block.
Length and circular footprints do not size pumps or establish pressure, uniformity, or actual throw.
Open the measurement toolEstimate the horizontal footprint of a proposed surface.
Trace a proposed surface from aerial imagery before driving to the property, then compare the approximate footprint with your first material estimate; exclude a planted corner separately.
Material thickness, waste, substrate preparation, and sloped surface area need separate assessment.
Open the measurement toolCompare illustrative site footprints before detailed design.
Draw two alternative staging-area outlines within a known site.
Map sketches do not establish buildability, permitted setbacks, excavation volumes, or survey boundaries.
Open the measurement toolCompare plan-view footprints and access strips.
Trace an existing greenhouse block and a separate access lane.
A footprint is not roof covering area, interior usable floor area, or a structural design.
Open the measurement toolSketch a reference boundary or circular study area.
Compare a manually outlined woodland block with a chosen-radius reference circle.
Canopy imagery and reference circles do not establish tree counts, timber volume, ecological sampling validity, or land rights.
Open the measurement toolCompare complete walking paths between known locations.
Measure an out-and-back to a viewpoint and an alternative return loop.
A drawn line does not confirm access permission, current conditions, or walking time.
Open the measurement toolCompare activity-zone footprints and walking links.
Sketch separate zones for temporary market tents and measure the paths between them. For small layouts, phone GPS can shift corners, so verify positions on site and treat the map as a rough plan.
Map area does not determine crowd capacity, evacuation suitability, accessibility compliance, or permits.
Open the measurement toolCompare field footprints and manually drawn training loops.
Trace a recreation ground and measure an informal perimeter walking route.
A map estimate does not certify regulation field dimensions, track length, or surface condition.
Open the measurement toolCompare maintenance-zone areas and connecting paths.
Measure separate lawn sections around paths and flower beds.
Crew time, maintenance frequency, and application rates require local operational inputs.
Open the measurement toolEstimate visible horizontal water footprints.
Compare a circular ornamental pond with an irregular pool outline.
Water footprint is not an order-ready cover size; fastening margins, obstacles, depth, and safety design need separate measurement.
Open the measurement toolMeasure segment lengths and separately defined surface areas.
Trace a winding path centerline and outline a clearly visible repair patch.
Centerline length alone does not establish area when width varies; pavement design and quantities require additional inputs.
Open the measurement toolImages are illustrative scenes created for these use cases. They are not observed client projects or application screenshots.
LAND RULER / YOUR NEXT STEP
Trace an area, follow a route or explore a circle. Bring your own place and your own question.