Measurement guide
Routes and fieldwork
Measure a hiking route, including the way back
The distance to a viewpoint is only one part of a walking plan. A useful map measurement follows the path you intend to take, includes the return, and makes clear what the map does and does not measure.
Land Ruler · · 4 min read
Choose the distance question first
A straight line between a trailhead and a viewpoint answers how far apart those locations are. It does not measure the winding path between them. A road route answers another question again, because roads and walking trails can follow different alignments. Decide which line represents your intended journey before reading the total.
Write down the start, turning point, and finish. Include a car-park approach if you intend to walk it. This small definition prevents a precise-looking number from describing only part of the trip.
Follow bends with deliberate points
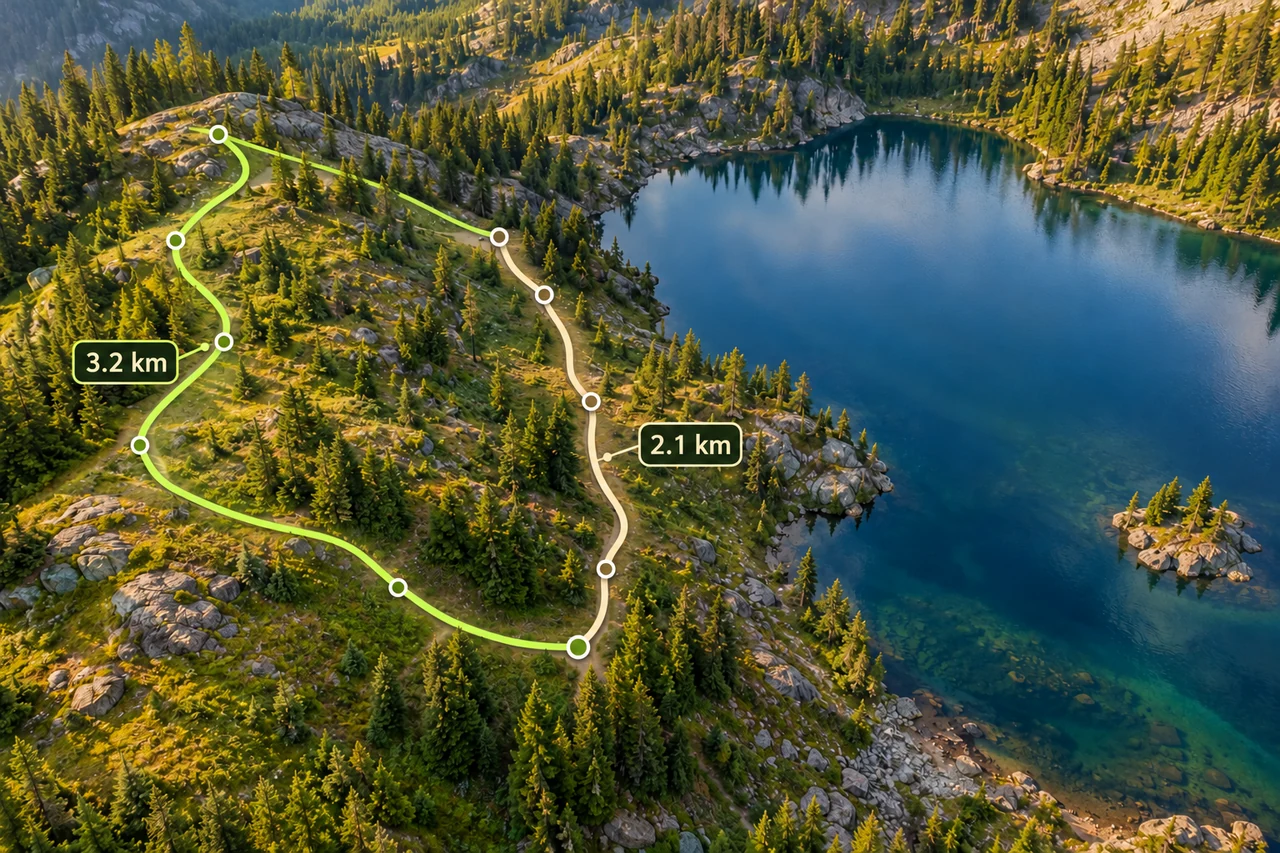
In the distance tool, place points along the visible or otherwise verified path. Each pair of successive points defines a segment, so a long segment across a switchback cuts off walking distance. Add points at meaningful changes of direction, then zoom in to inspect the largest gaps.
More points help only when they follow the intended path. Random points added beside a blurry trail can create a zigzag that inflates the total. Compare the trace against a suitable map source and keep uncertain sections identifiable instead of pretending they are exact.
Inspect the calculation diagram
Calculate the return explicitly
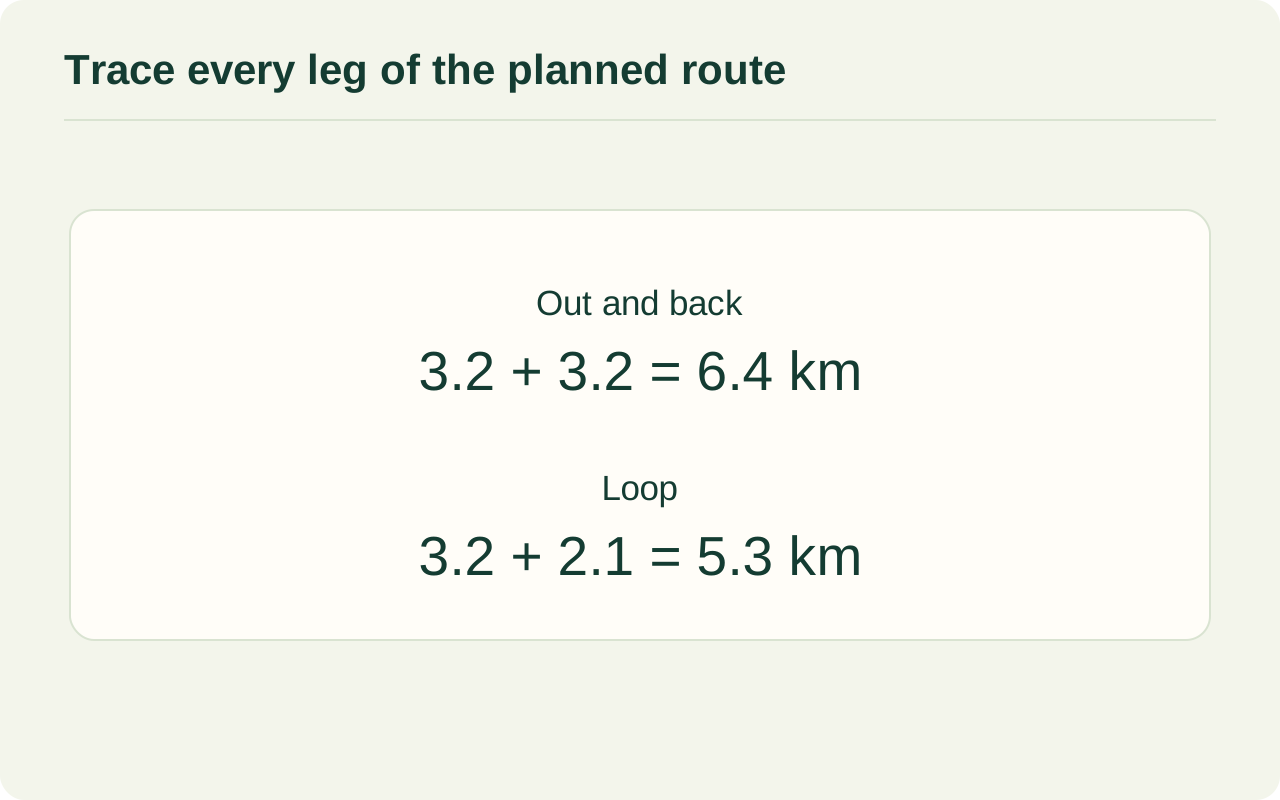
Suppose your traced outward path is 3.2 km. Returning along exactly the same path adds another 3.2 km, giving 6.4 km overall. If a different return path measures 2.1 km and reconnects to the same start, the complete loop is 5.3 km.
These are illustrative distances, not a recommendation for a particular trail. The shorter loop is 1.1 km less walking in plan view. That alone does not establish that it is easier: the two return paths may have different climbs, surfaces, or route-finding demands.
| Plan | Outward | Return | Total |
|---|---|---|---|
| Same-path return | 3.2 km | 3.2 km | 6.4 km |
| Different-path loop | 3.2 km | 2.1 km | 5.3 km |
Read distance alongside terrain
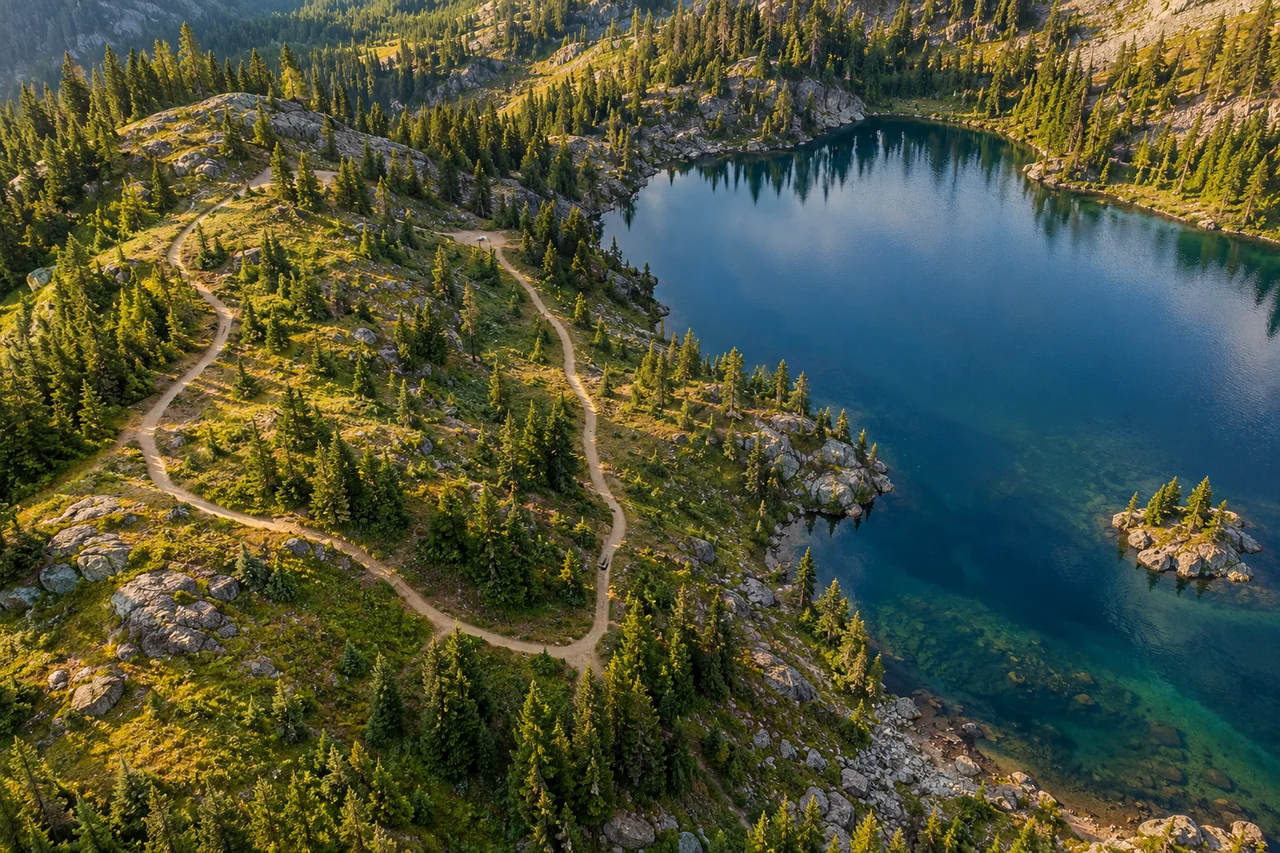
A map trace represents horizontal distance along the drawn alignment. Walking on a slope also involves vertical movement, so actual distance over the ground can be greater. Small surface irregularities and bends absent from the source map add further differences.
USGS explains how topographic maps represent terrain and use scale for distance. Consult contours or a suitable elevation source separately when comparing routes. Neither the traced length nor the net difference between start and finish elevations describes all the climbing along an undulating walk.
Keep the measurement separate from trail status
A line drawn on imagery does not establish that a trail is open, designated, or accessible to you. Check current information from the relevant land manager for the route you choose. The measured line itself cannot provide access permission or confirm that a visible crossing can be used.
Avoid attaching a guaranteed walking time or calorie total to the distance. Pace, breaks, gradient, and the person walking all matter. Likewise, a historical image cannot confirm today's trail conditions. Treat the trace as a distance estimate within a broader route plan.
Count repeated sections by each traversal
A route with a shared approach and a loop needs a leg-by-leg tally. List the approach, loop, side trips and final approach back to the start in walking order. A segment used on both the way out and the way back contributes twice, even though it appears as one line on a map. Conversely, do not count the shared approach again if it is already included in each measured outward and return total. Check the join between consecutive legs on the sketch: every finish should match the next start, with no invented straight connector across a gap.
Compare two complete plans in LandRuler
Use the LandRuler distance tool to trace one complete option, note its total, and then measure the alternative return. Use the same start and finish for both comparisons. Check the turns and the final connection before deciding which total answers your original question.
Record the result as a traced map distance, together with the route description and any uncertain portion. This makes it easier to revise a plan when better path information becomes available, and helps prevent a one-way figure from being mistaken for the whole walk.
Common questions
Should I close every hiking trace?
Close a loop only along the actual return path. For an out-and-back, account for the same path twice; a direct closing line may invent a shortcut.
Why does a recorded walk differ from my map trace?
The walked alignment, terrain, point spacing, and positioning error can all differ. Compare the route shapes before comparing the final totals.
Sources and calculation notes
Figures and numerical scenarios are explanatory examples, not observed field results or application screenshots. Sources support the concepts listed below.
- USGS: Finding Your Way With Map and Compass
Topographic maps, terrain representation, and map scale.
- USDA Forest Service: Mapping, Chapter 5
Horizontal map distance and elevation change as separate quantities.
- NPS: Data Sources and Accuracy for NPS Maps
Limits of generalized visitor maps and the role of topographic maps.
Continue learning
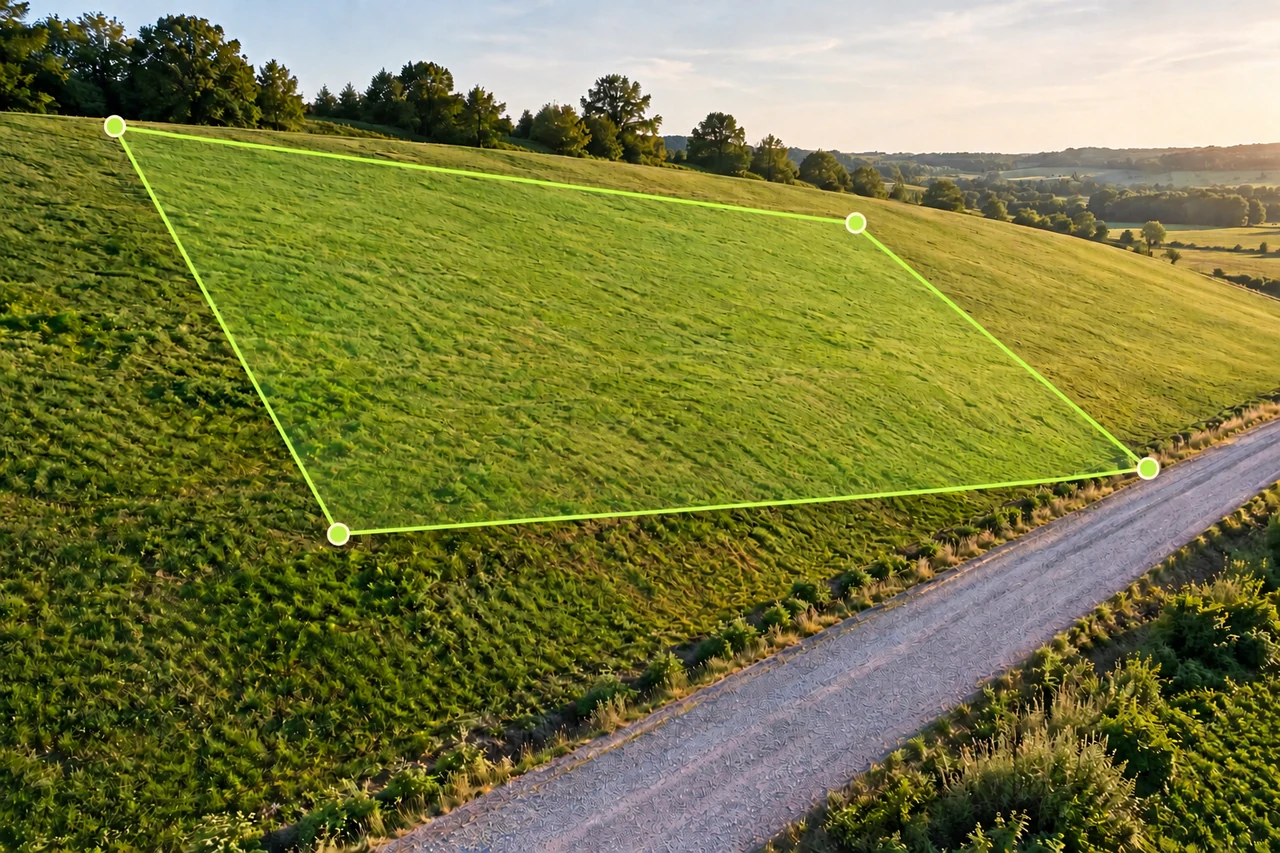
Accuracy and coordinates
Horizontal land area vs sloped surface area: a worked example
Learn why map area and hillside surface area differ, calculate a uniform 20° slope example, and avoid applying average slope to irregular terrain.
Read the guide →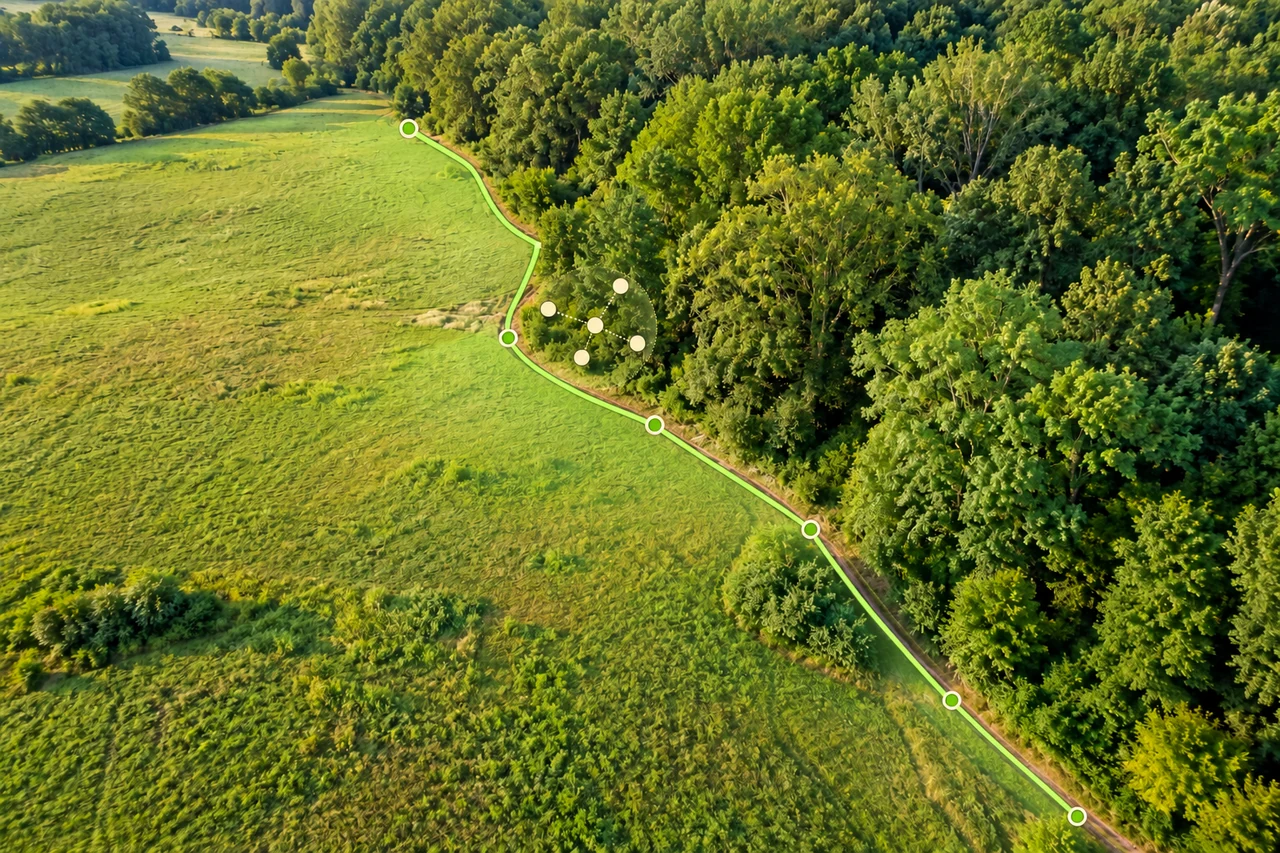
Accuracy and coordinates
How accurate is phone GPS for measuring land area?
Separate phone GPS position, imagery alignment and boundary tracing when estimating land area. Understand uncertainty without misleading accuracy guarantees.
Read the guide →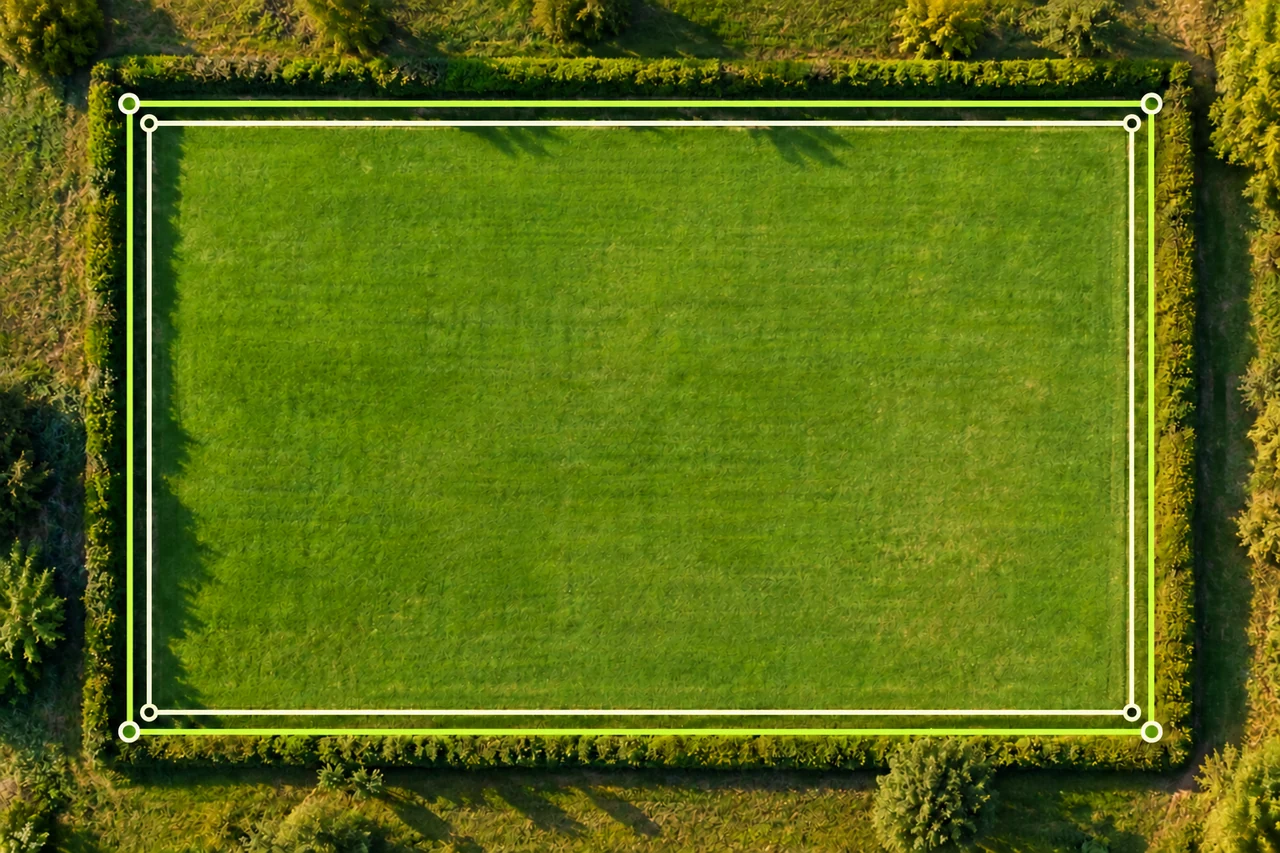
Accuracy and coordinates
Why do two map area measurements give different results?
Troubleshoot different land area results by comparing boundaries, units, imagery and point placement. Follow a worked 5,000 vs 4,704 m² example.
Read the guide →