Measurement guide
Planning and quantities
Count orchard planting positions with an explicit grid
A rough trees-per-area calculation can help compare layouts, but an order needs actual planting positions. Boundary margins remove space, rows must fit as whole lines, and gaps between trees are not the same as the number of trees. An explicit rectangular grid makes those assumptions visible before practical orchard design changes the plan.
Land Ruler · · 4 min read
Remove margins before counting rows
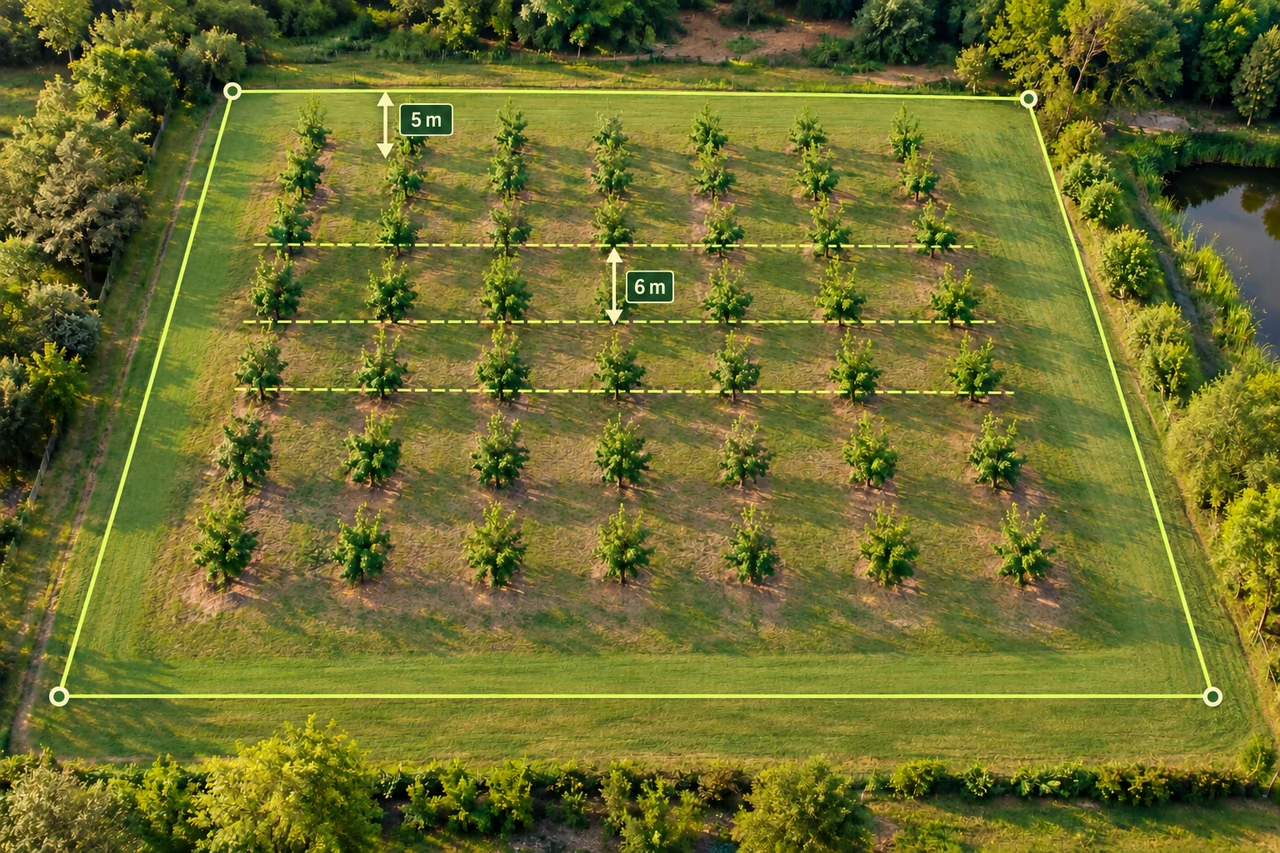
The full plot covers 6,000 m². A 5 m margin at both ends reduces the long dimension to 100 − 5 − 5 = 90 m; margins on both sides reduce the other dimension to 60 − 5 − 5 = 50 m. The inner envelope covers 4,500 m². These are illustrative geometry assumptions, not recommended orchard setbacks. Actual boundary clearance and working space must suit the site, equipment and planting system.
Count intervals, then add the first position
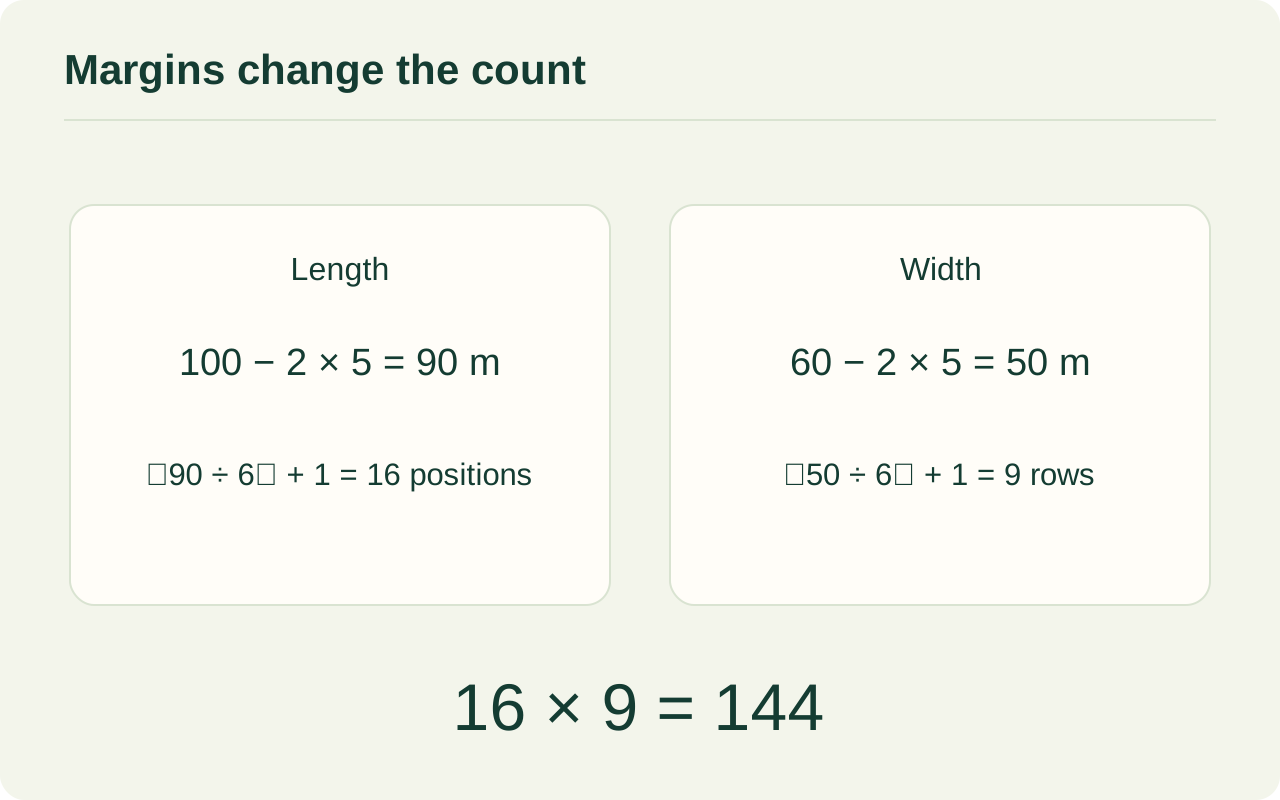
Along the 90 m direction, fifteen complete 6 m intervals fit. They need sixteen endpoint positions, starting at 0 and ending at 90 m within the inner envelope. Along 50 m, eight complete intervals fit, giving nine positions from 0 to 48 m and leaving 2 m unused at the far edge. The floor function means round downward to a whole number of intervals. The added one is valid because a starting position is permitted.
| Direction | Usable span | Intervals | Positions |
|---|---|---|---|
| Columns | 90 m | 15 | 16 |
| Rows | 50 m | 8 | 9 |
| Total | 90 × 50 m | 16 × 9 | 144 |
Inspect the calculation diagram
Understand the area-division shortcut
Dividing the gross 6,000 m² by 6 × 6 = 36 m² gives about 166.7 nominal tree spaces. That number ignores the margins and is not a list of plantable locations. Dividing the inner 4,500 m² by 36 gives 125, which also differs from 144. A density calculation allocates full cells; our point grid allows trees on the envelope edges. Both calculations have assumptions, so identify which model a quoted tree count actually uses.
Test the grid against real operations
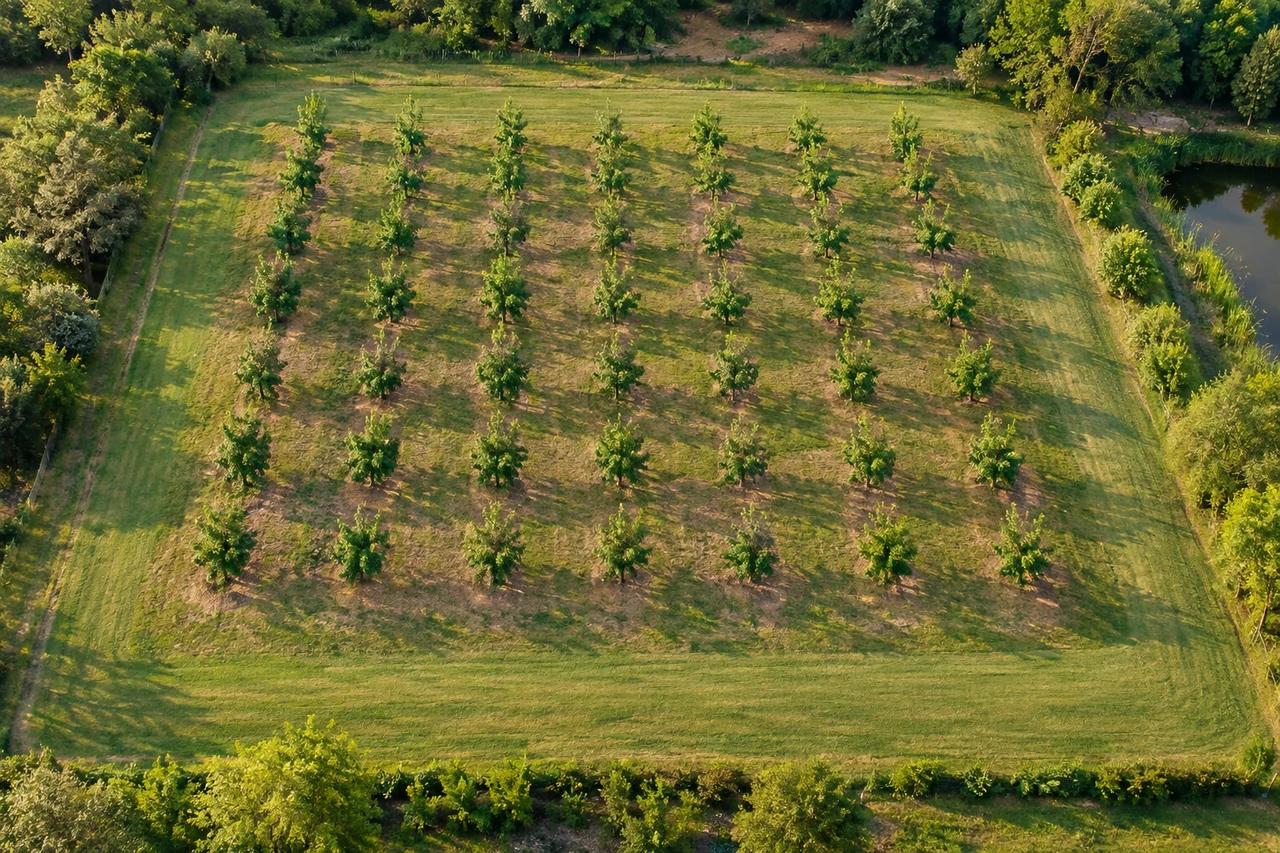
A geometrically valid point may still obstruct a turning area, irrigation equipment or an access lane. Penn State identifies topography, equipment size and worker access as orchard arrangement considerations. Before turning 144 theoretical positions into a planting order, remove positions affected by the actual layout and recount. A slope can also change how rows should run. This example does not select a tree species, rootstock, training system or agronomically appropriate spacing.
Write down endpoint and spacing rules
Do not silently switch from centre-to-centre spacing to clear space between future canopies. Nor should you add one tree when the rule requires a full half-cell beyond every tree at the envelope edge. Changing either condition changes the count. If rows and in-row spacing differ, use a separate spacing in each direction. Irregular boundaries require checking each row's available length individually; multiplying two rectangle counts cannot account for a pond or a missing corner.
Decide where the unused strip goes
The nine row positions occupy 48 m of the 50 m inner span. Starting at the first inner edge leaves all 2 m at the opposite edge. You could instead offset that first row by 1 m inside the envelope, leaving 1 m at each end while keeping the same nine rows and 6 m spacing. This is an alternative sketch, not a change to the worked example. Write down the grid origin as well as its spacing: two sketches can contain 144 positions yet put them in different places relative to an entrance or obstacle.
Measure first, review locally, then stake
Measure the visible plot area in LandRuler and use distance measurements to check the dimensions supporting your sketch. Record the proposed margins and spacing outside the app as explicit design inputs. Discuss the sketch with a local horticultural specialist who knows the crop and site. Once access and management needs are resolved, verify the final positions on the ground before planting. Map measurements support the early comparison; they do not automatically establish a stakeout or a crop-specific planting design.
Try your own numbers
This calculation uses the geometric assumptions explained in the article.
Common questions
Is 6 m spacing recommended for my orchard?
No. It is an arithmetic example. Suitable spacing depends on the crop, rootstock, management and site conditions.
Why do eight gaps make nine rows?
Each gap connects two neighbouring row positions. Starting with one row, eight additional gaps lead to eight additional rows, making nine.
Sources and calculation notes
Figures and numerical scenarios are explanatory examples, not observed field results or application screenshots. Sources support the concepts listed below.
- Penn State Extension: Planning and Planting an Orchard
Supports considering topography, equipment and worker access in layout. Grid dimensions and all counts are original examples.
Continue learning
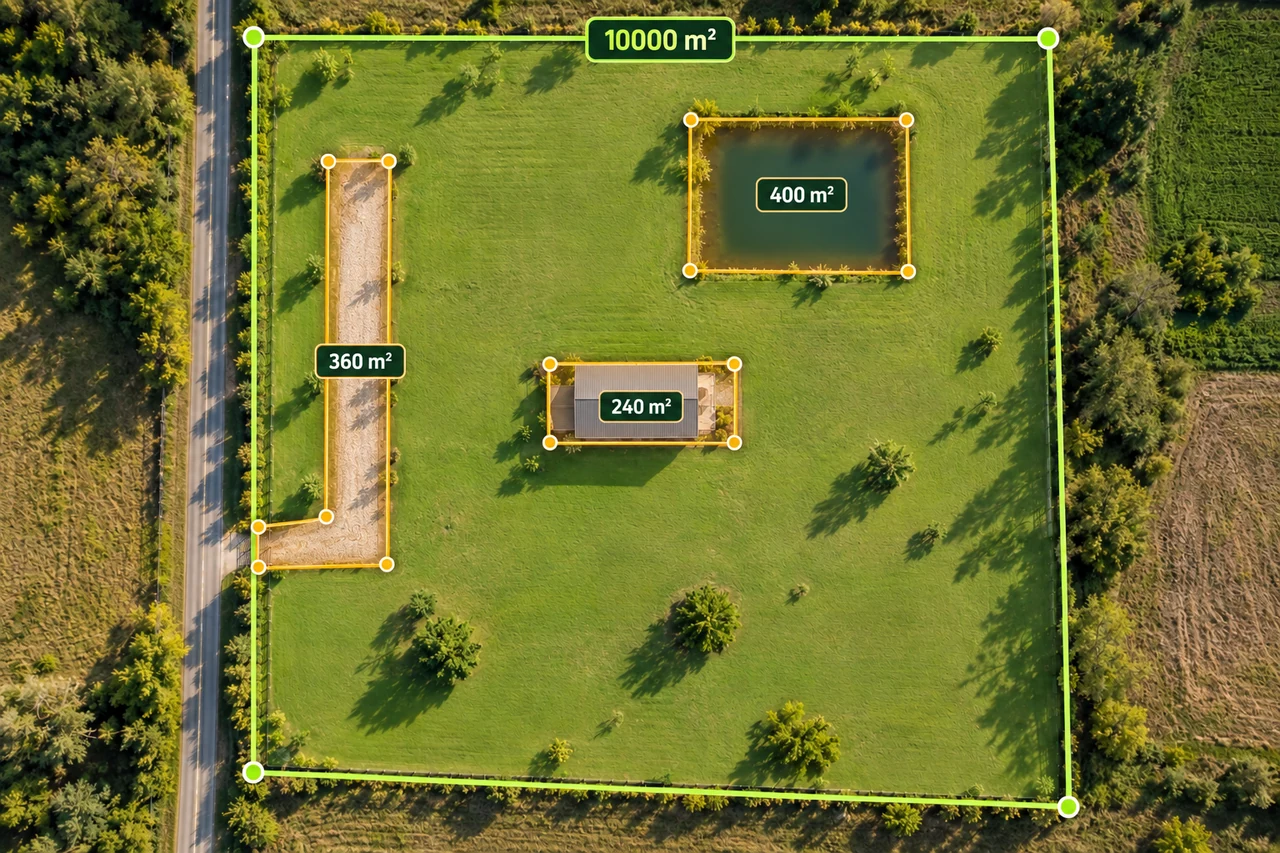
Planning and quantities
Calculate usable land area without subtracting twice
Build a transparent gross-to-net land area worksheet with buildings, access and water exclusions, including overlapping shapes.
Read the guide →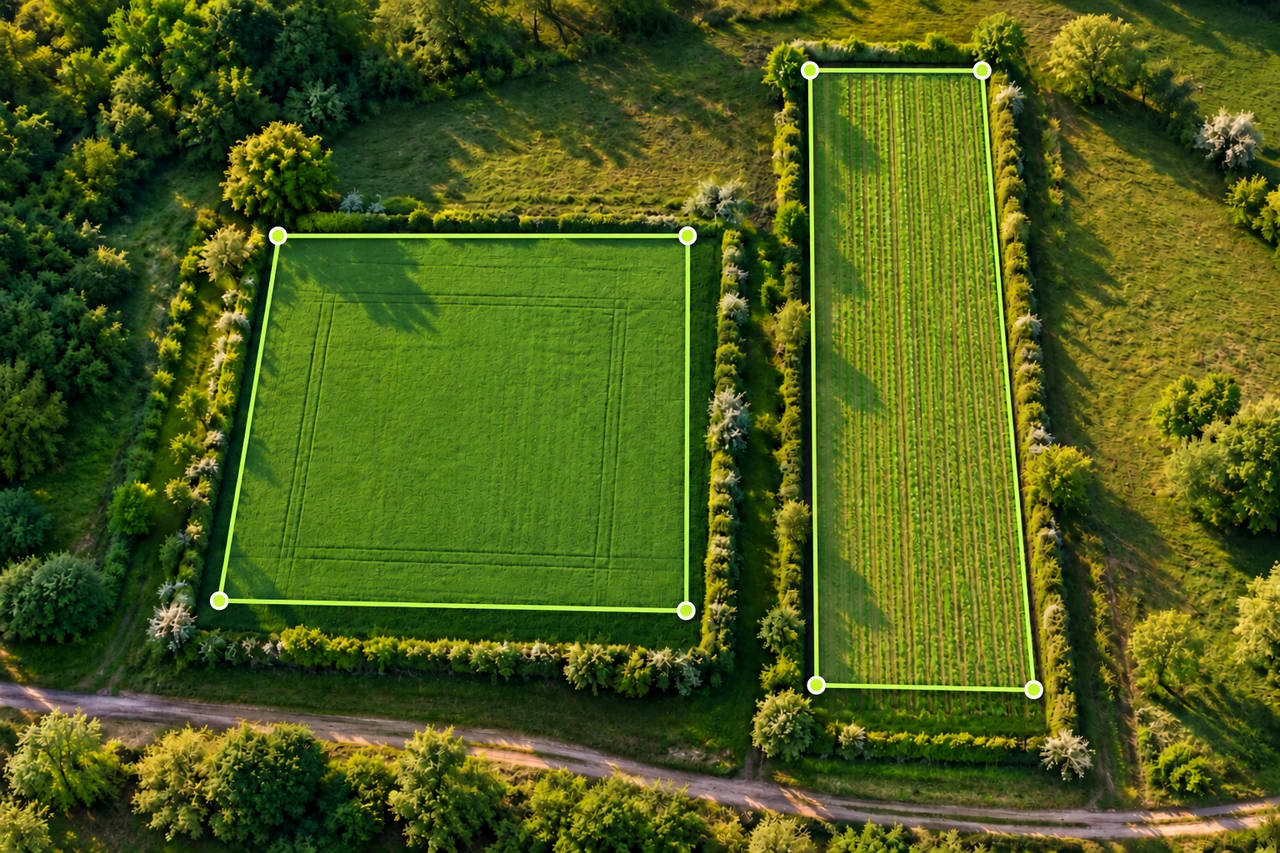
Land shapes and geometry
Can square metres become metres? Can perimeter give area?
Understand the missing dimensions behind area-to-length questions, with rectangles that share a perimeter or area but have different shapes.
Read the guide →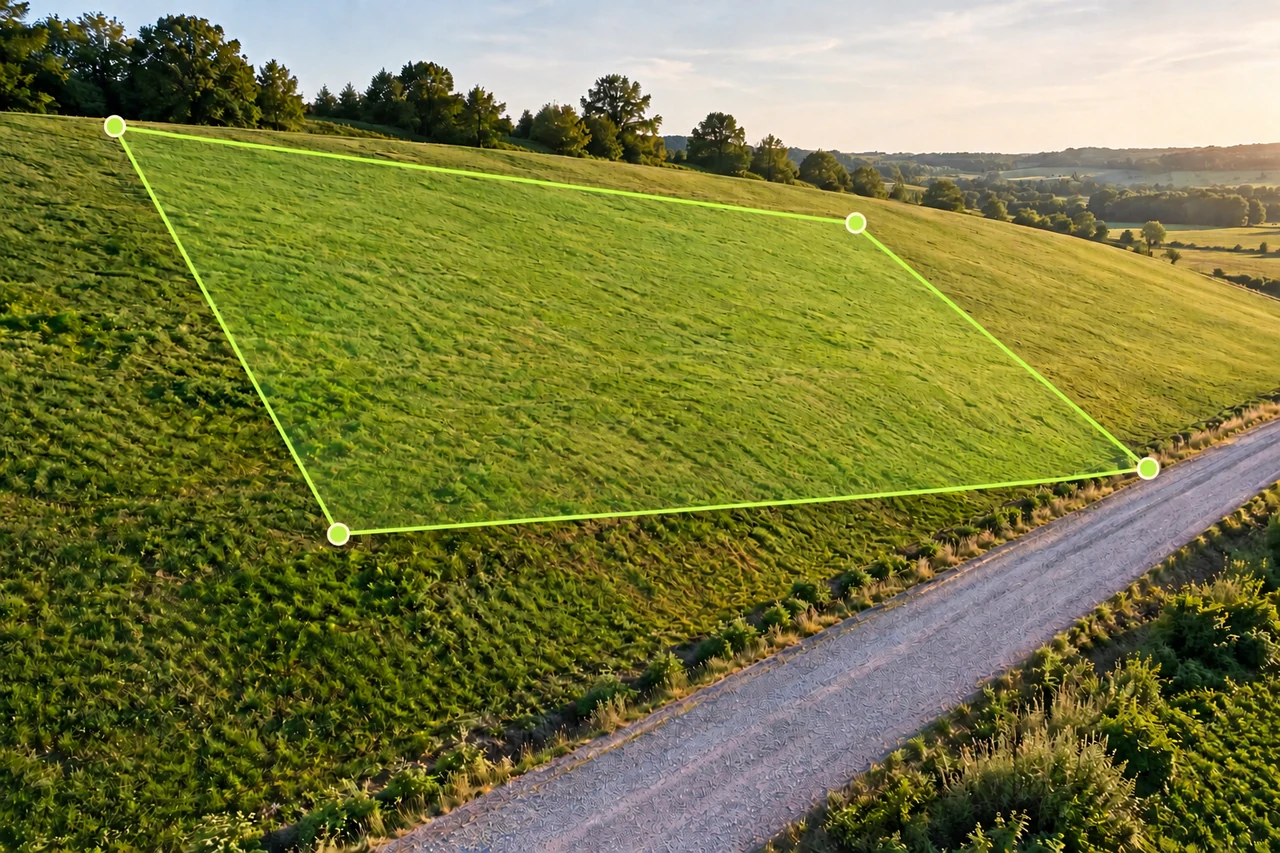
Accuracy and coordinates
Horizontal land area vs sloped surface area: a worked example
Learn why map area and hillside surface area differ, calculate a uniform 20° slope example, and avoid applying average slope to irregular terrain.
Read the guide →